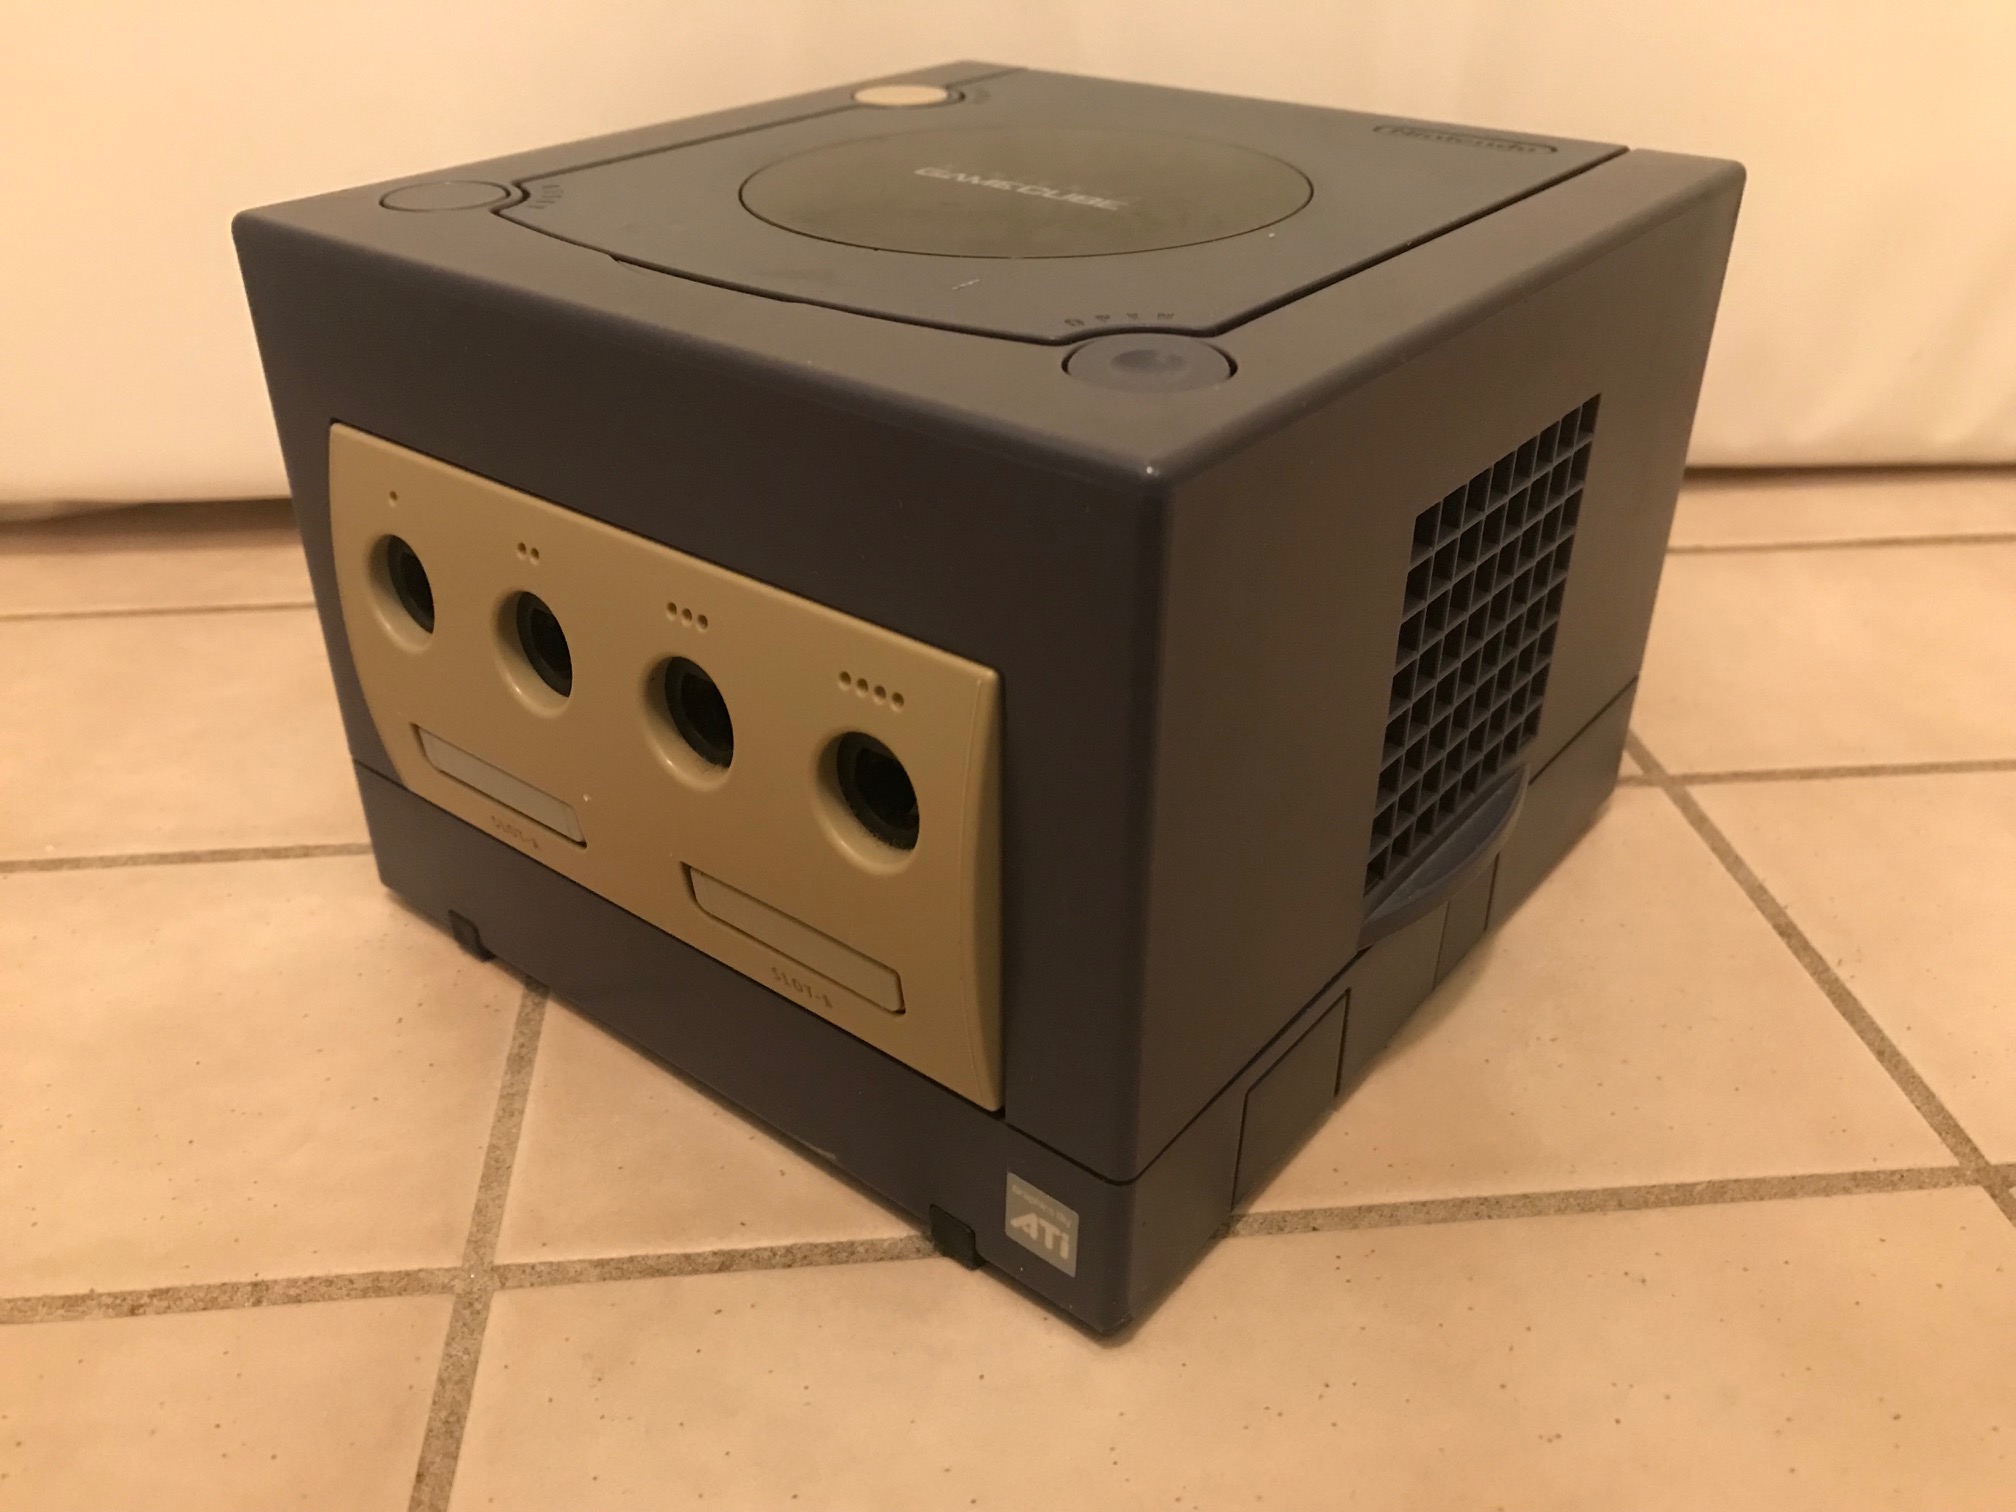
In this post I aim to disassembly and clean a dirty Nintendo Gamecube. To do this, you need a special Gamebit screwdriver, and a couple of ordinary Philips screwdrivers + some cleaning products (soap, water, alcohol). Follow this guide step by step and assemble in reverse order. The Gamecube is relatively easy to work with since it is a modular build, similar to the Dreamcast.
Step 1: Använd din Gamebit skruvmejsel för att skruva loss de fyra markerade skruvarna på enhetens undersida. Lyft bort locket från resten av konsolen. Har du någon knapp som fastnat (t.ex. “Eject”) kan du rengöra den nu, precis som jag gjorde på ett Nintendo 64 i ett tidigare inlägg.

Step 2: Remove the joystick ports and pull the flat cable. Also, remove the plastic piece on the back of the Gamecube. Remove the marked screws above the memory card slots below.

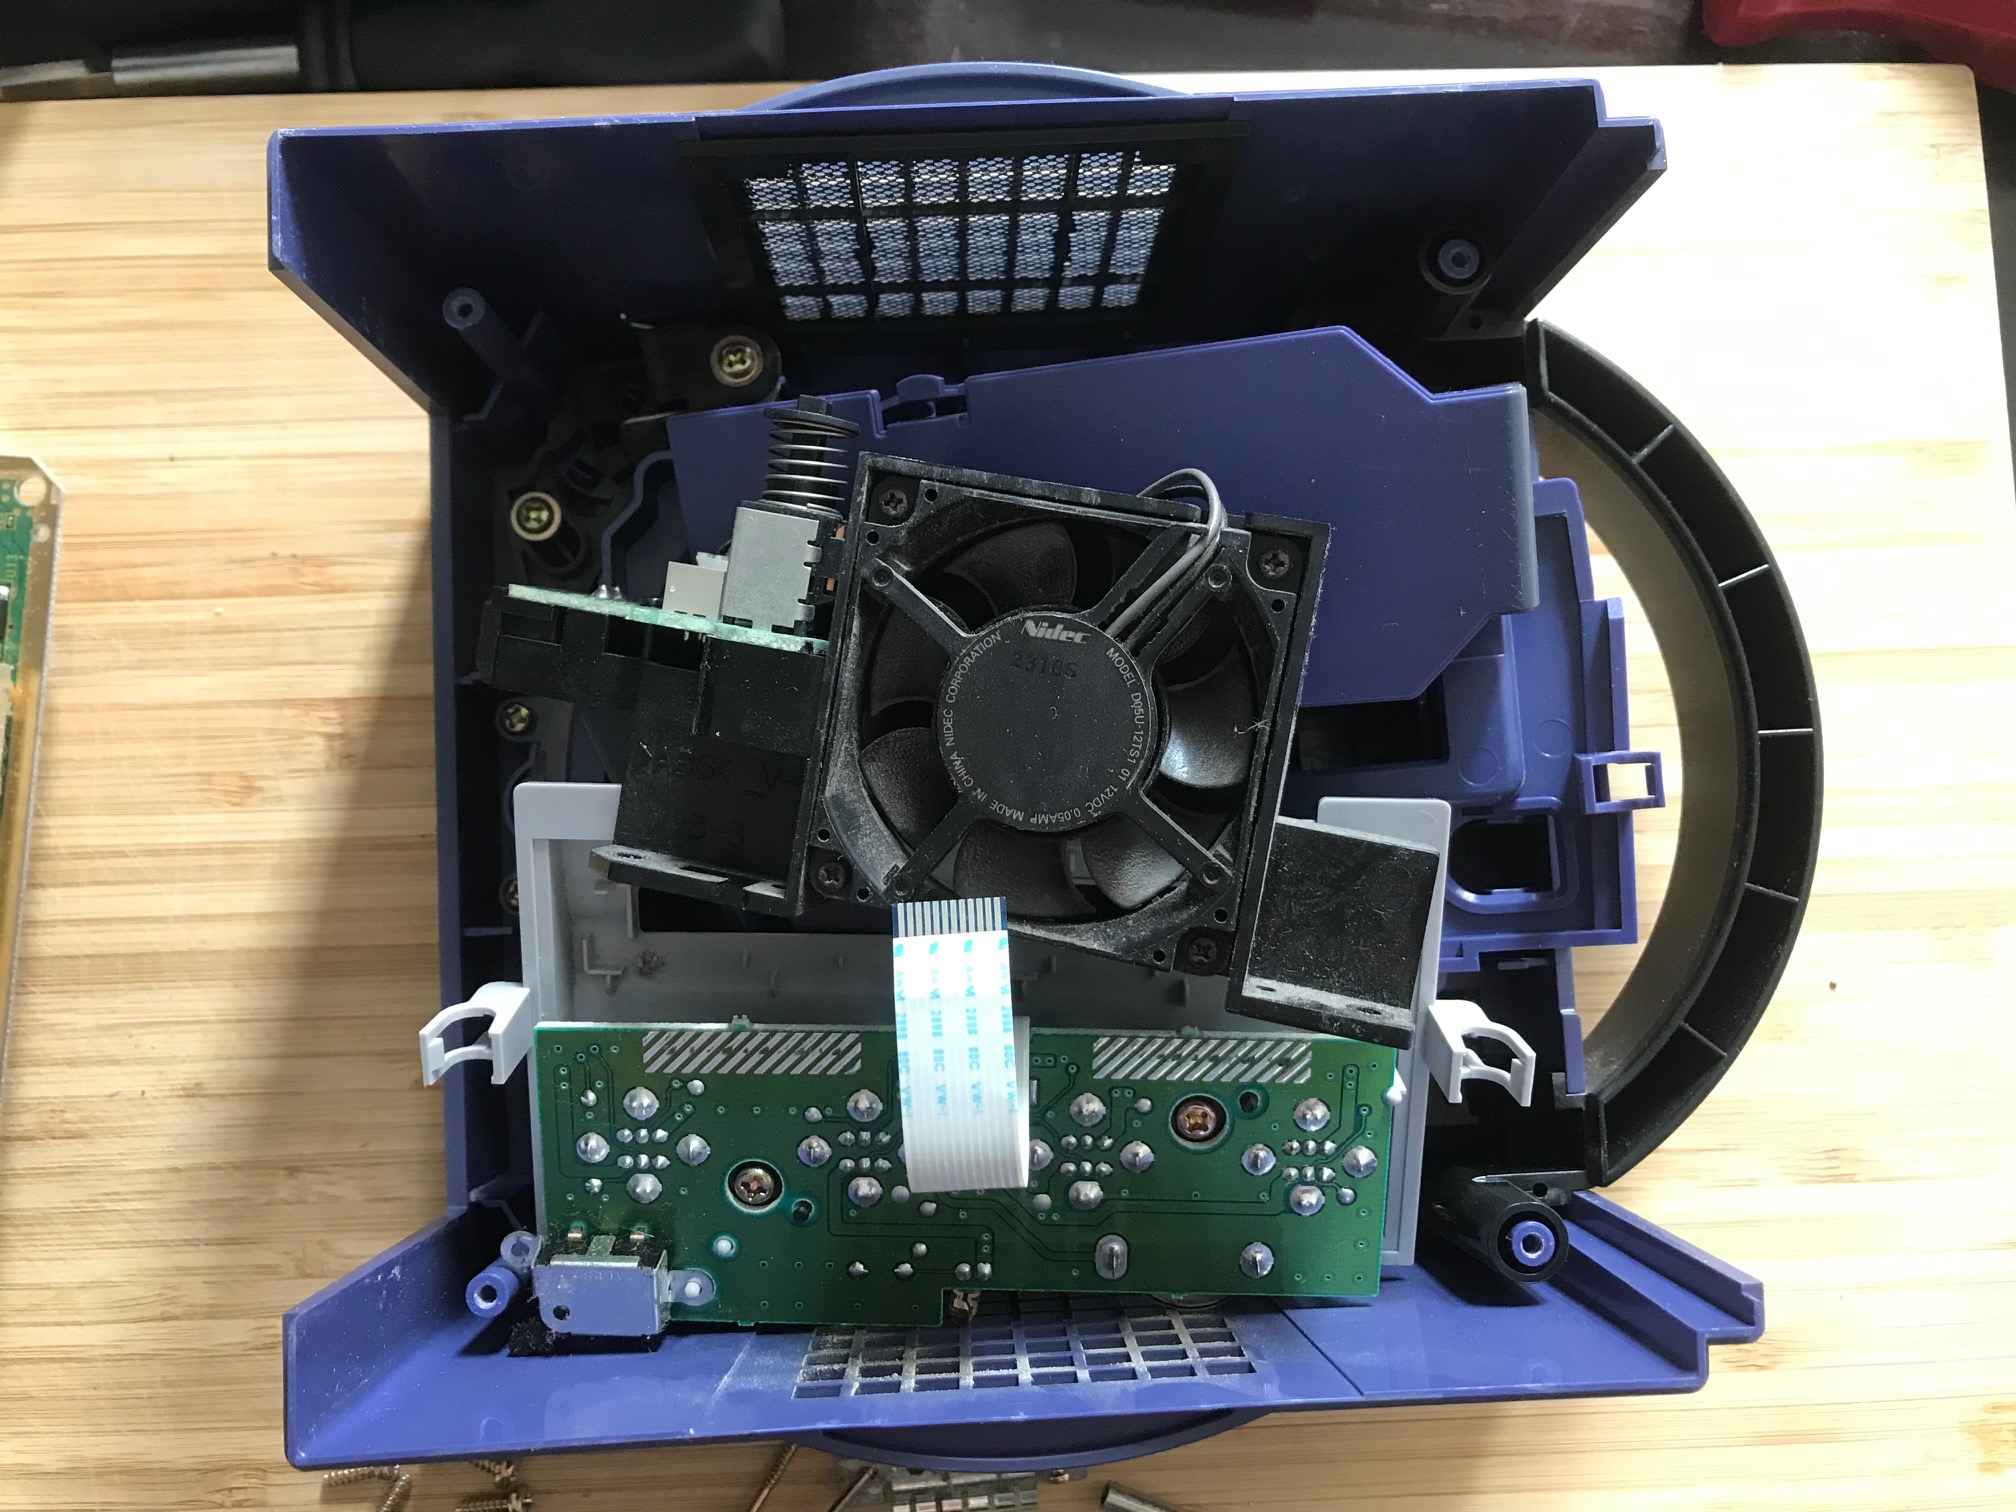
Step 3: Remove the two screws from the fan, disattach the cable and remove the fan.
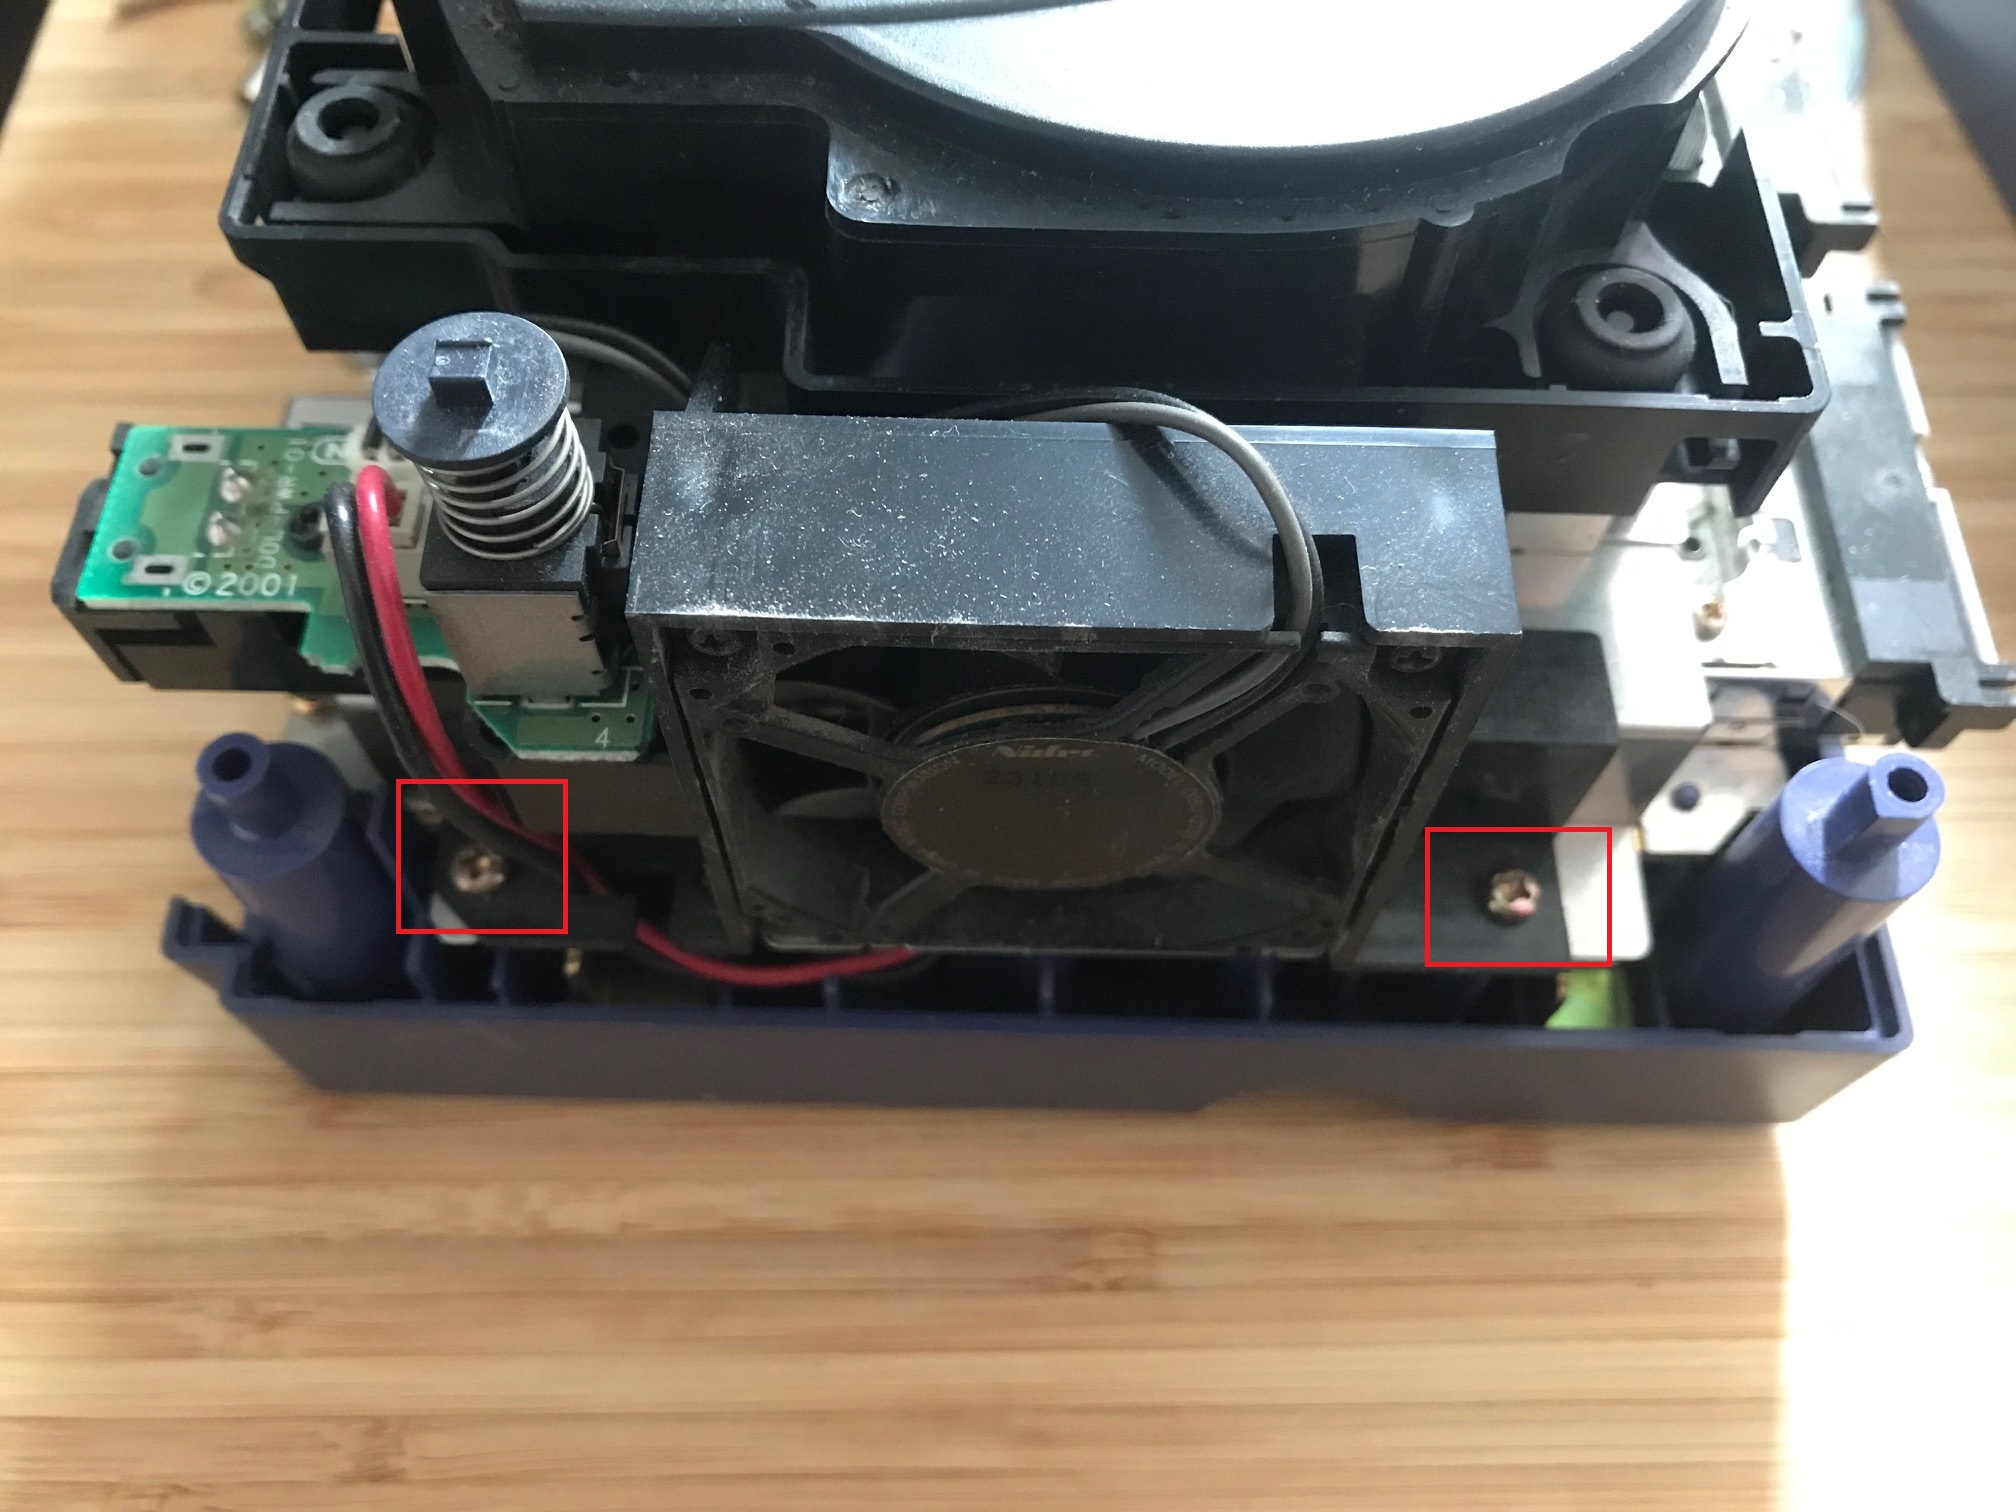
Step 4: Unscrew the rest of the screws around the laser unit. The total amount of screws (including the two from the fan) equals 14. Carefully disattach the top (the laser unit) from the motherboard.
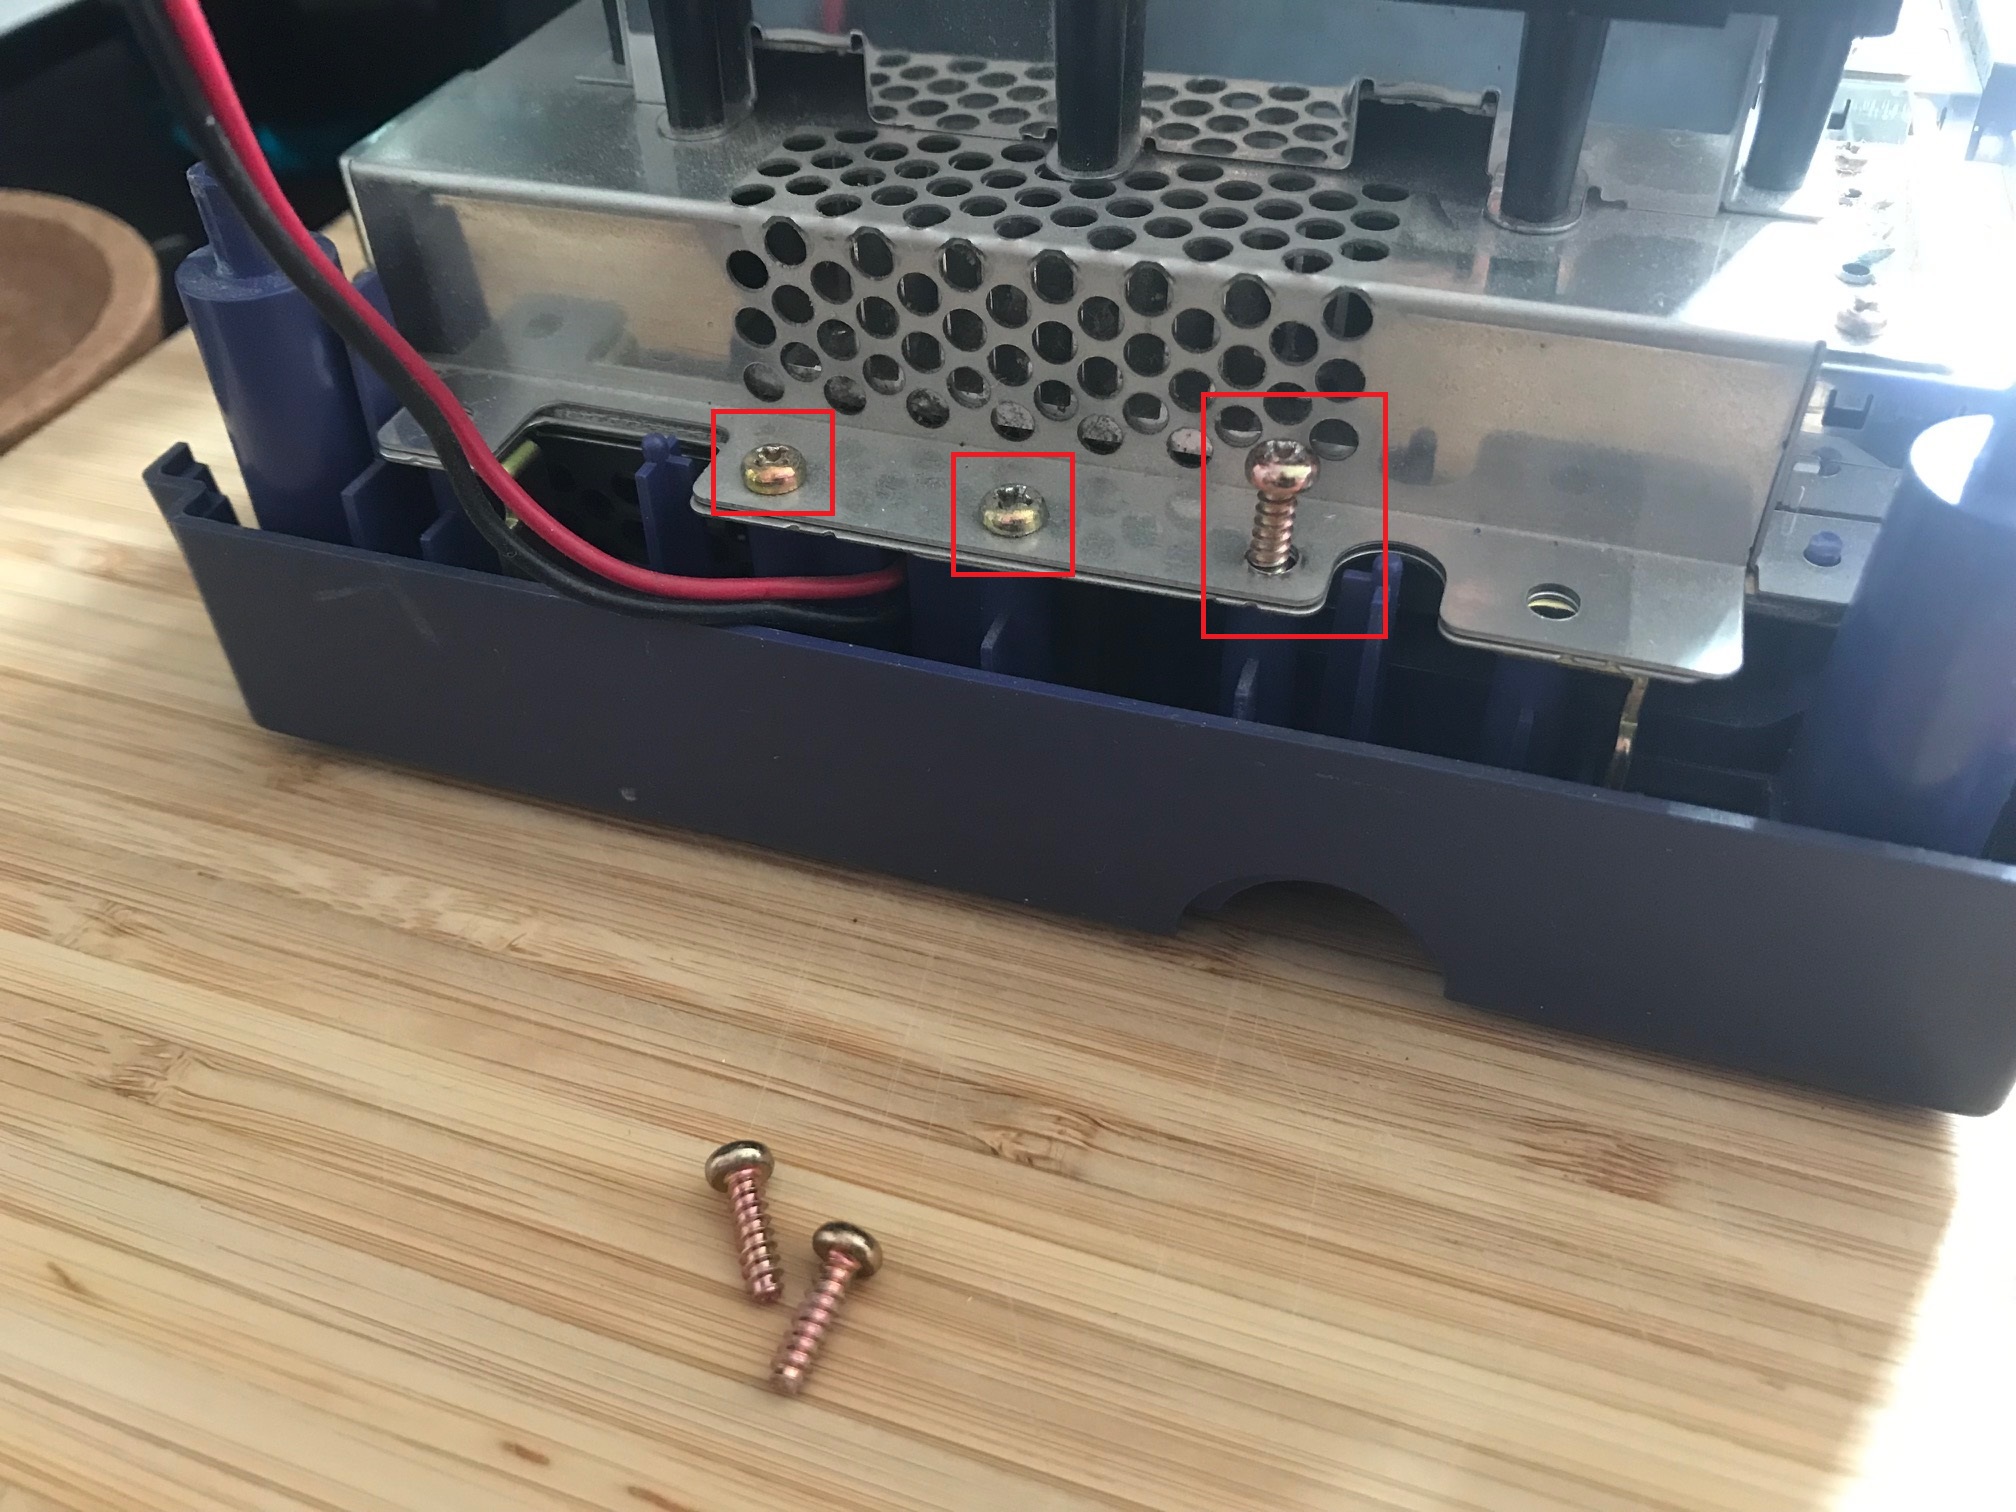
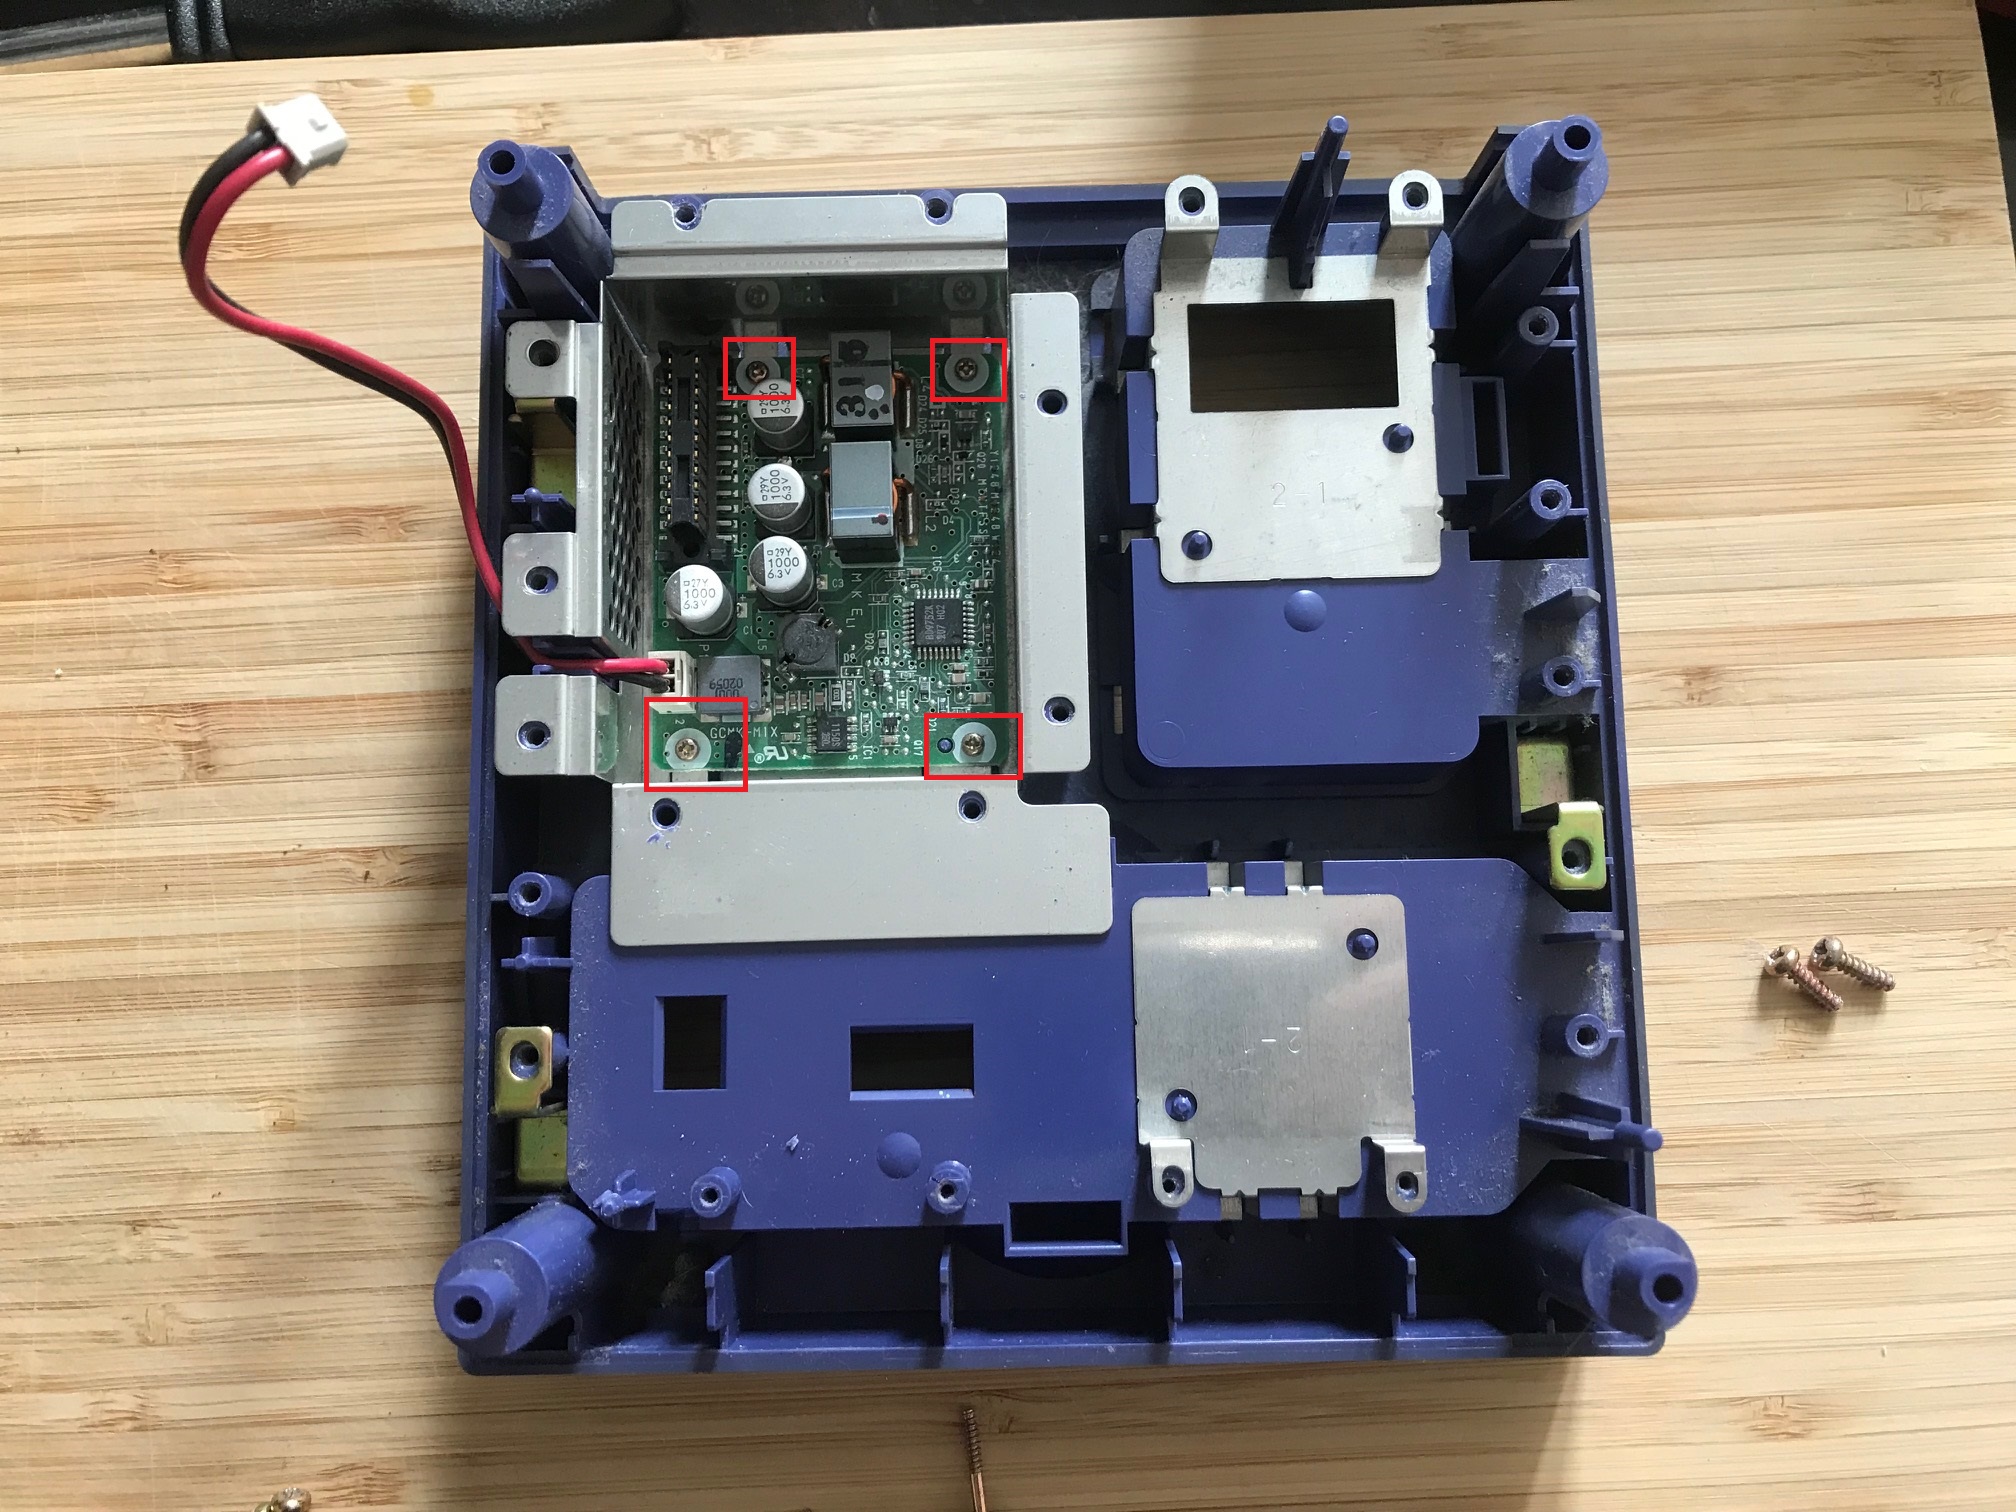
Step 5: Now you should recognize the situation below, where the Gamecube is divided into two larger pieces. Remove the six marked screws from the cooling unit.
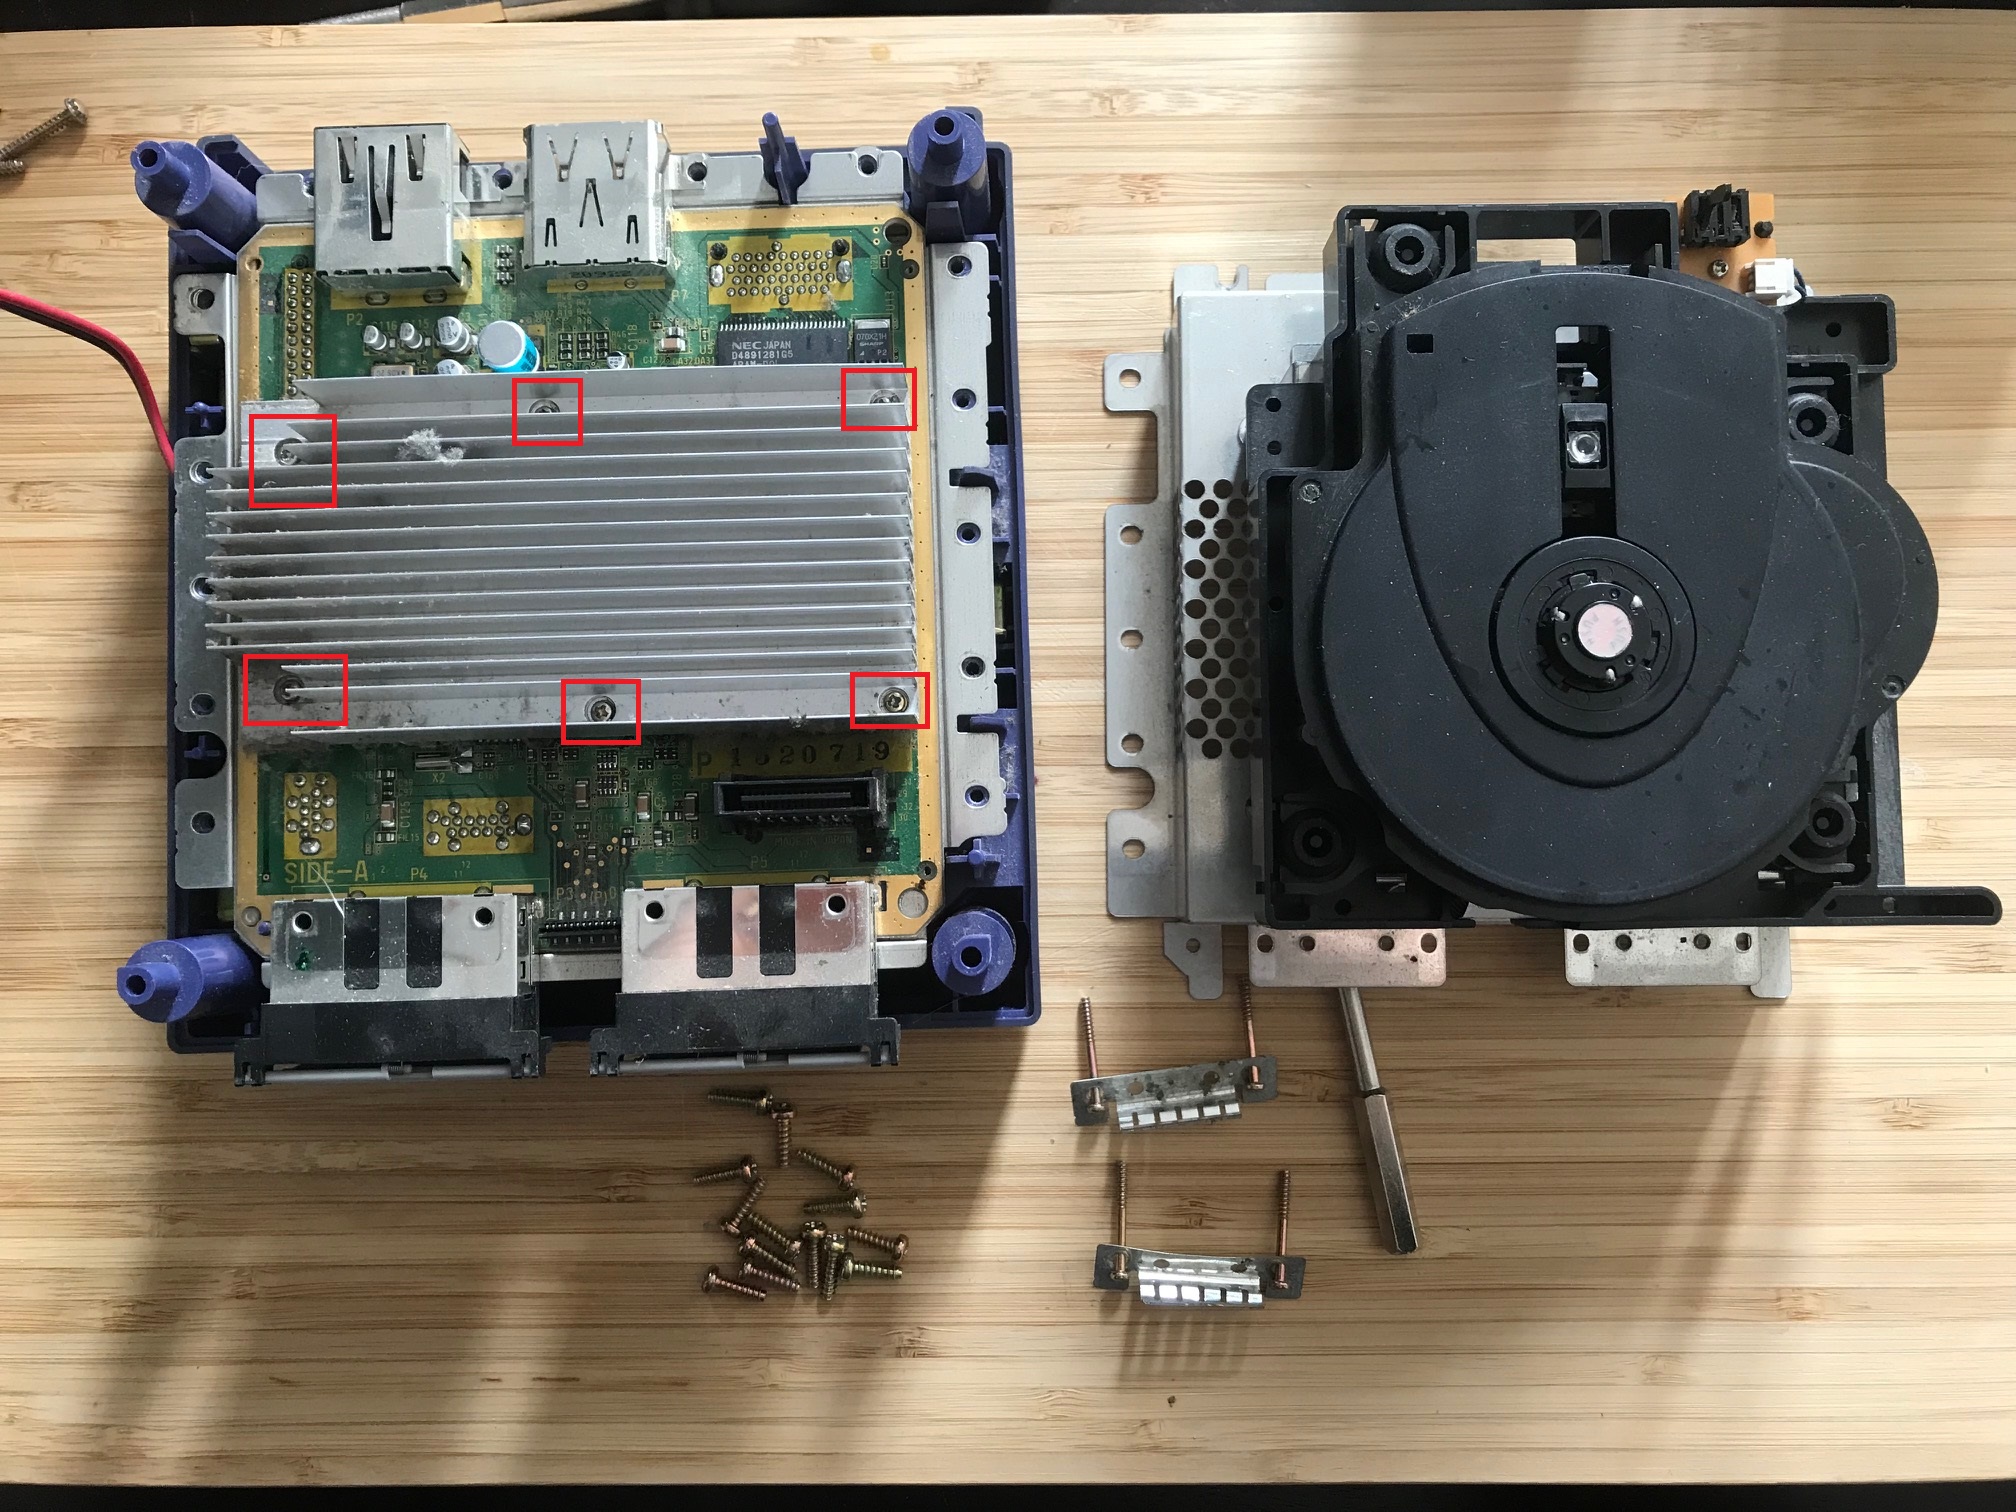
Step 6: Now you can remove the motherboard from the bottom of the Gamecube, and bend the cooling unit from the cpu and gpu. Also, remove the two screws marked in the image below.
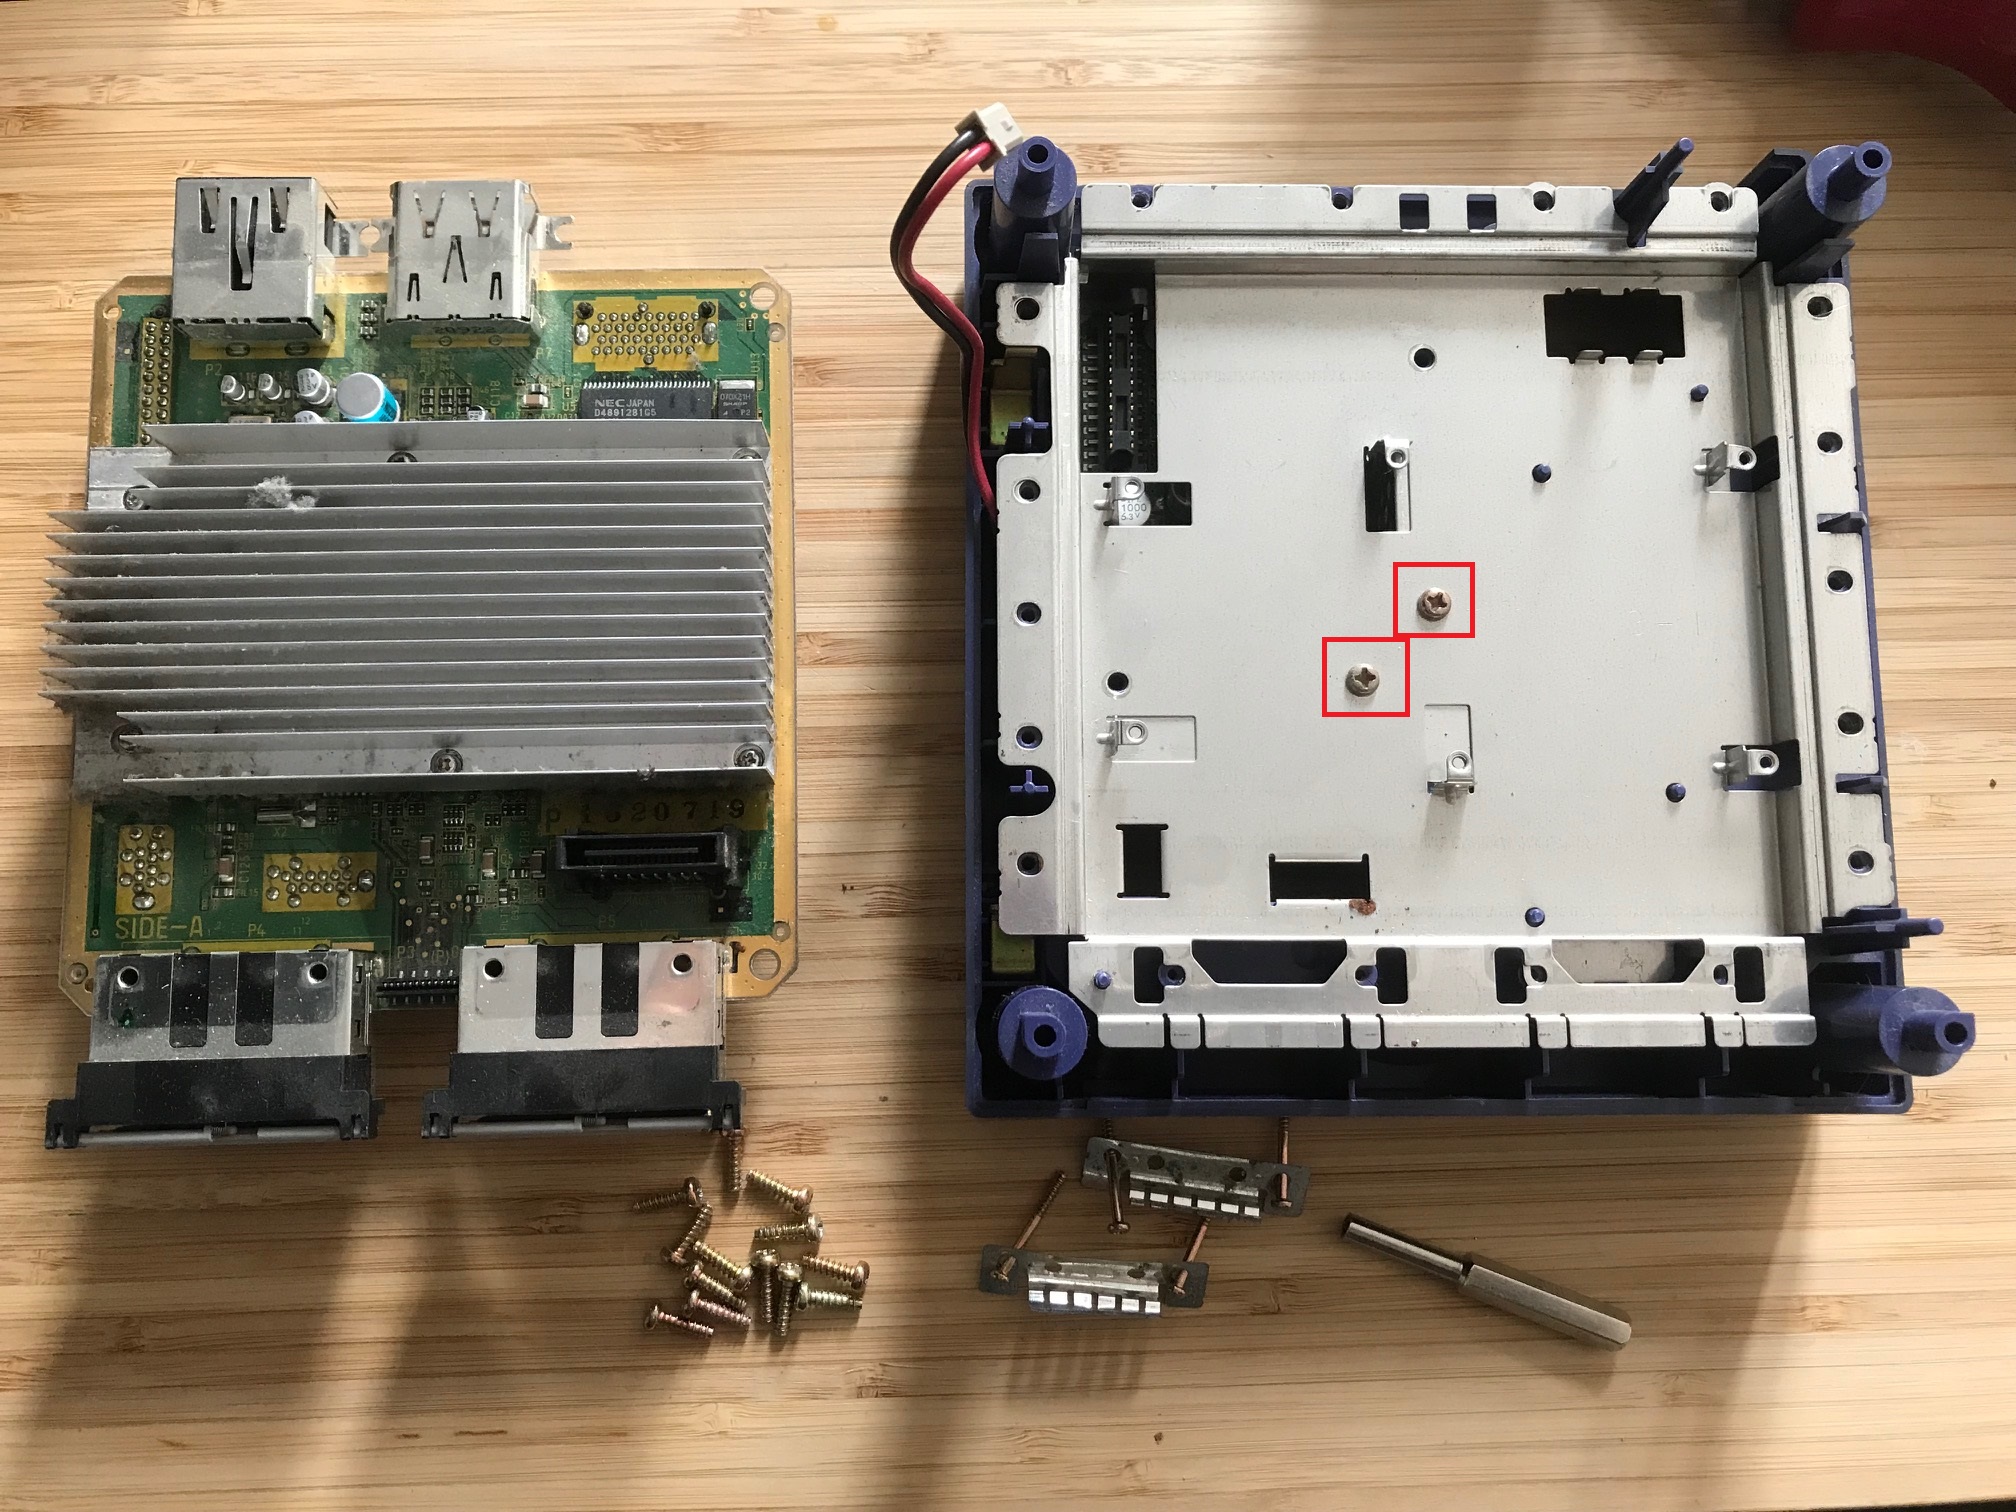
Step 7: Keep removing the last pieces by unscrewing the four screws marked below, and remove the metal pieces.
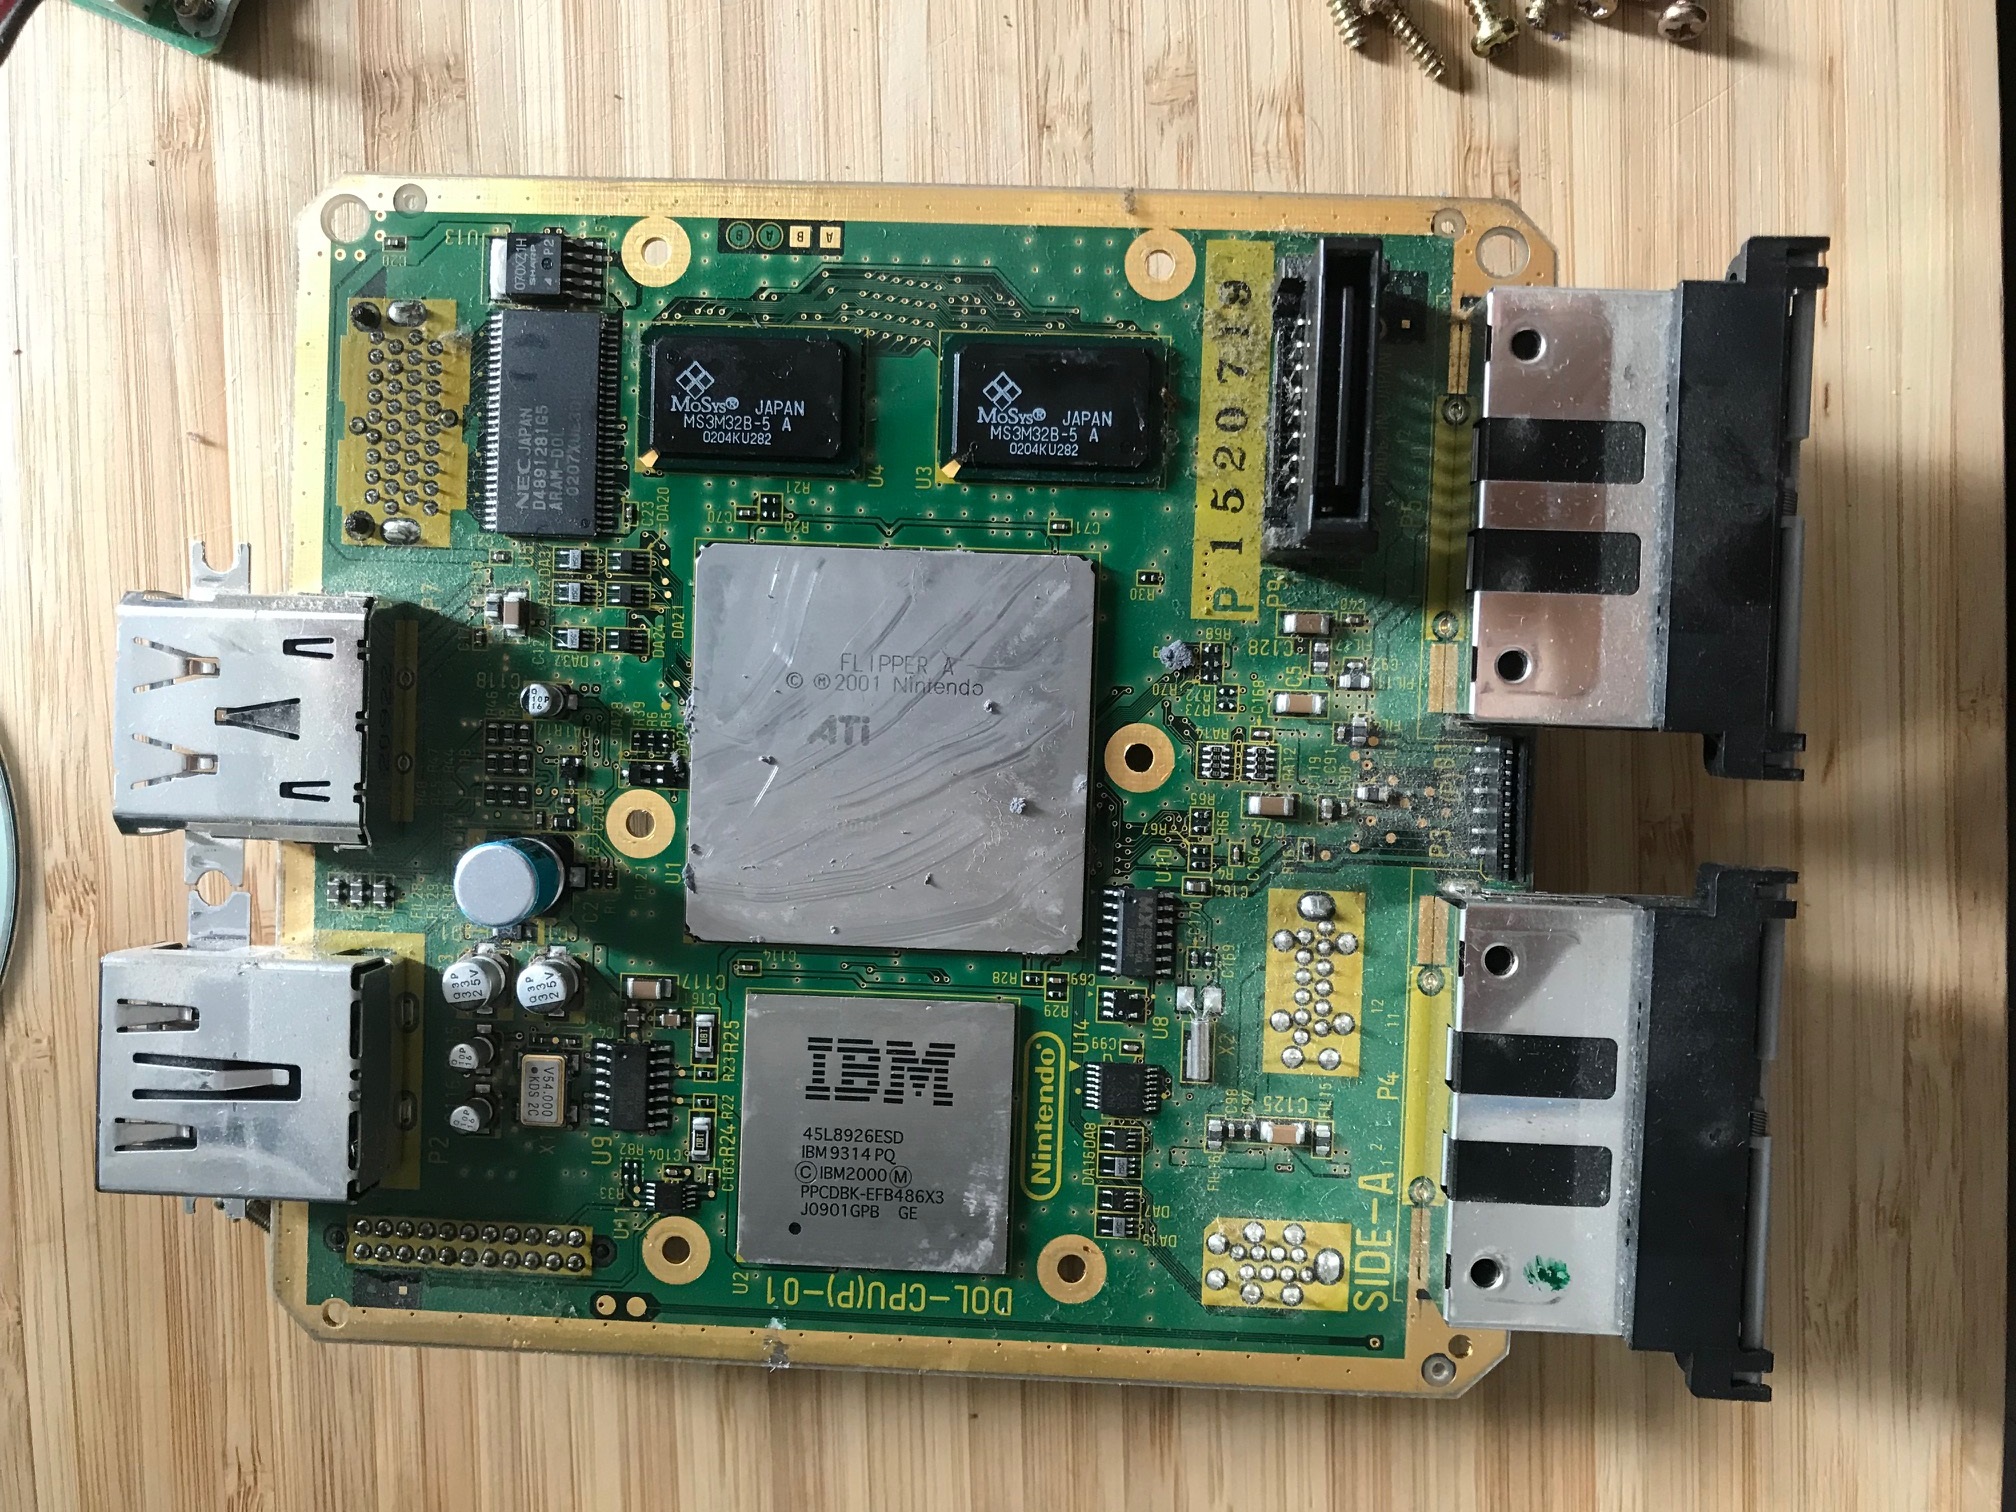
Step 8: I clean all the plastic- and metal pieces with soap and water, and use isopropanol on the elctronics. I do recognized that the alcohol removed the serial number from the motherboard, so if that is an issue for you, do not use any cleaning agent on the yellow text after the “P” on the board. Assemble everything in reverse order! Remember to attach the screws under the fan before you mount it. The flat cable for the joystick ports you simple push into place. Do not tighten the case screws too hard: it might damage the plastic.

I perceive the Gamecube as a sturdy build that is easy to work with. As shown above, my unit was particulary dusty.
“In this post I aim to disassembly and clean a dirty Nintendo Gamecube. To do this, you need a special Gamebit screwdriver”
No need for that. Heat up the point of a ballpen till it gets soft and press that on the screw of the gamecube. Hold it till its cooled off and hard again.
I used a a ballpen with made of the see trough plasticworked perfect and free.