
The Gameboy Advance SP (“SP” stands for SPecial) was an upgraded version of the Gameboy Advance, with a different form factor, and most important of all: a backlit screen. The backlit screen make the GBA SP a great choice for playing Gameboy (GB), GBC and GBA games.
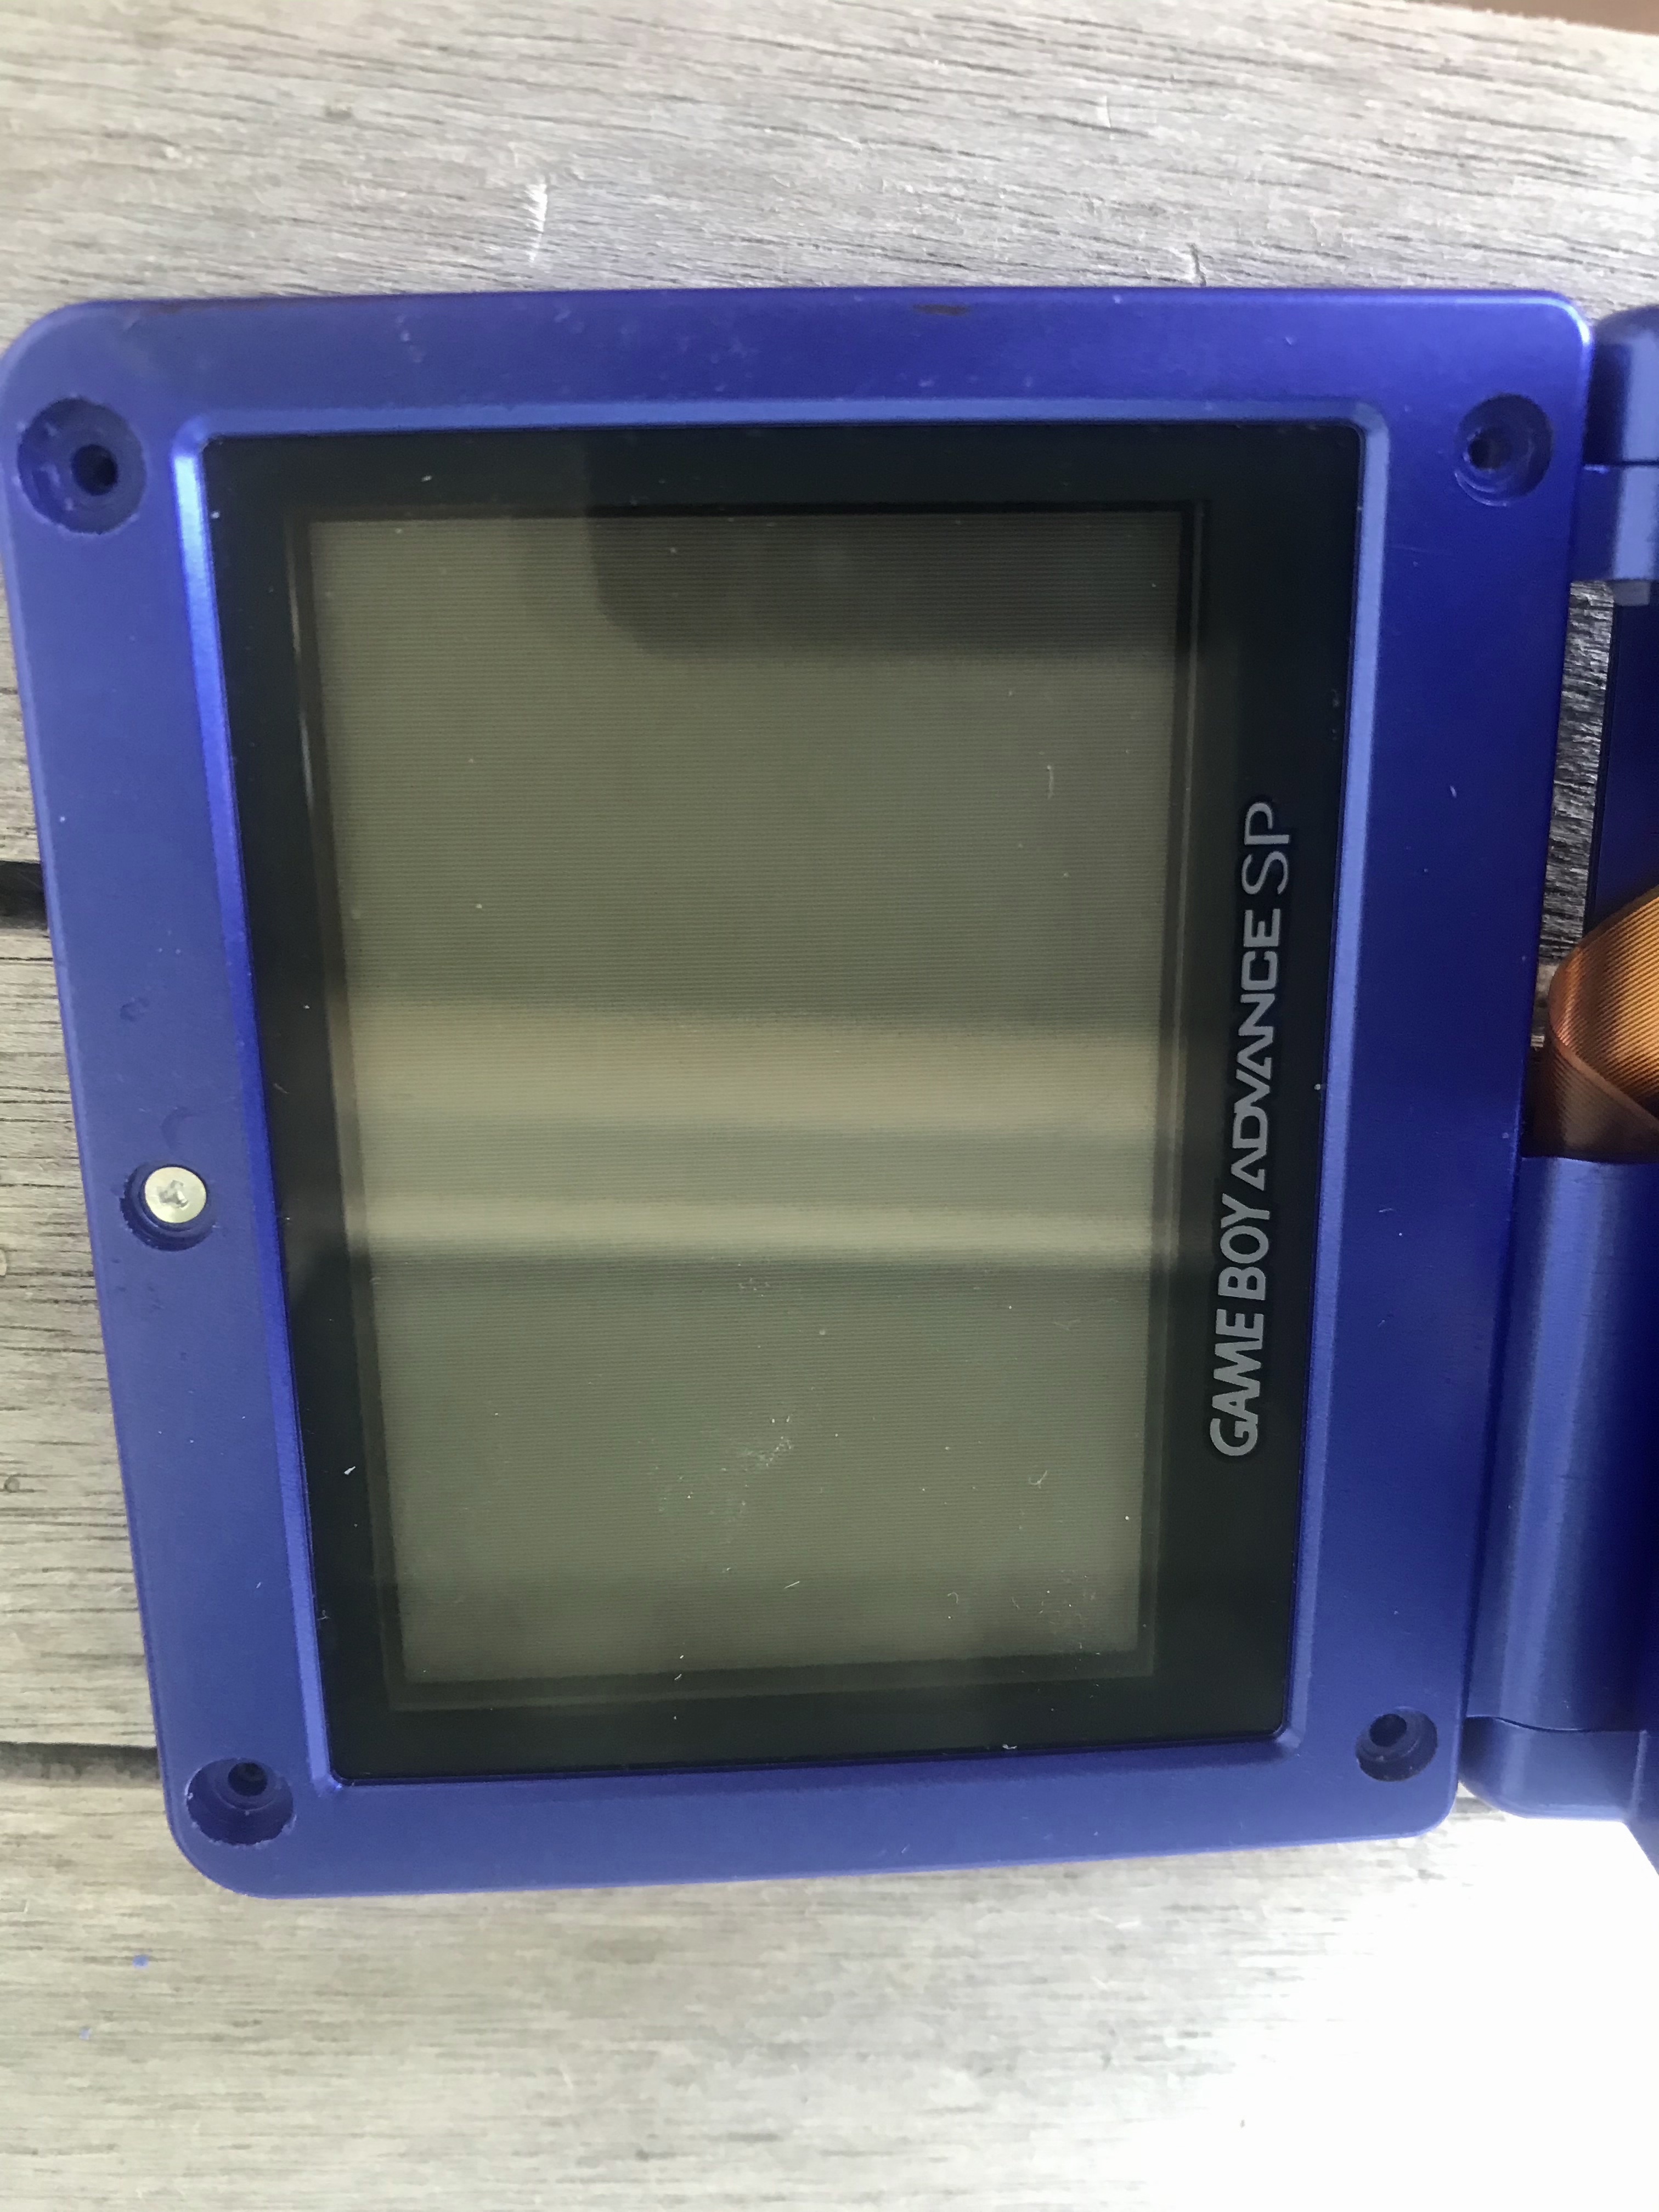
In this post, I will briefly show how to replace the battery in the GBA SP, and focus on how to replace the screen. My unit had a problem with the screen shutting off in certain angles, and I found out that the screen flat cable was damaged was the source of the problem. To follow this guide, you need a special “Triwing” screwdriver, in combination with a regular Philips screwdriver. this guide is also useful to replace worn button rubber pads.
Step 1: Disassemble the GBA SP (and battery replacement)
The GBA SP is rather straight forward to disassembly. In the first image below you can see five triwing screns: one in each corner, and a silver screw near the cartridge slot. Remove this if your aim is to disassembly the unit. If you are going for a battery replacement only, remove the black Philips screw holding the battery latch in place, remove the battery, and replace it.


Step 2: Separate the main board and screen
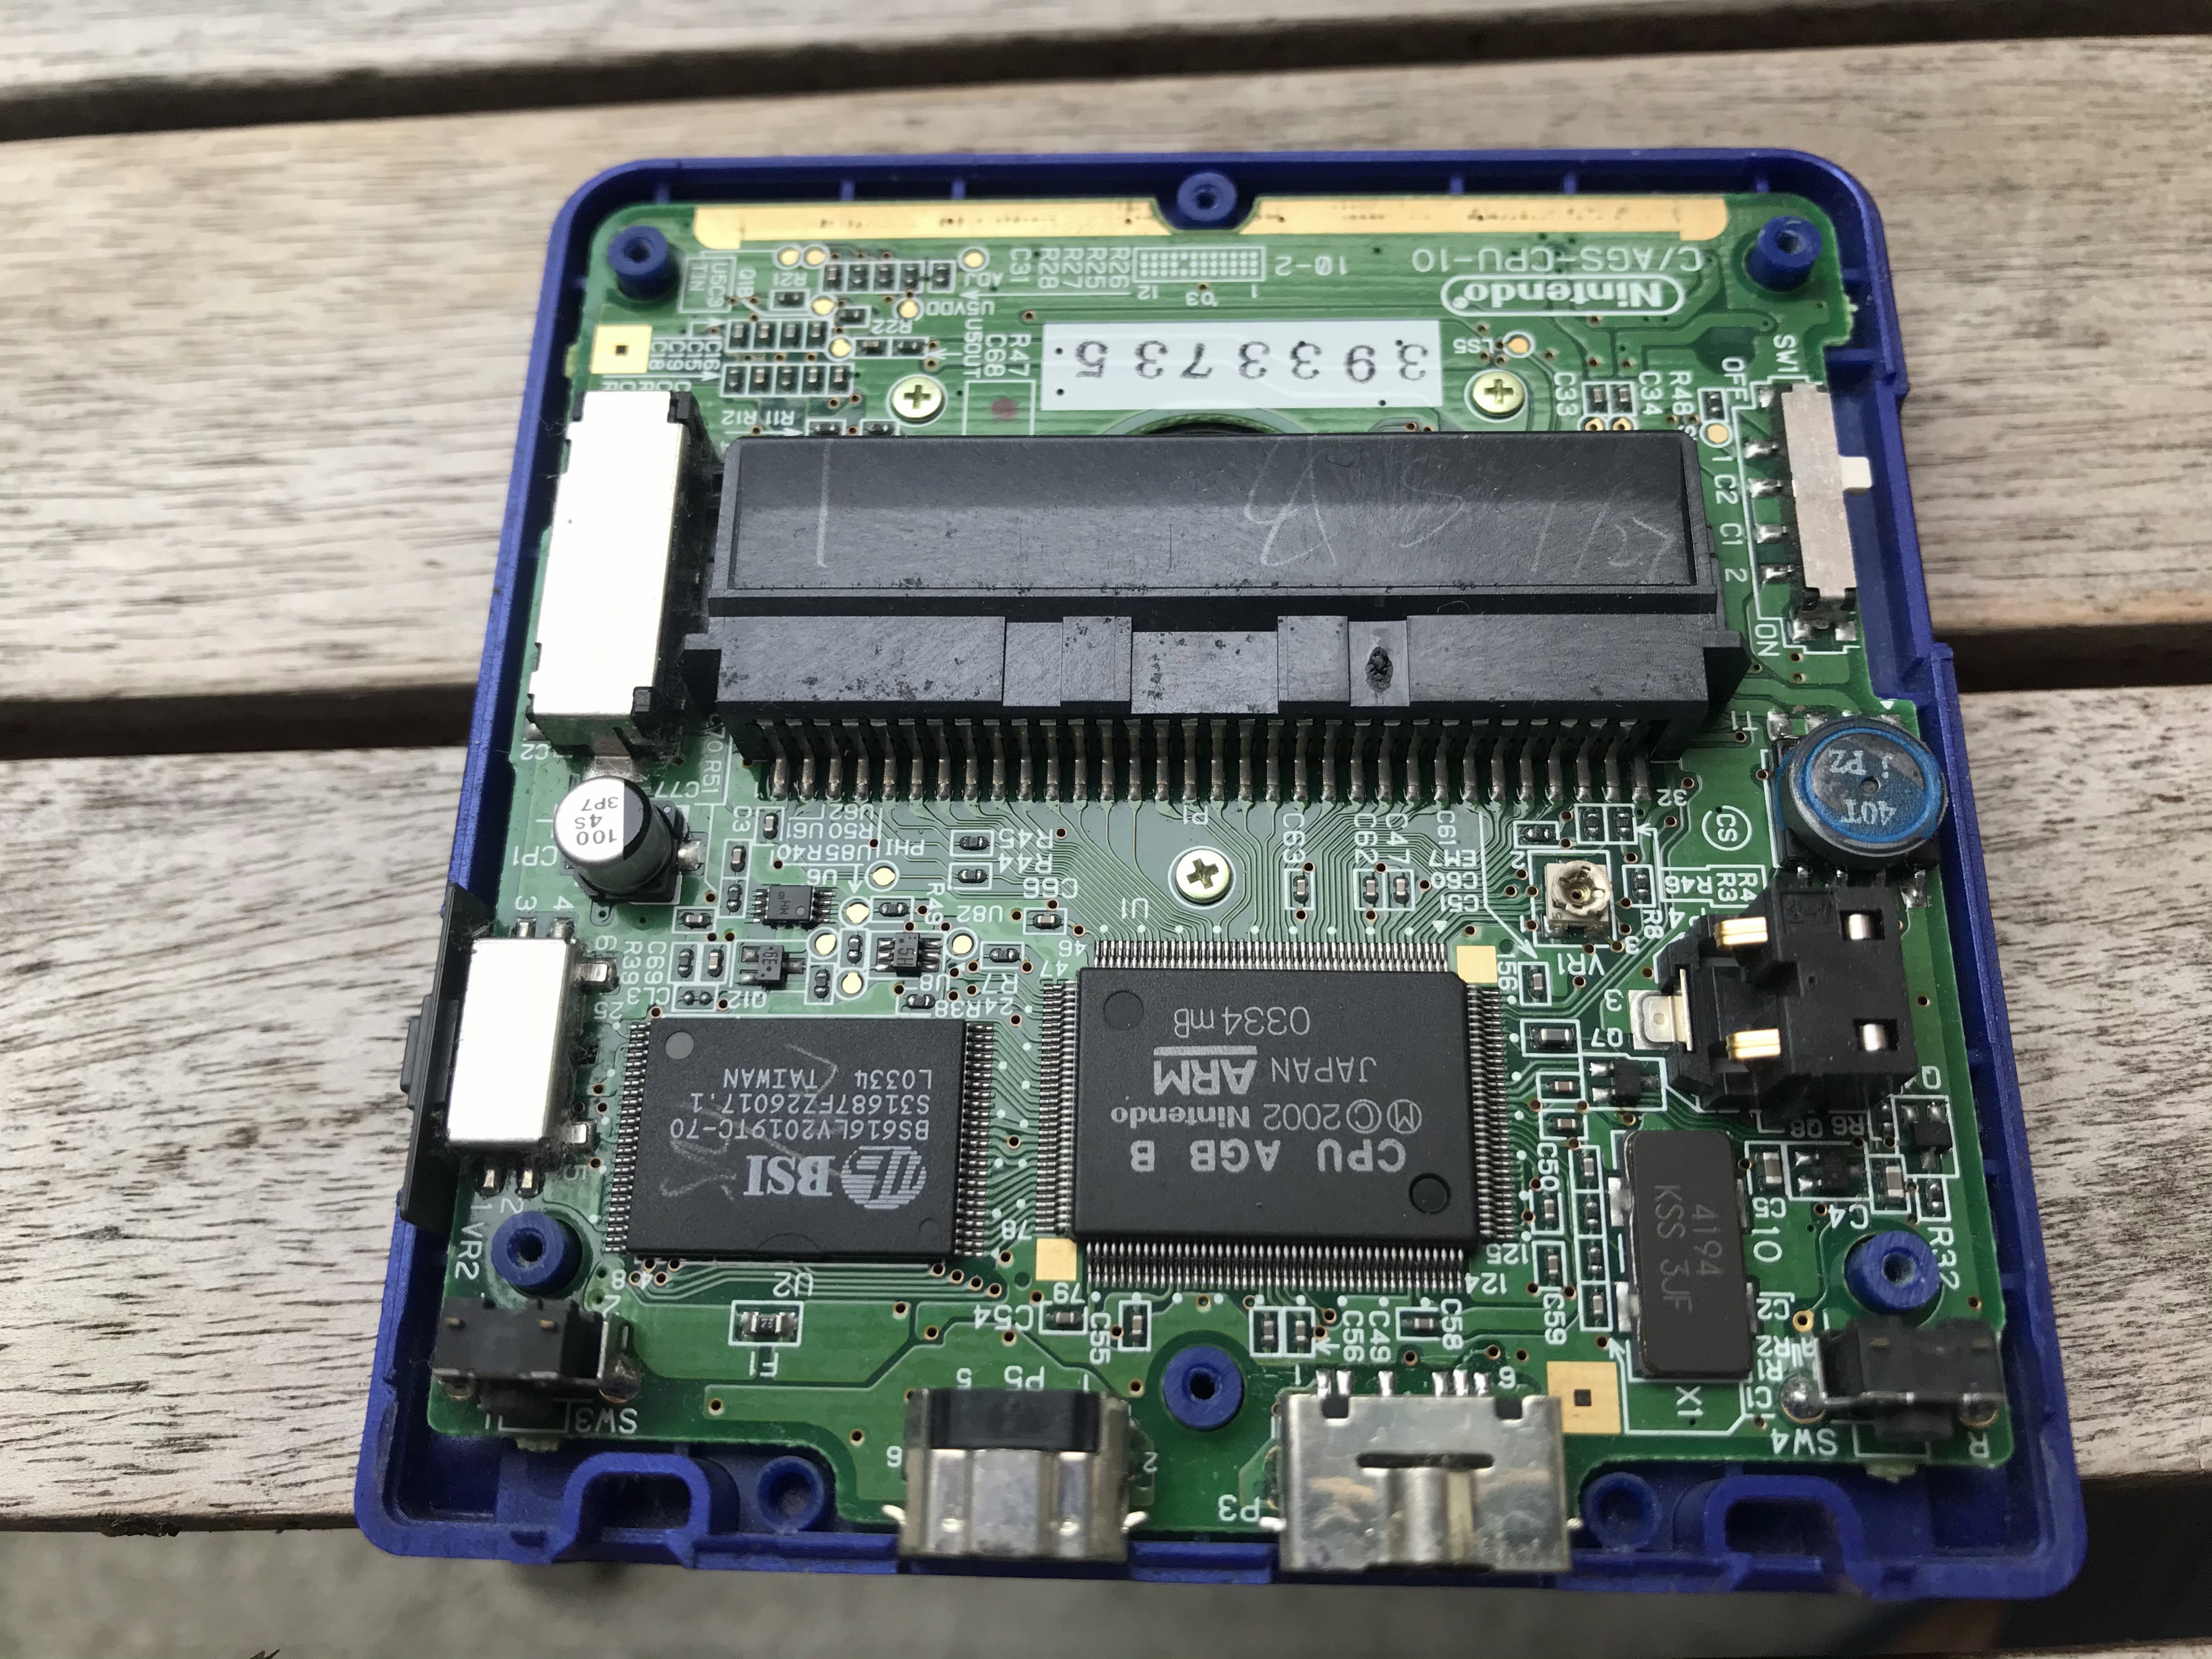
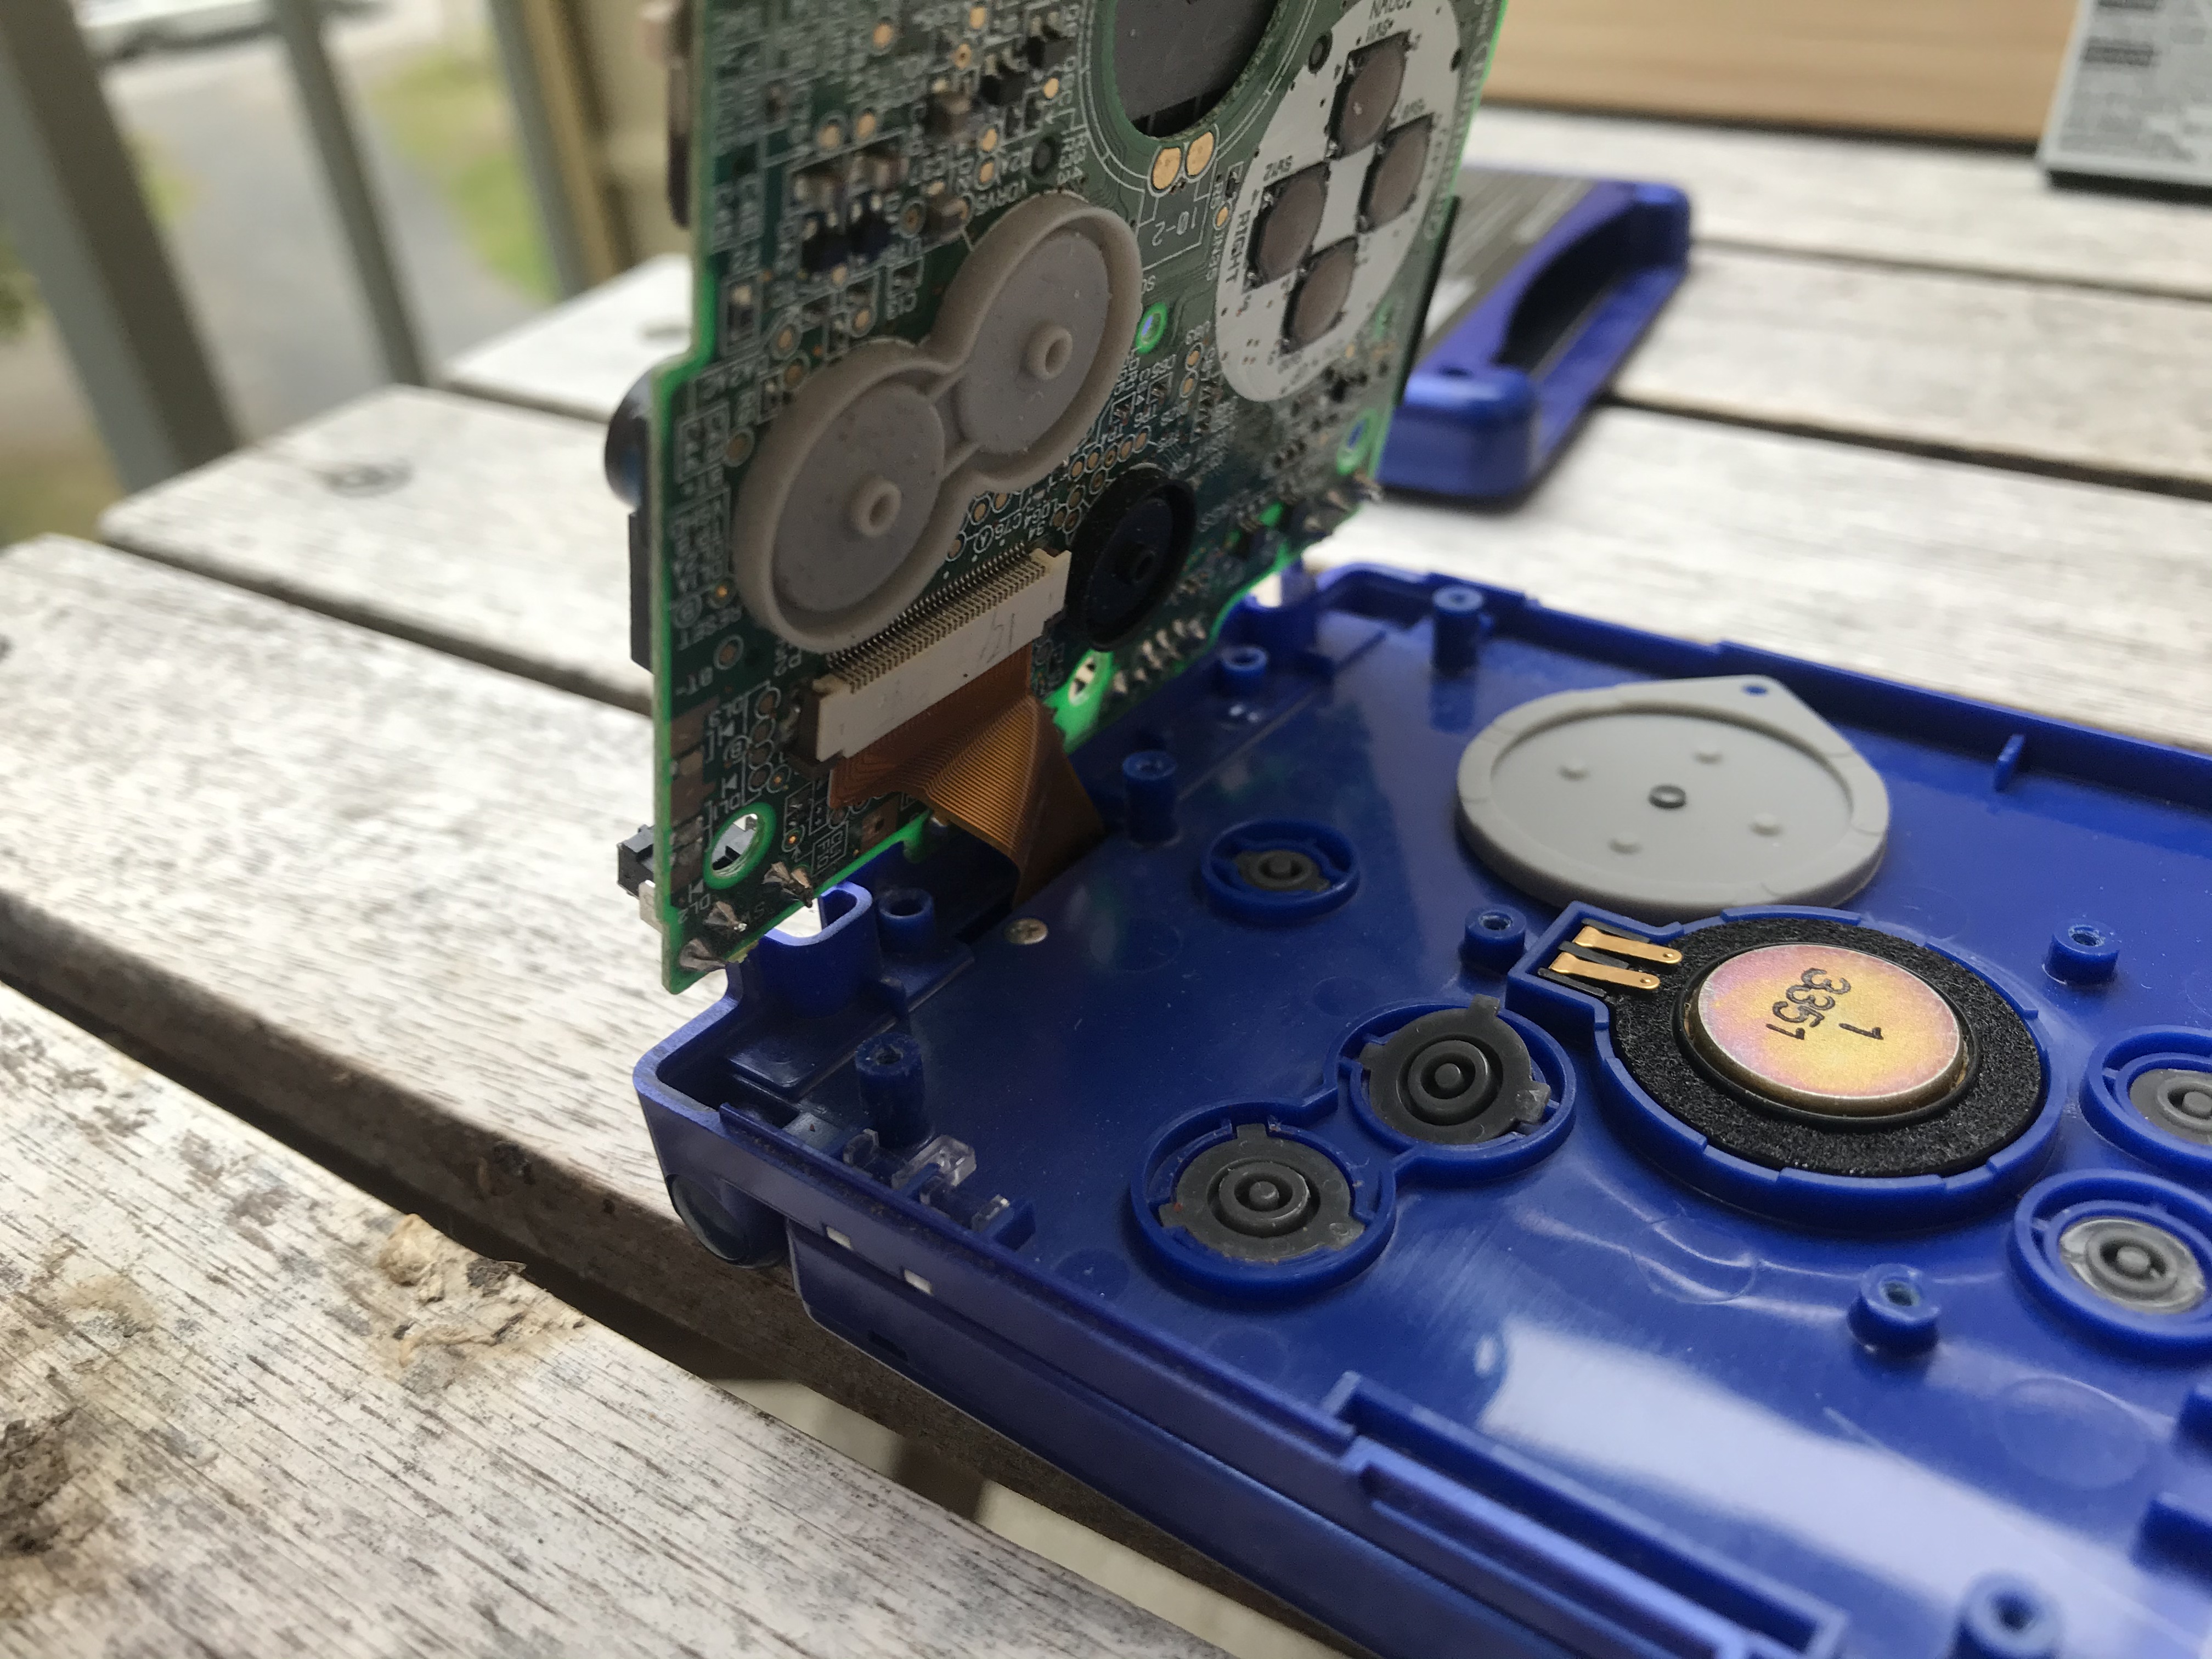
Let’s continue to disassemble the unit. Remove the three silver Philips screw attaching the main board to the shell (see image below). Gently lift the main board up to expose the screen cable. Lift the hinge carefully, and pull out the cable. You can now separate the main board from the rest of the unit. As seen in the second image below, you can access the buttons under the main board, and replace the rubber pads if needed. This is also a good time to give your Gameboy Advance SP a good clean: use alcohol on the PCB:s and soap and water on buttons, plastic, rubber pads etc.
Step 3: Disassemble the screen
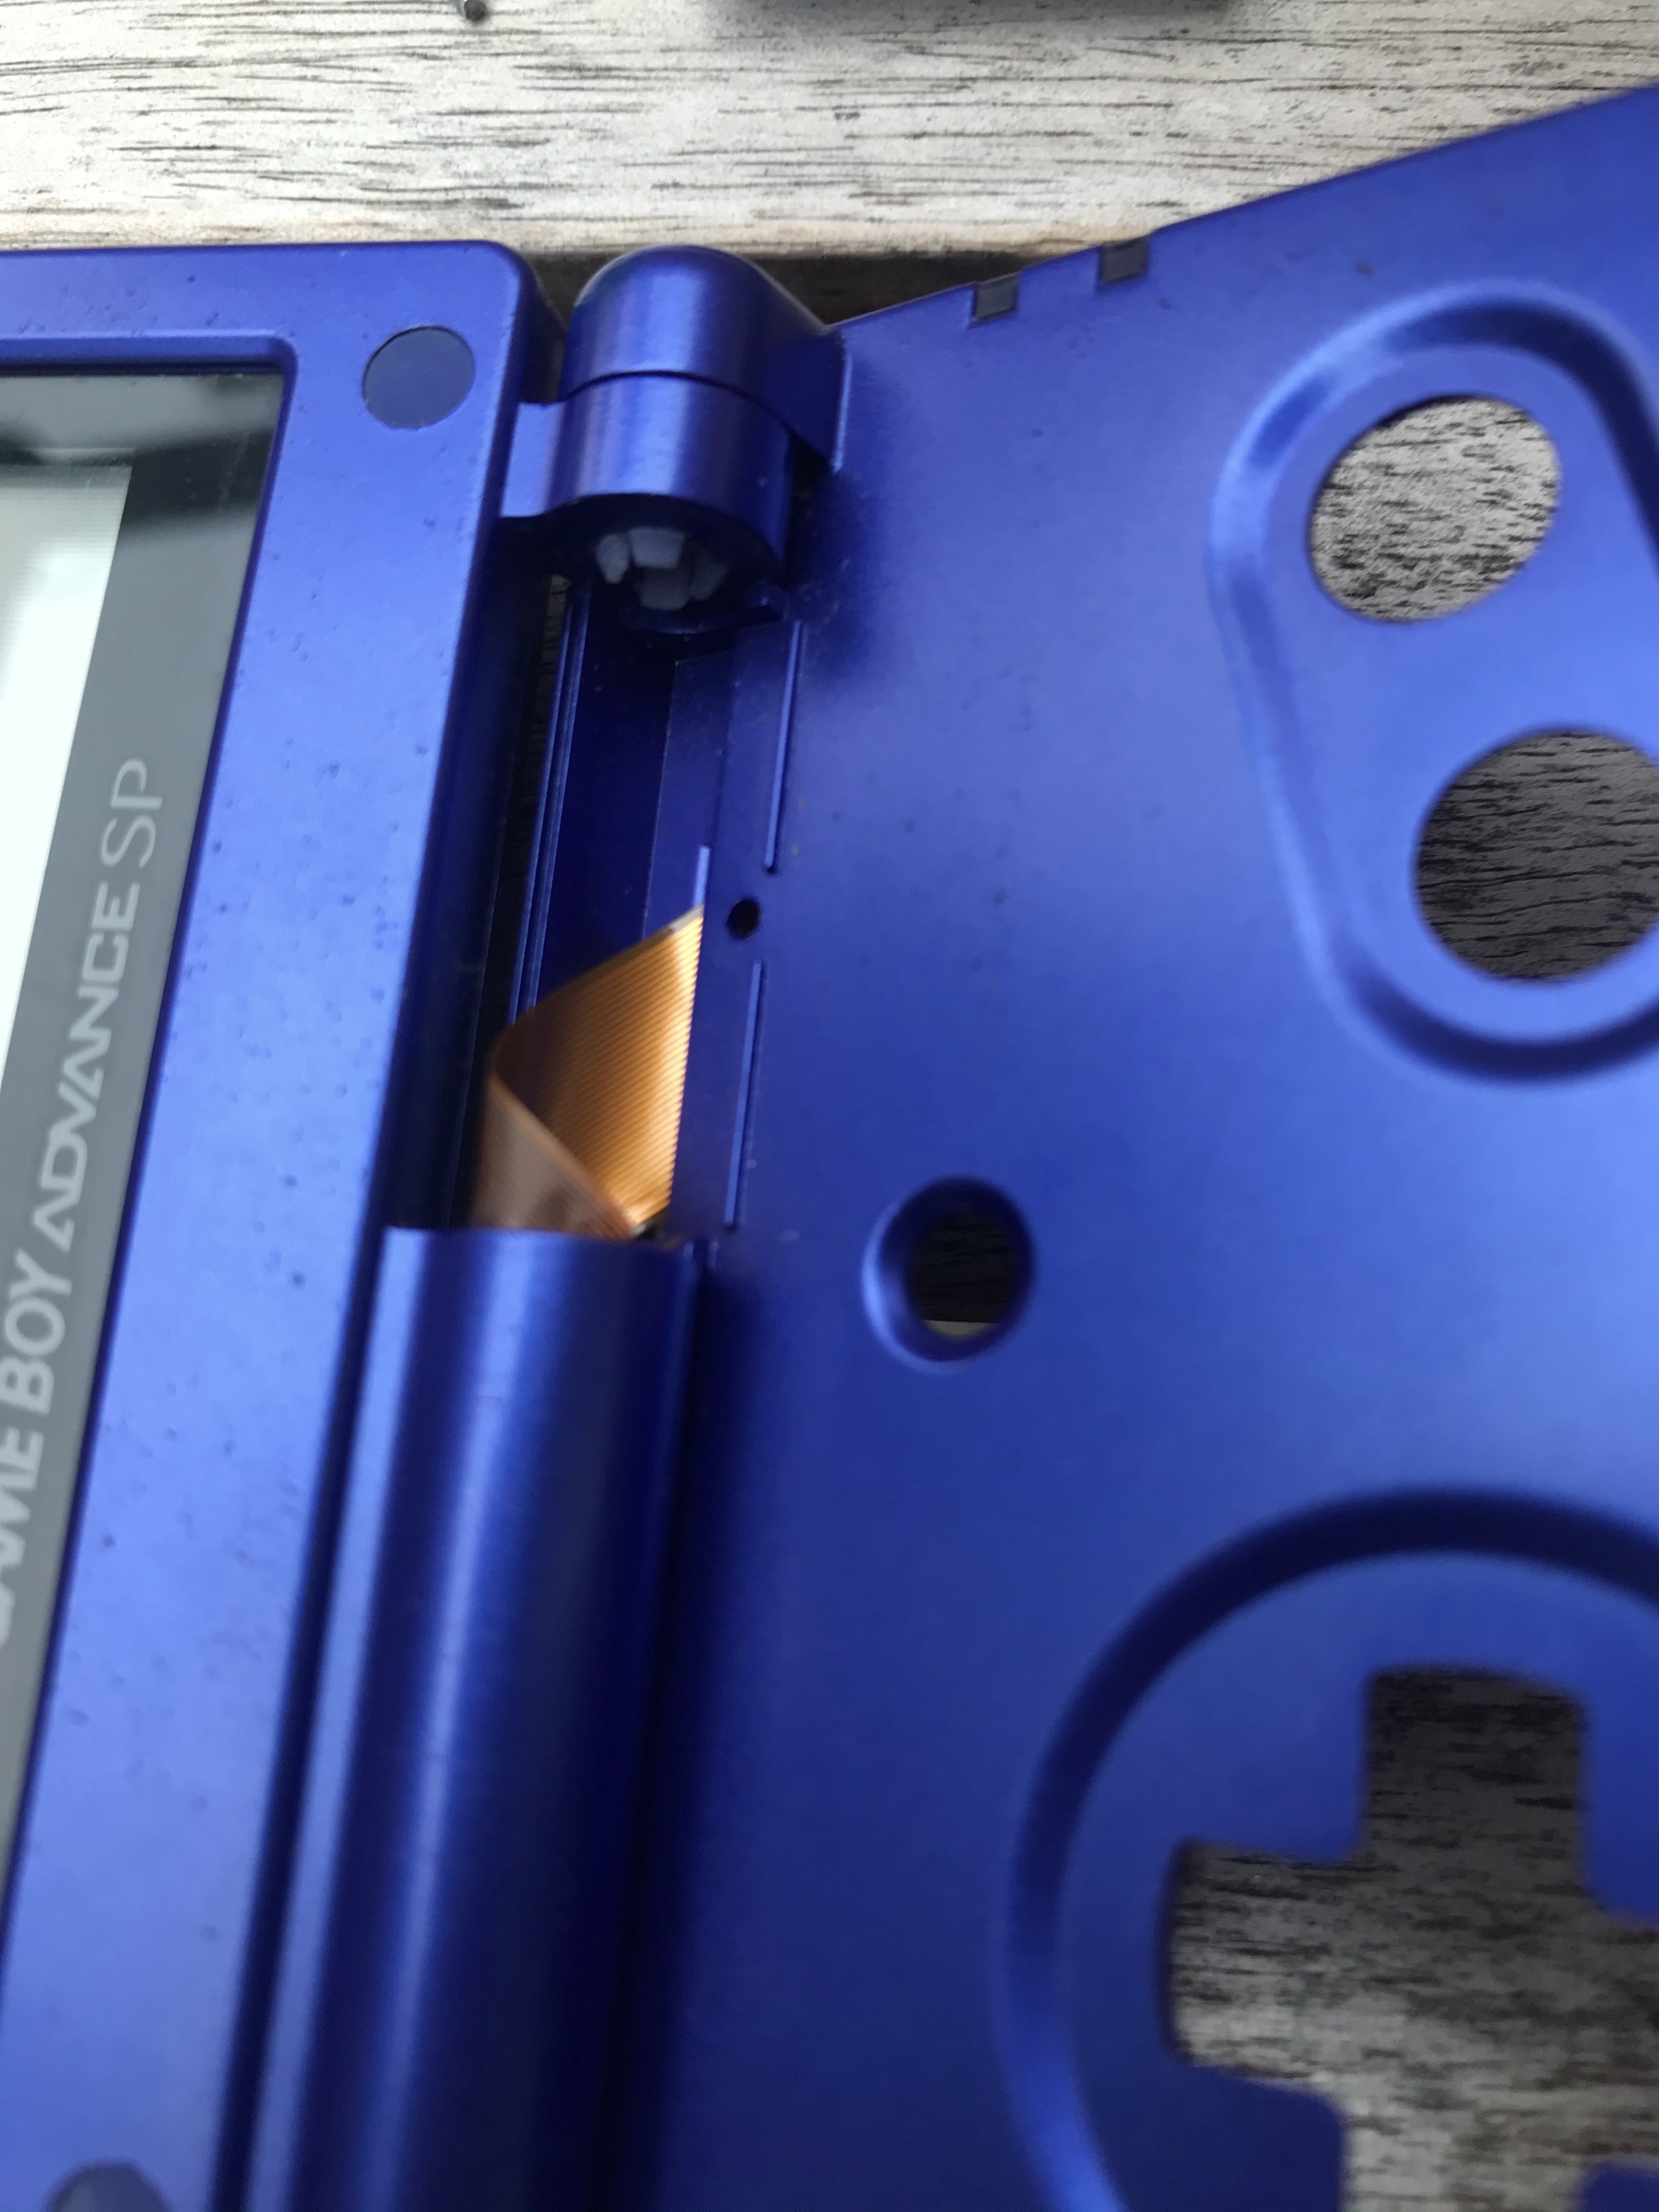
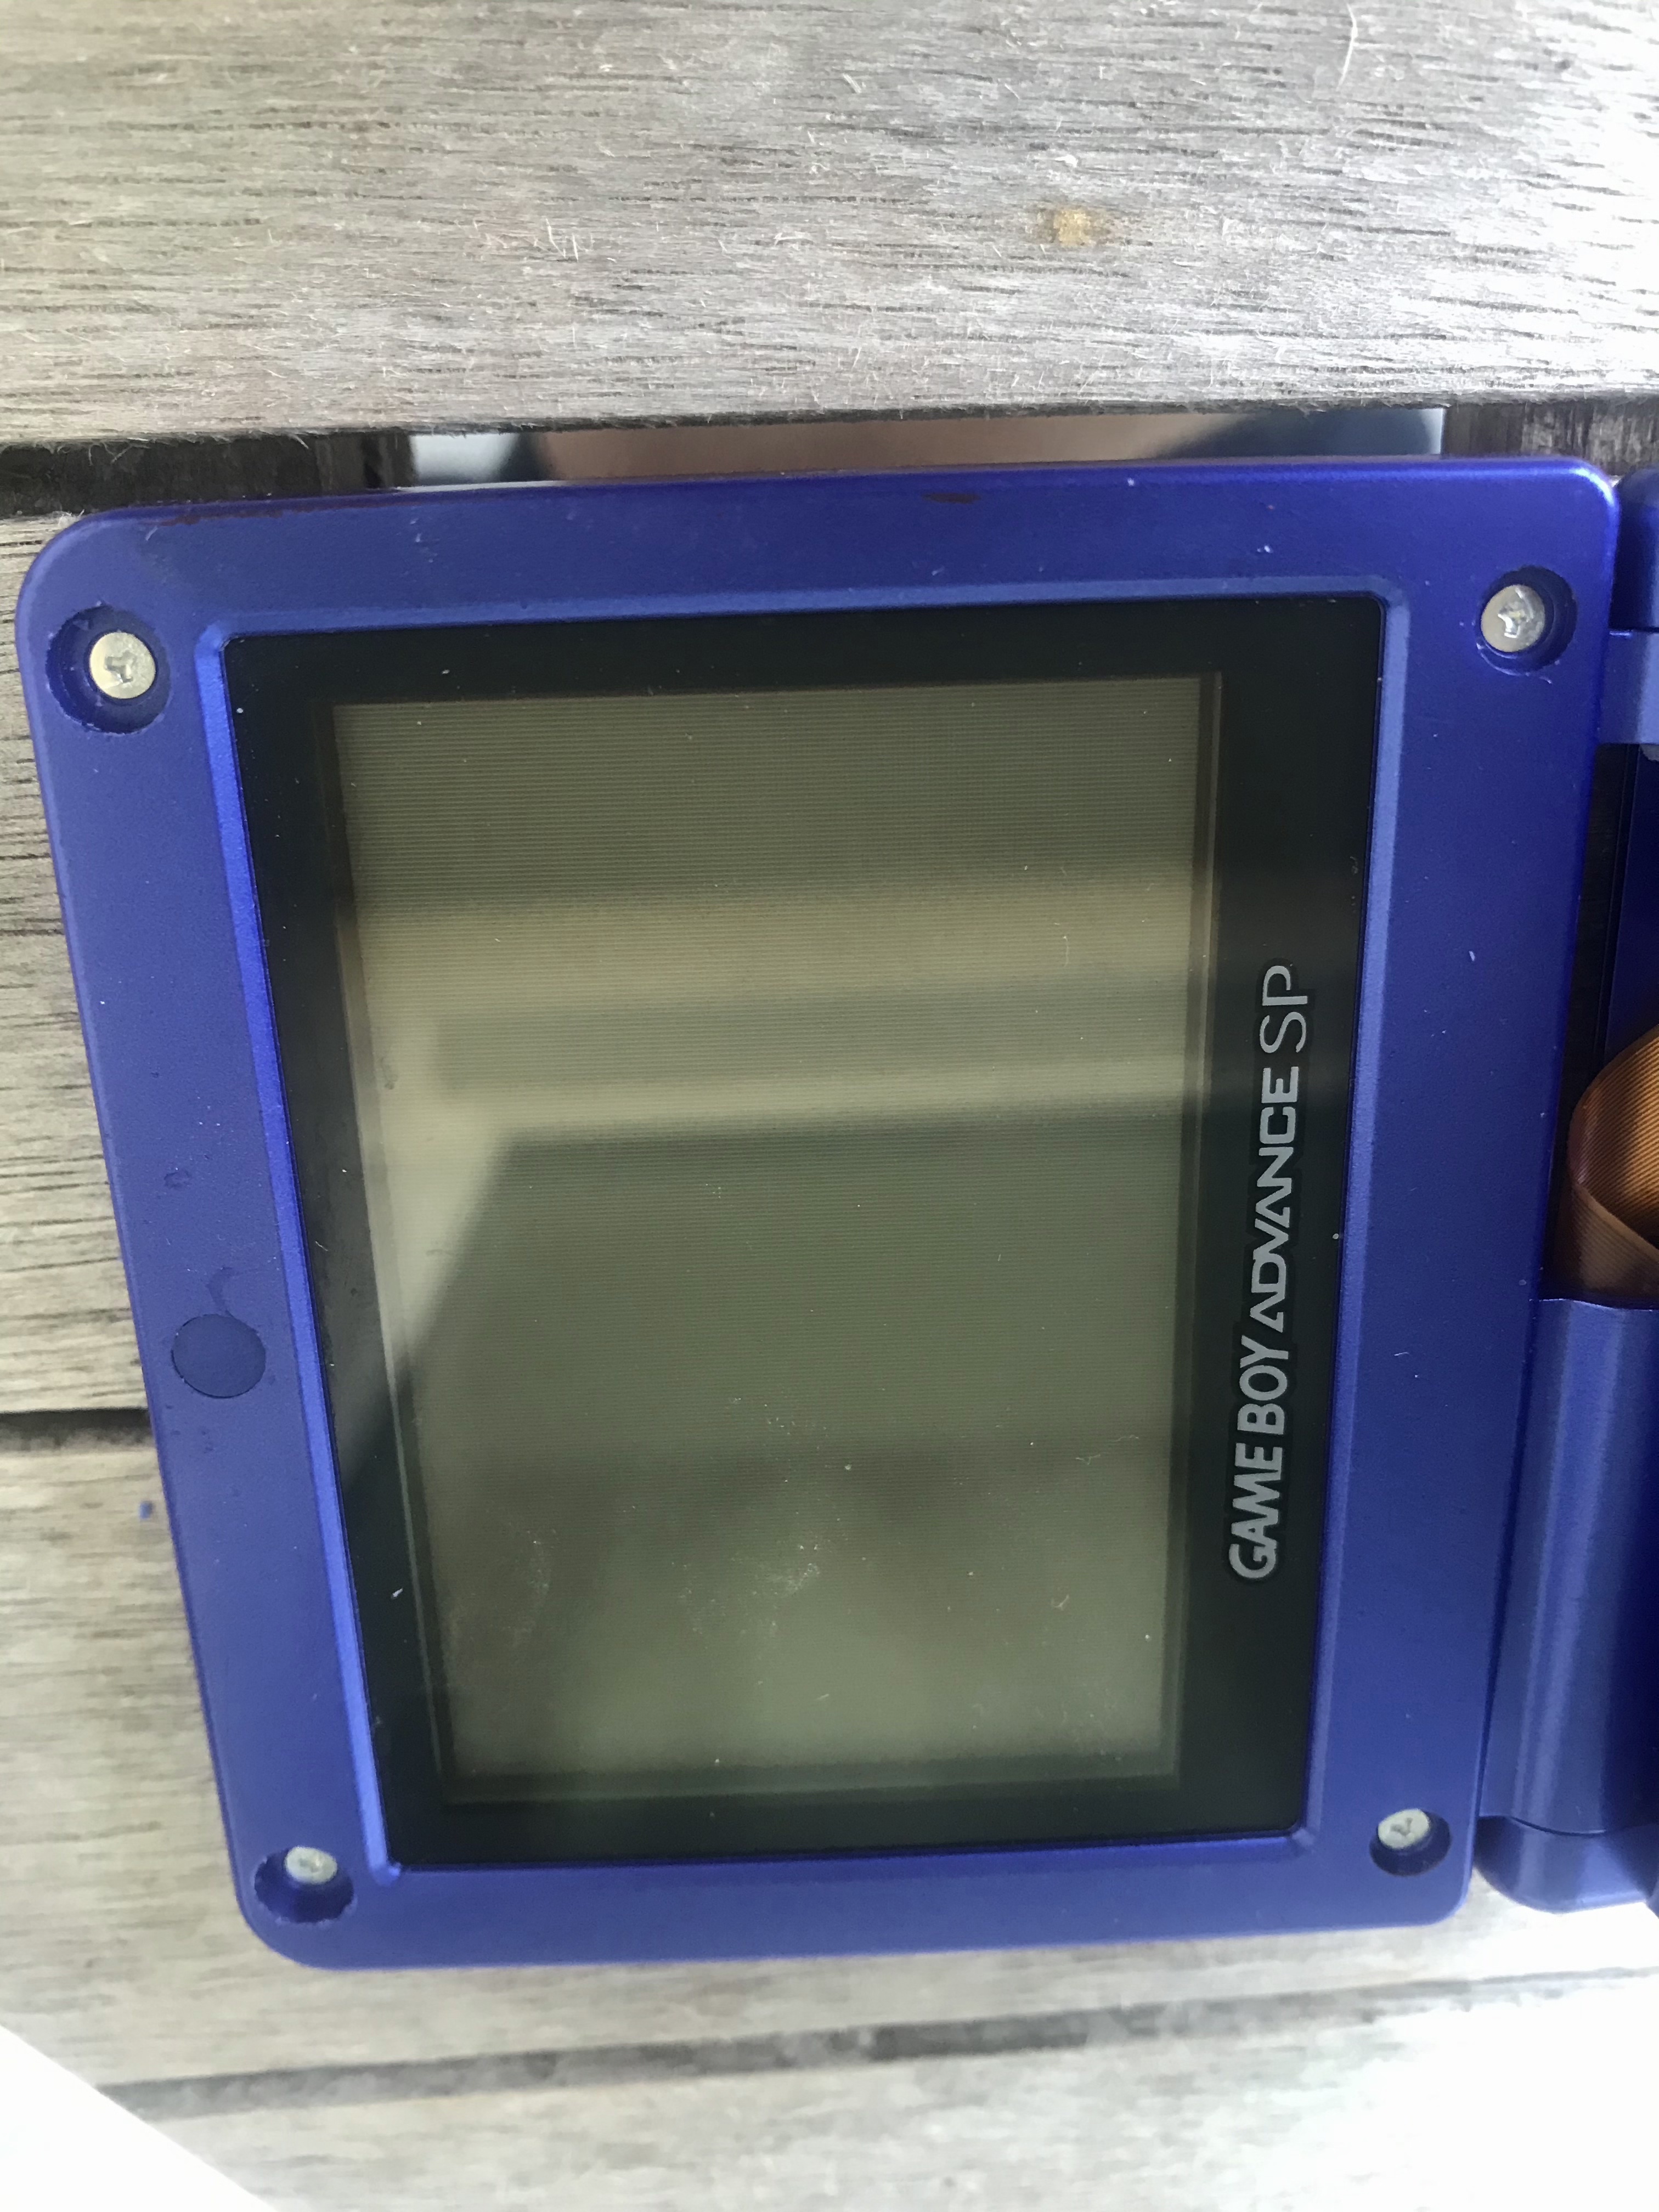
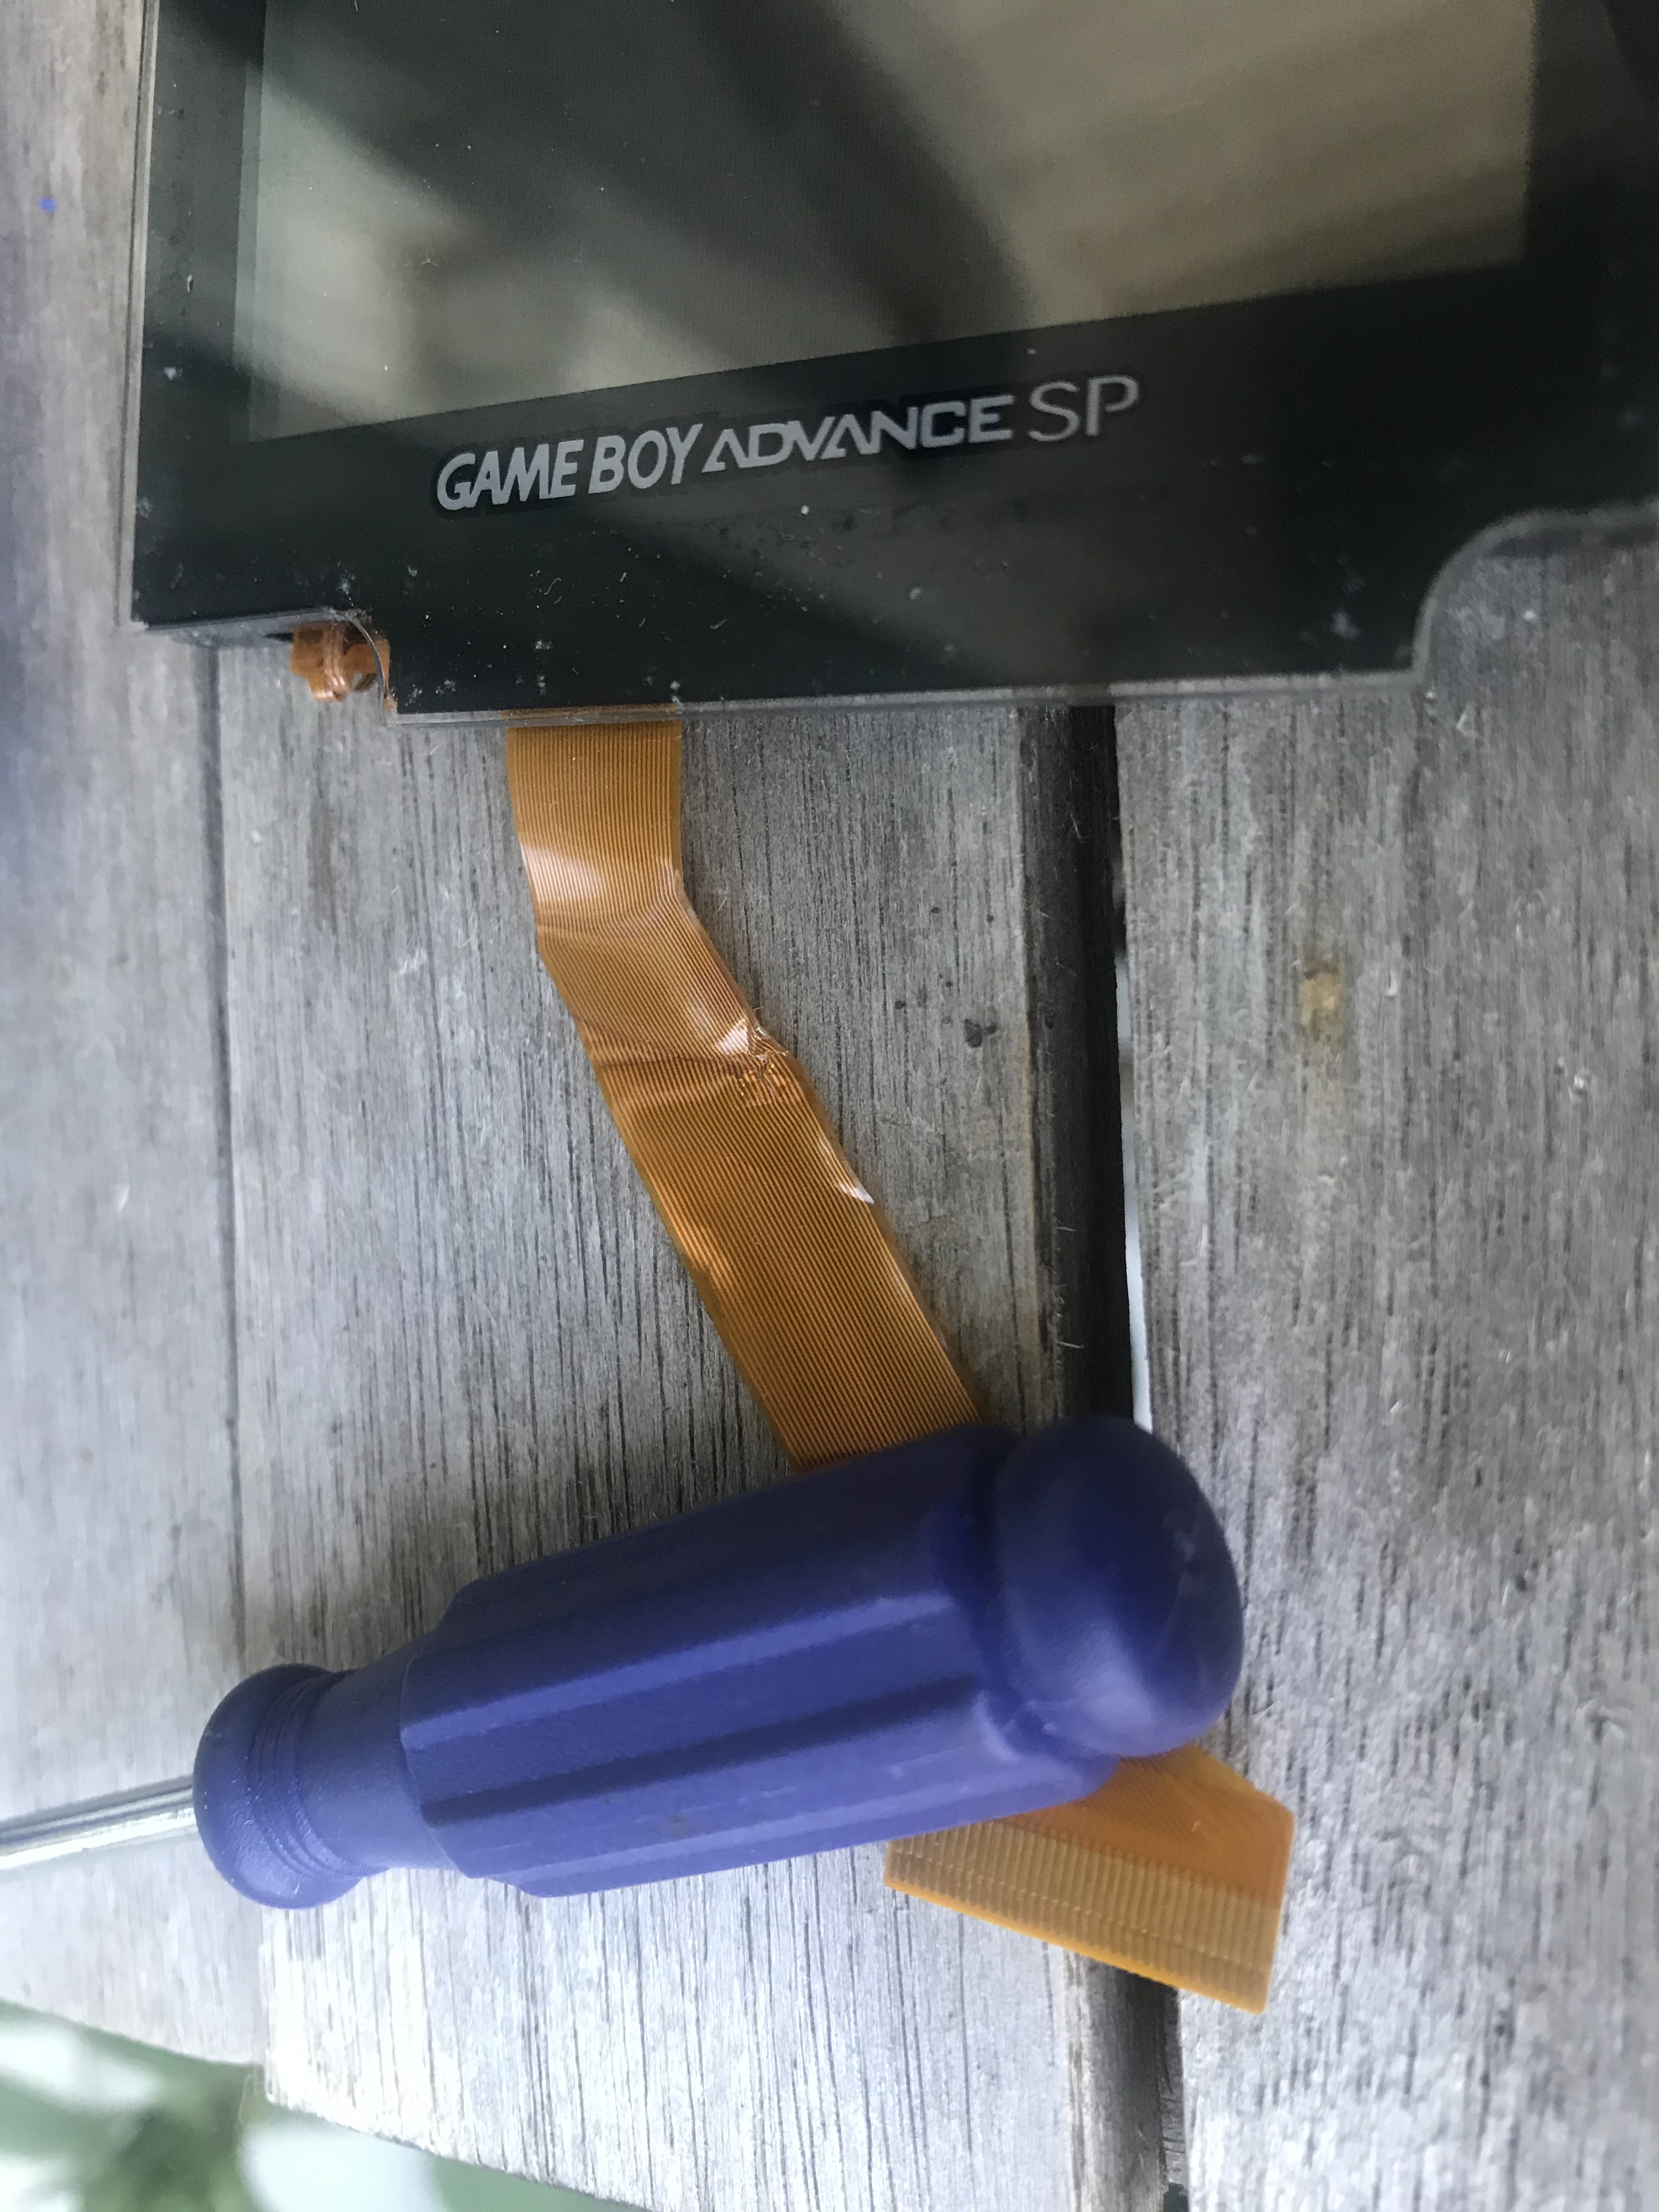
Under the flat cable that goes into the screen, you’ll notice a silver screw that holds a part of the hinge in place. Remove that screw. Now, proceed with removing the four black rubber pads (and one blue) hiding the triwing screws in the screen casing. Remove those screws. Now you can disassemble the casing and reveal the screen. As seen below, my screen cable was damaged, causing it to wear whenever the screen was angled. The design is a bit weird, being “rolled” inside the hinge of the GBA SP. This has to be considered when replacing the screen as well.

Step 4: Replace the screen
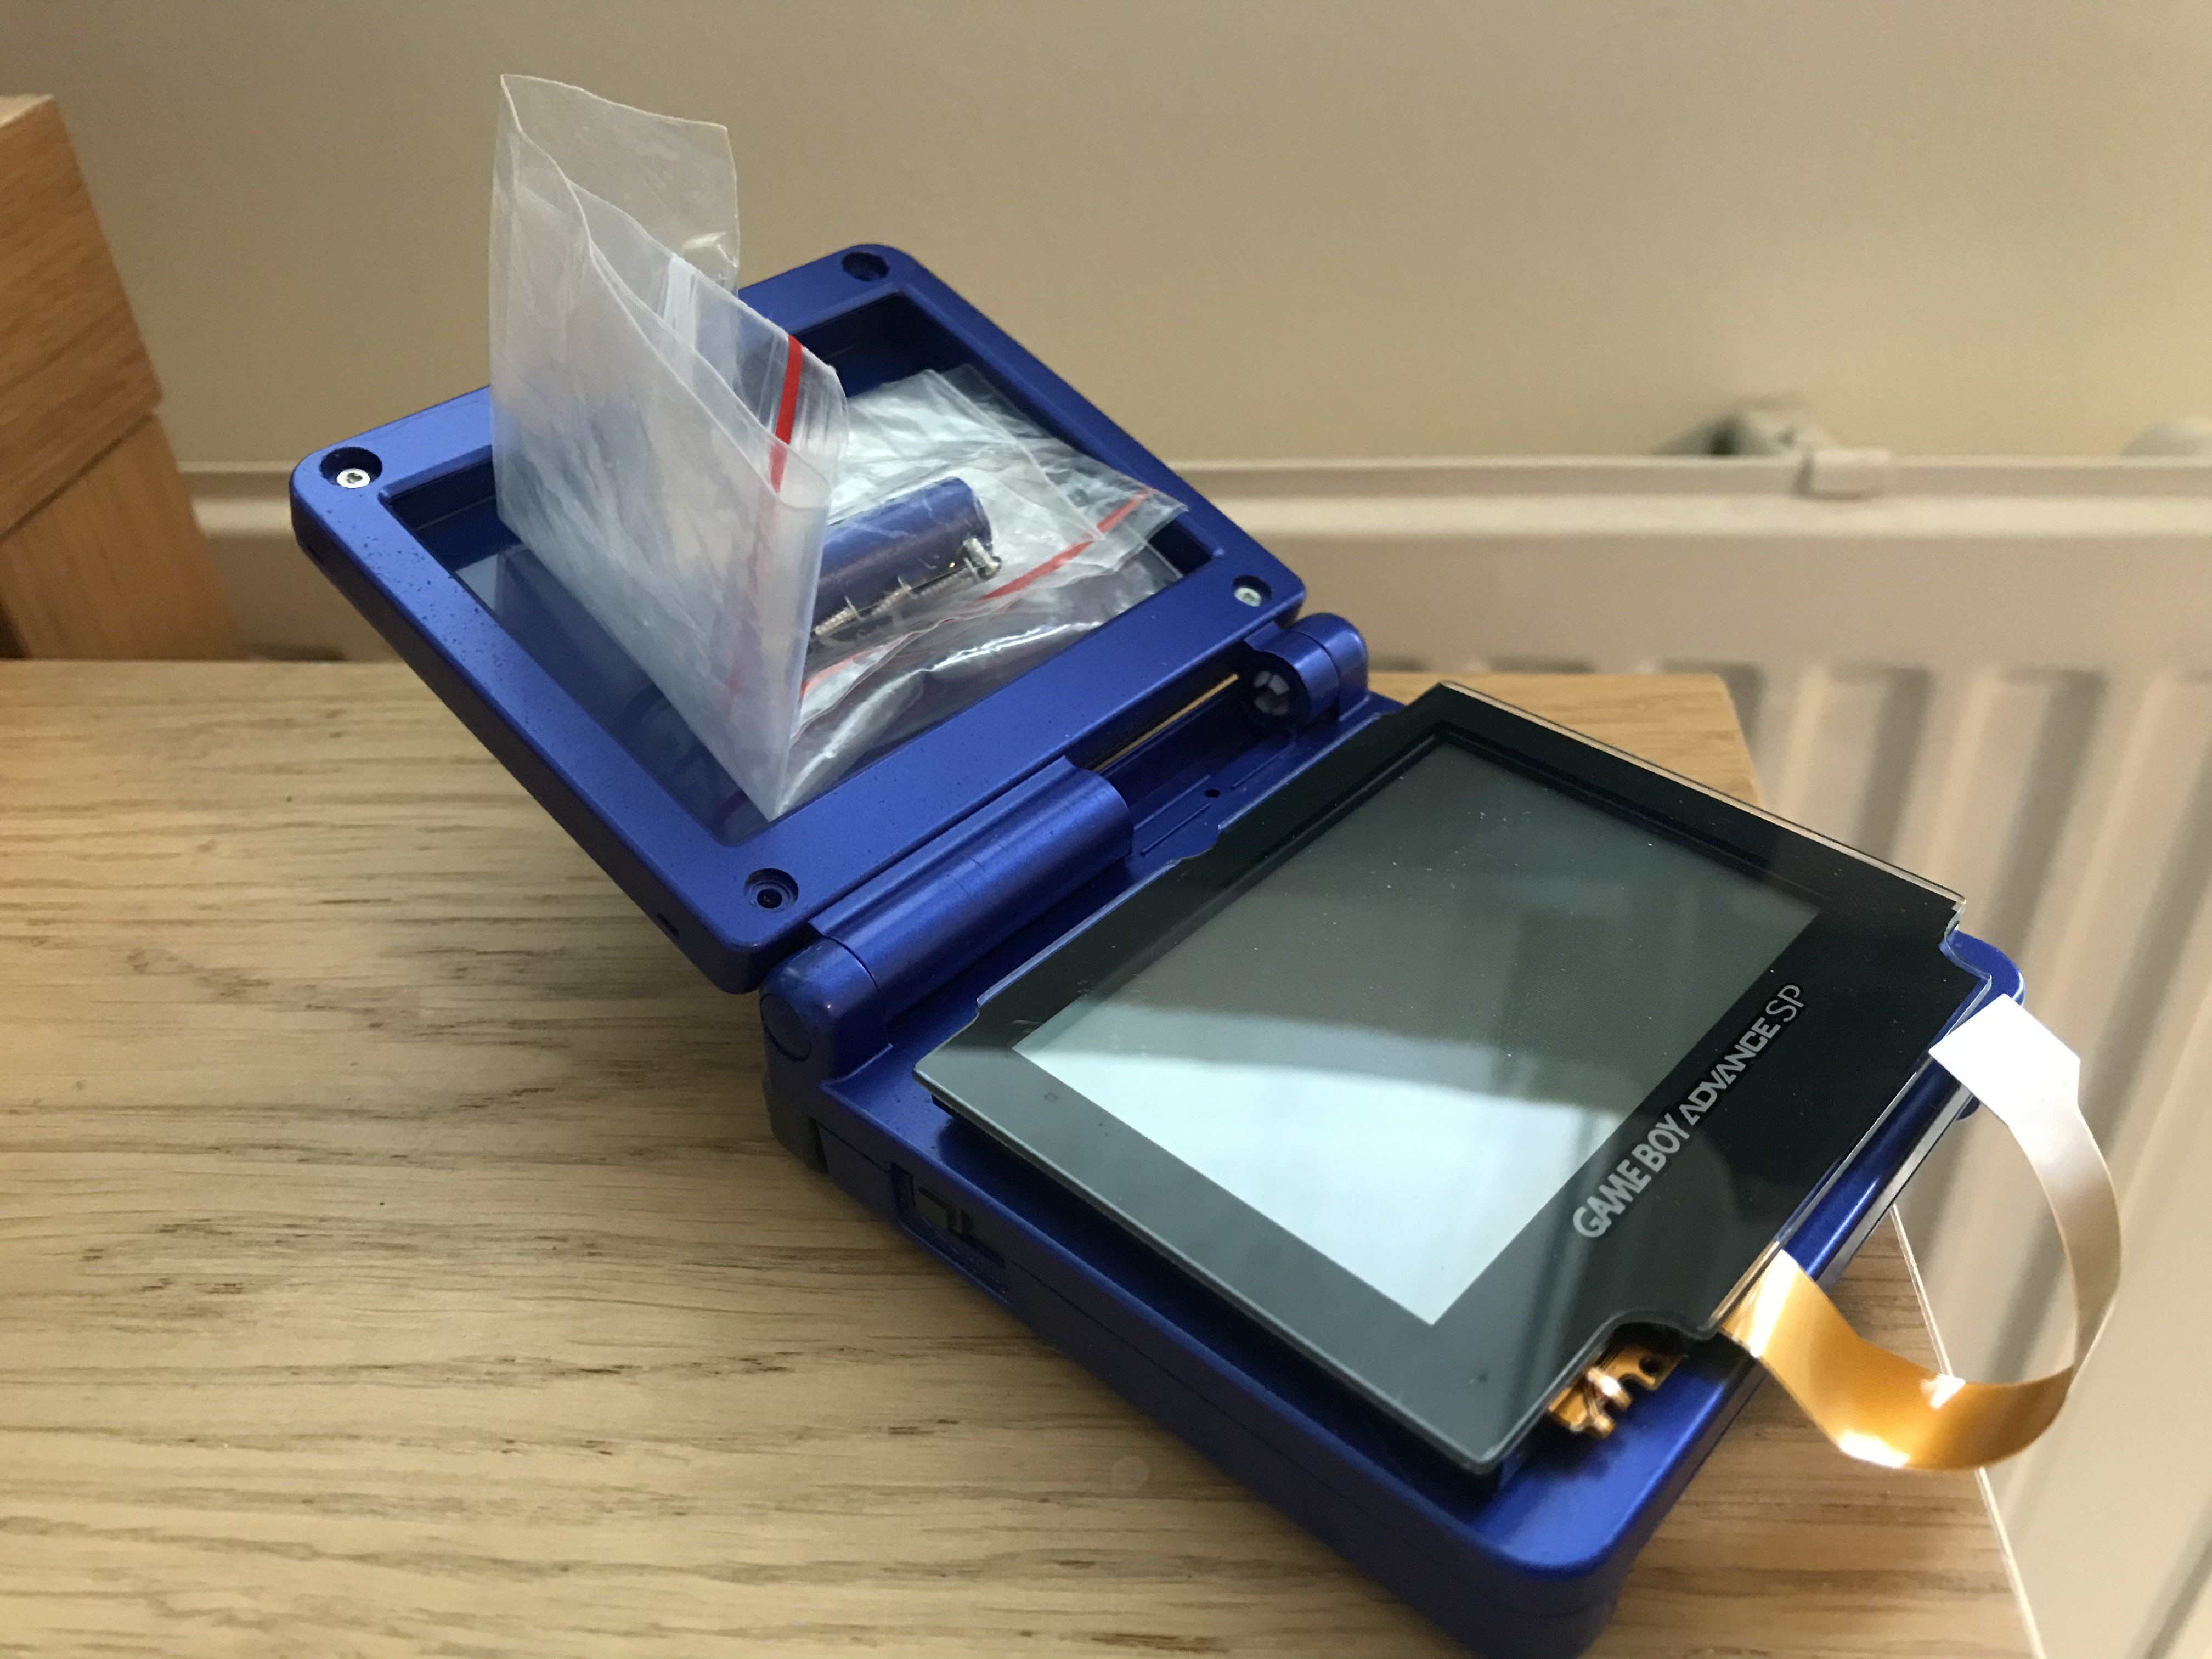
I finally found a new screen on Swedish eBay. I paid $15 for it, which I think is a fair price. The procedure to add the new screen is a bit difficult to capture in images, but I will try to describe it as accurate as possible below.
Add the new screen in the casing. The tricky part is to get the flat cable through the tiny hole in the casing, and attach it to the main board, without parts falling everywhere. I would not call it difficult, but rather “fiddly”. Make sure not to damage the flat cable while doing this! The cable needs to be “rolled” once inside the hinge of the GBA SP.
- Hold the new screen in the casing, and;
- Gently lift the main board while attaching the cable to the connector, and close the little hinge to secure it to the mainboard.
- Finally, make sure all buttons etc are in place and aligned, and;
- Screw together the screen housing, and attach the main board to the bottom of the housing.
- Reverse the first steps in this guide to finish the assembly of the unit.
There we go! This procedure should keep your GBA SP going for years to come! I did not replace the pads that covered the screws on the screen housing, but I think this could easily be done with some liquid rubber or similar solution. These are also available for sale on eBay.