The Nintendo Gameboy was released in 1989 and became a huge success. The unit can be described as a handheld version of the popular 8-bit Nintendo Entertainment System (NES), or Famicom (Family Computer). The Gameboy is characterized by using the same type of controls as the NES, powered by four AAA-batteries, a monochrome (greenish) screen, and a simple, but robust design. During the 1990s several variants of the Gameboy were released: Play It Loud (1995), Pocket (1996), Light (1998), Color (1998). The successor, Gameboy Advance, was released in 2001.
Two common faults: Dead unit, black lines on screen
Although the robust hardware, it gets worn with time. In this post we will focus on two common faults that the 1989 Gameboy suffers from today:
- “Dead” unit
- Blank vertical lines on screen
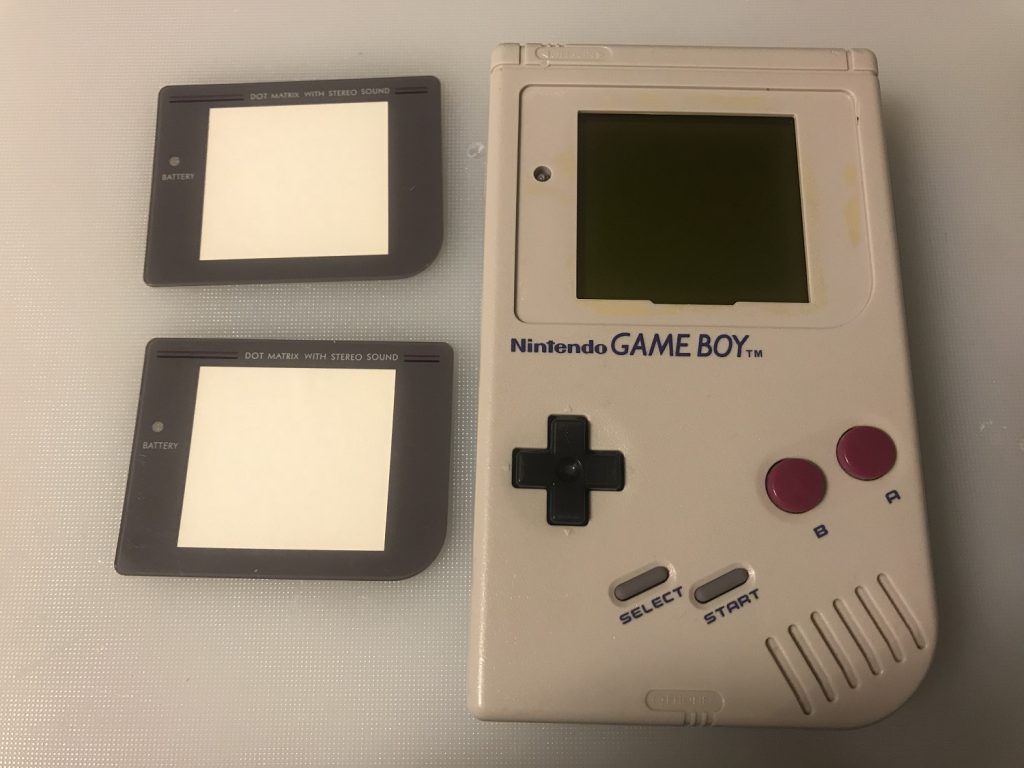
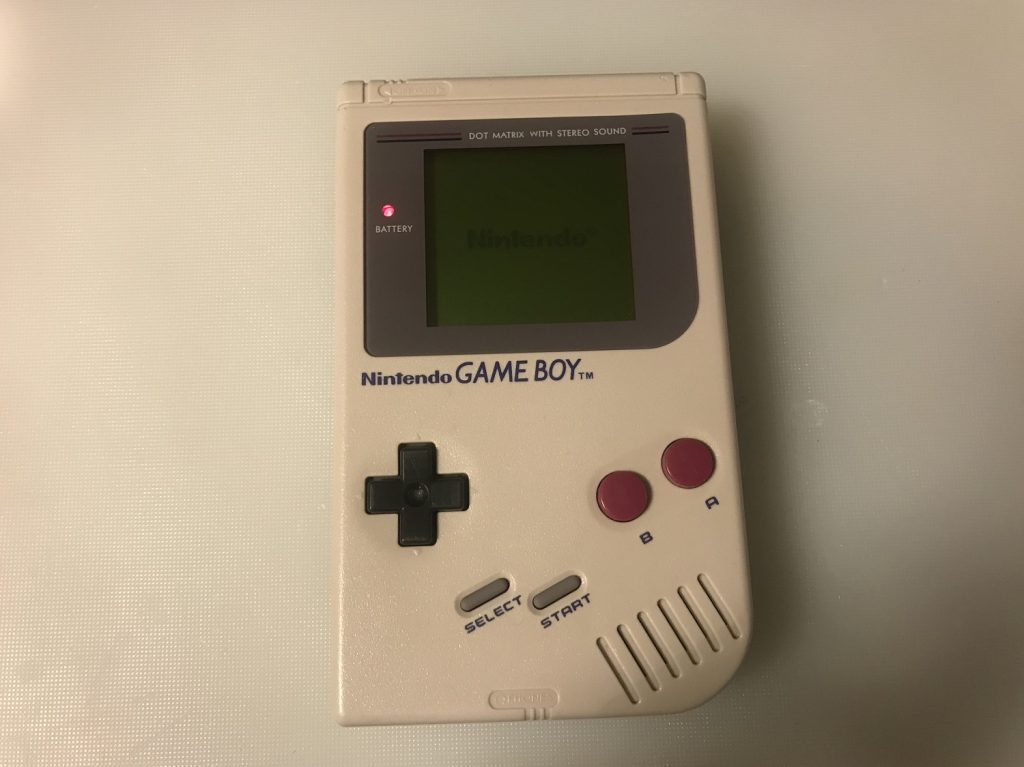
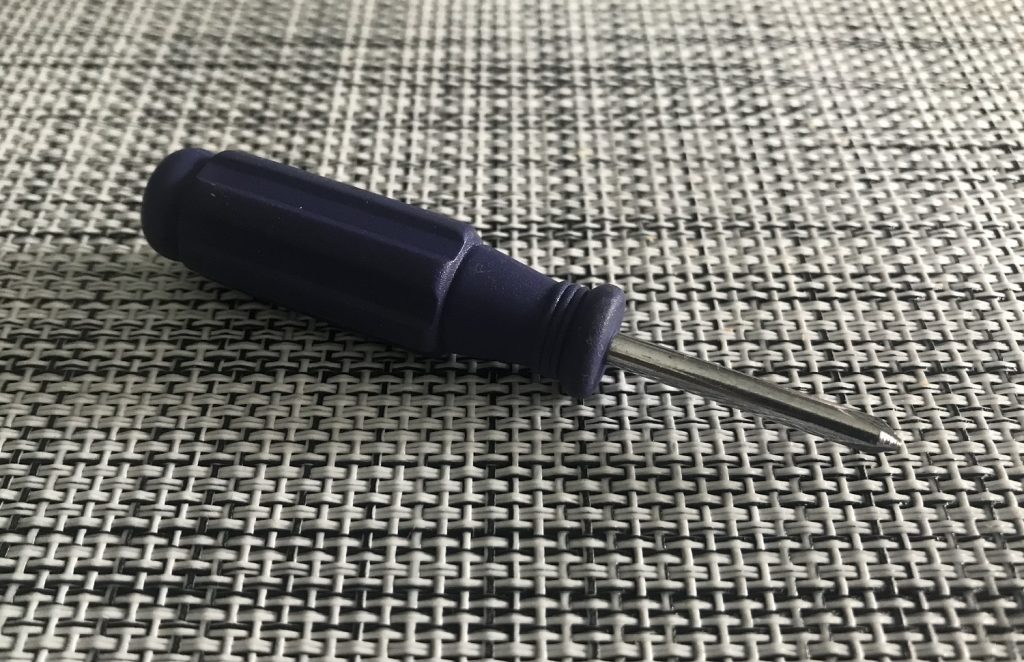
Both these faults can be fixed with relatively simple means. We recently bought a unit that suffered from exactly these symtoms at Swedish eBay, together with a Game and Watch that we refurbished in a prior post. As seen below, the Gameboy was in pretty good cosmetic shape, except for the missing screen cover. No major yellowing or scratches. In this post we will not include a deeper description of how to open your Gameboy, but basically you need a special screwdriver, “tri-wing”, made for Nintendo units. You can buy this on eBay, or AliBaba etc. Remove the battery cover and loosen the screws on the back of the Gameboy and you are in! We gave the unit a good cleaning: The rubber pads and buttons with soap and water, and the electronics with isopropanol alcohol. Sometimes the rubber pads might need fixing with rubber cement, but in our case, these were in really good condition.
Step 1: “Dead” Gameboy fix
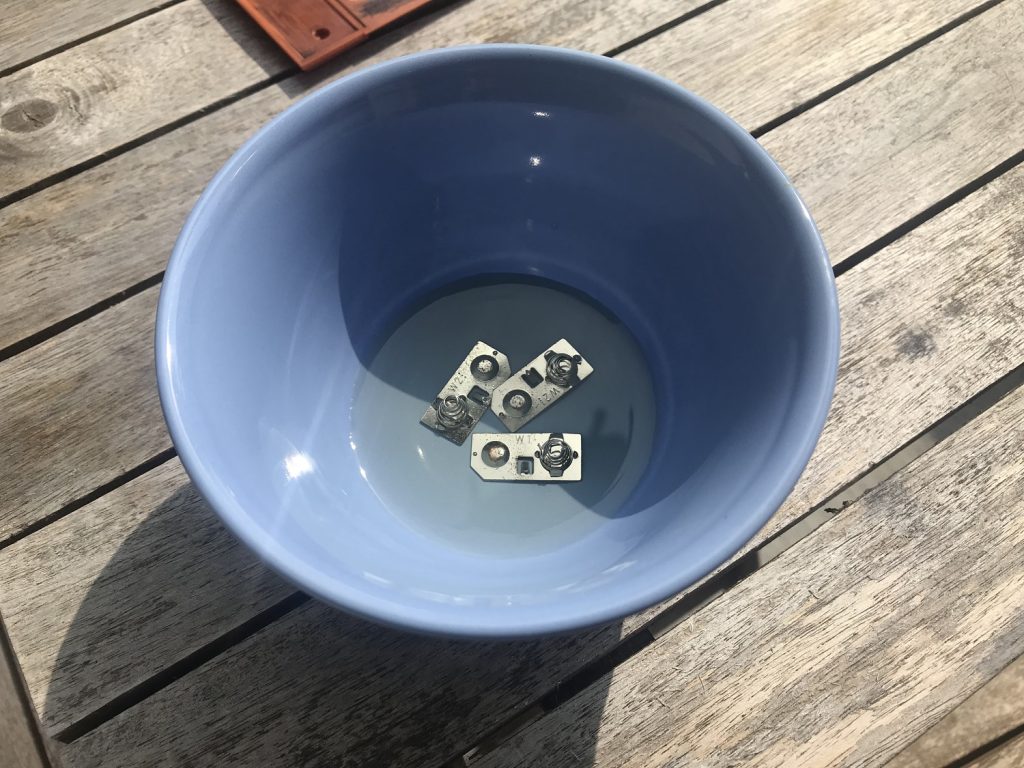
If nothing happens when you try to turn your unit on, in nine out of ten cases, the cause is due to corrosion on the metal plates that are in touch with the batteries. These can be removed for cleaning. Scrub them with some sandpaper, or even better: Put them into some vinegar and the corrosion will be desolved. Then, put the plates back and your Gameboy should now power on!
Step 2: Fix Gameboy with vertical lines on the screen
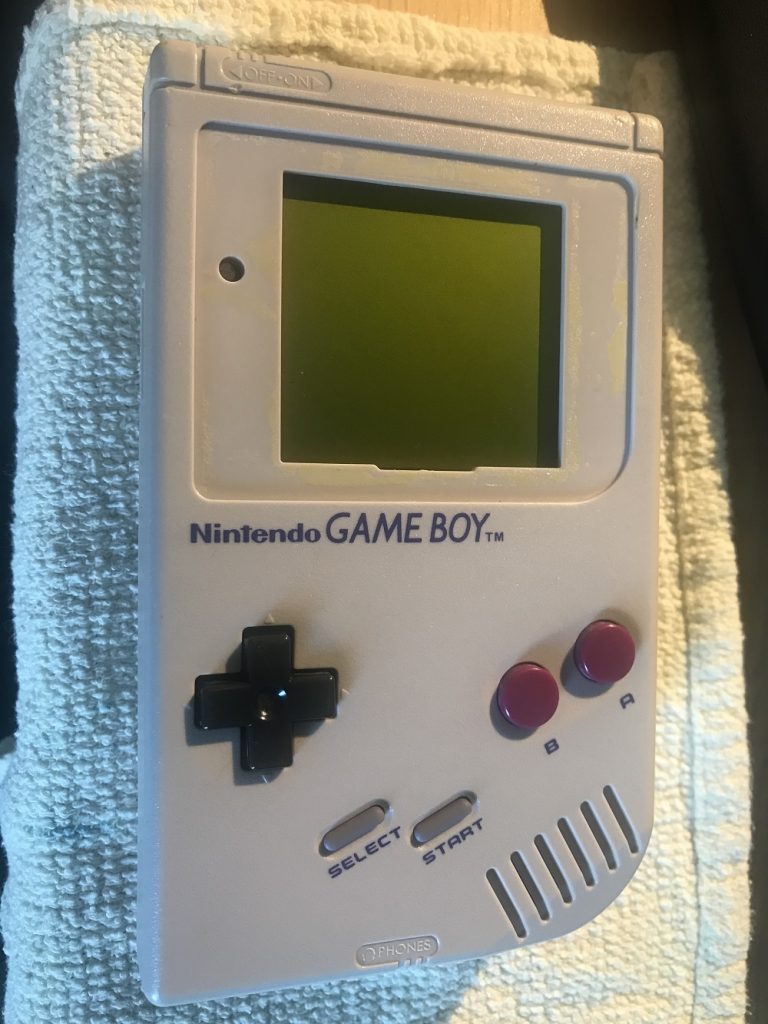
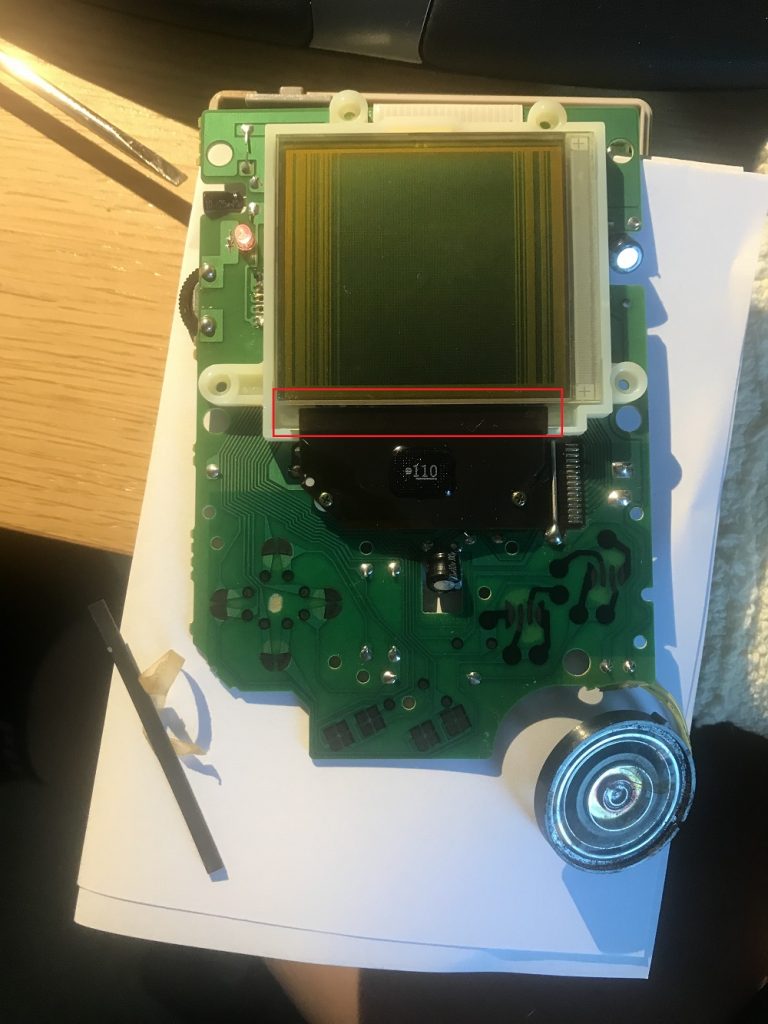
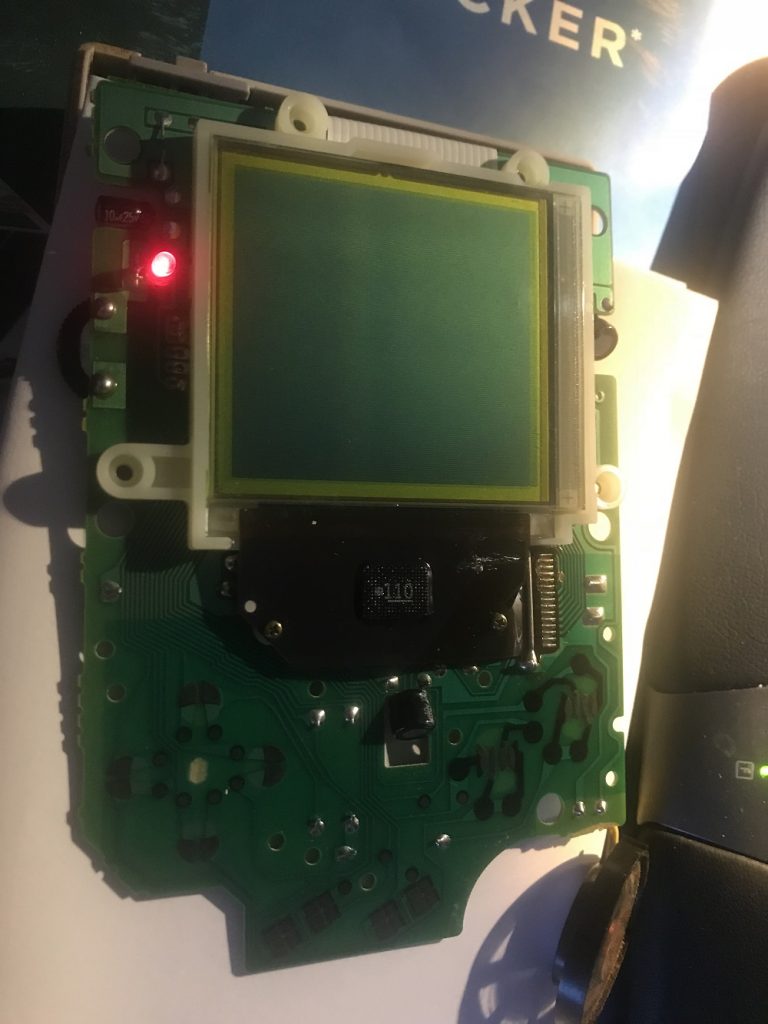
As seen below, our Gameboy was suffering from annoying lines on the screen. This fix is a bit more tricky, and requires some luck, bit its definately doable. You need a solver iron. Turn the contrast to maximum darkness. Remove the rubber stripe from the area marked in red below. The problem with the lines is caused by the connections between the flat cable and the screen is starting to let go. All the light lines below are areas we want to fix. This is achieved by carefully, with the Gameboy turned on, swiping a solder iron back and fourth over the marked area. If you don’t get any effect, increase the temperature on the solder iron. Be careful! If the temperature gets too high, you can cause permanent damage to the screen (these looks like blue-black spots on the screen). What is happening when you heat the area is that the solder melts and hopefully make a new connection between the cable and the screen. When a line is repaired, it turns black. The results you are looking for is a completely black screen when the contrast is turned to maximum (see image below). Sometimes, some lines are simply not possible to repair. This require some luck and a lot of patience. Test the results with a game, and then assemble your Gameboy again.
Step 3: New screen cover
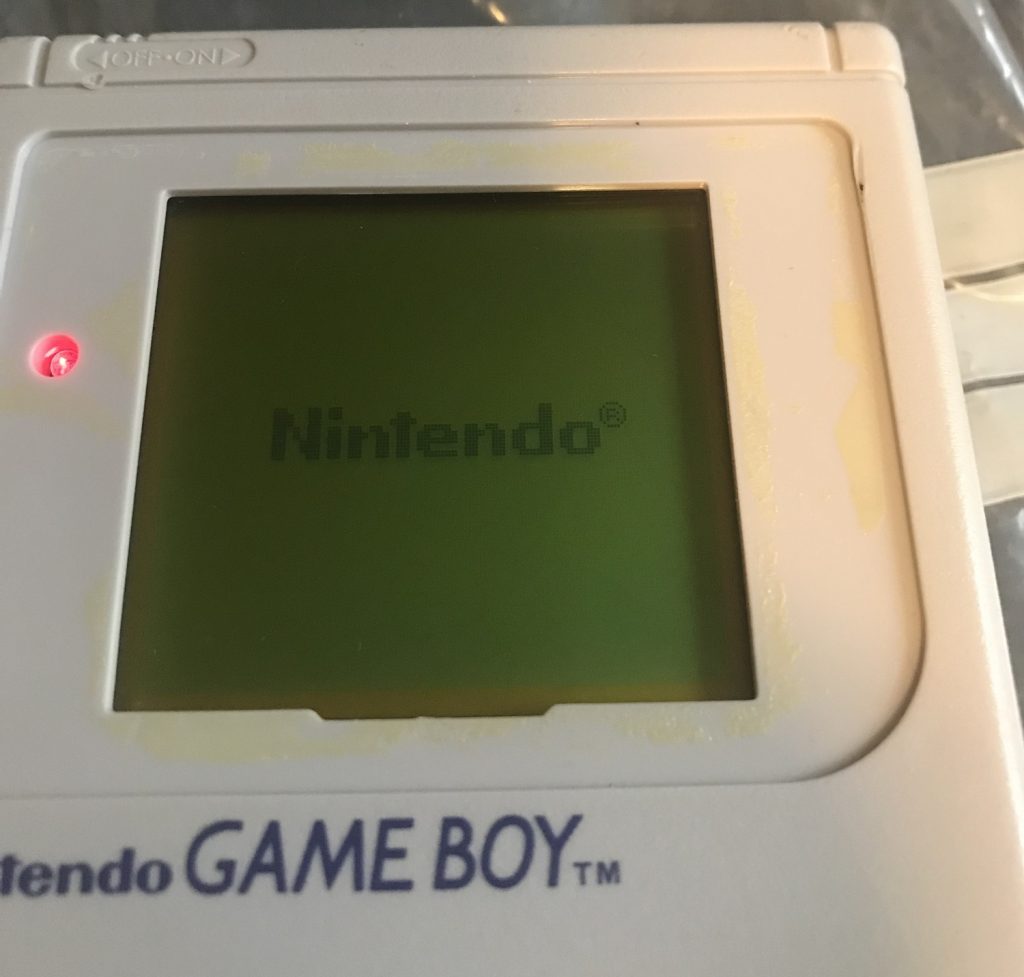
As a third and final step, we ordered new screen covers from French eBay. They came with self adhesive back sides and protective covers for the fronts, very convenient! Make sure that the screen is free from dust, and then place the cover. Now you can enjoy your favourite games such as Tetris, Super Mario Land, Duck Tales and Mega Man again!