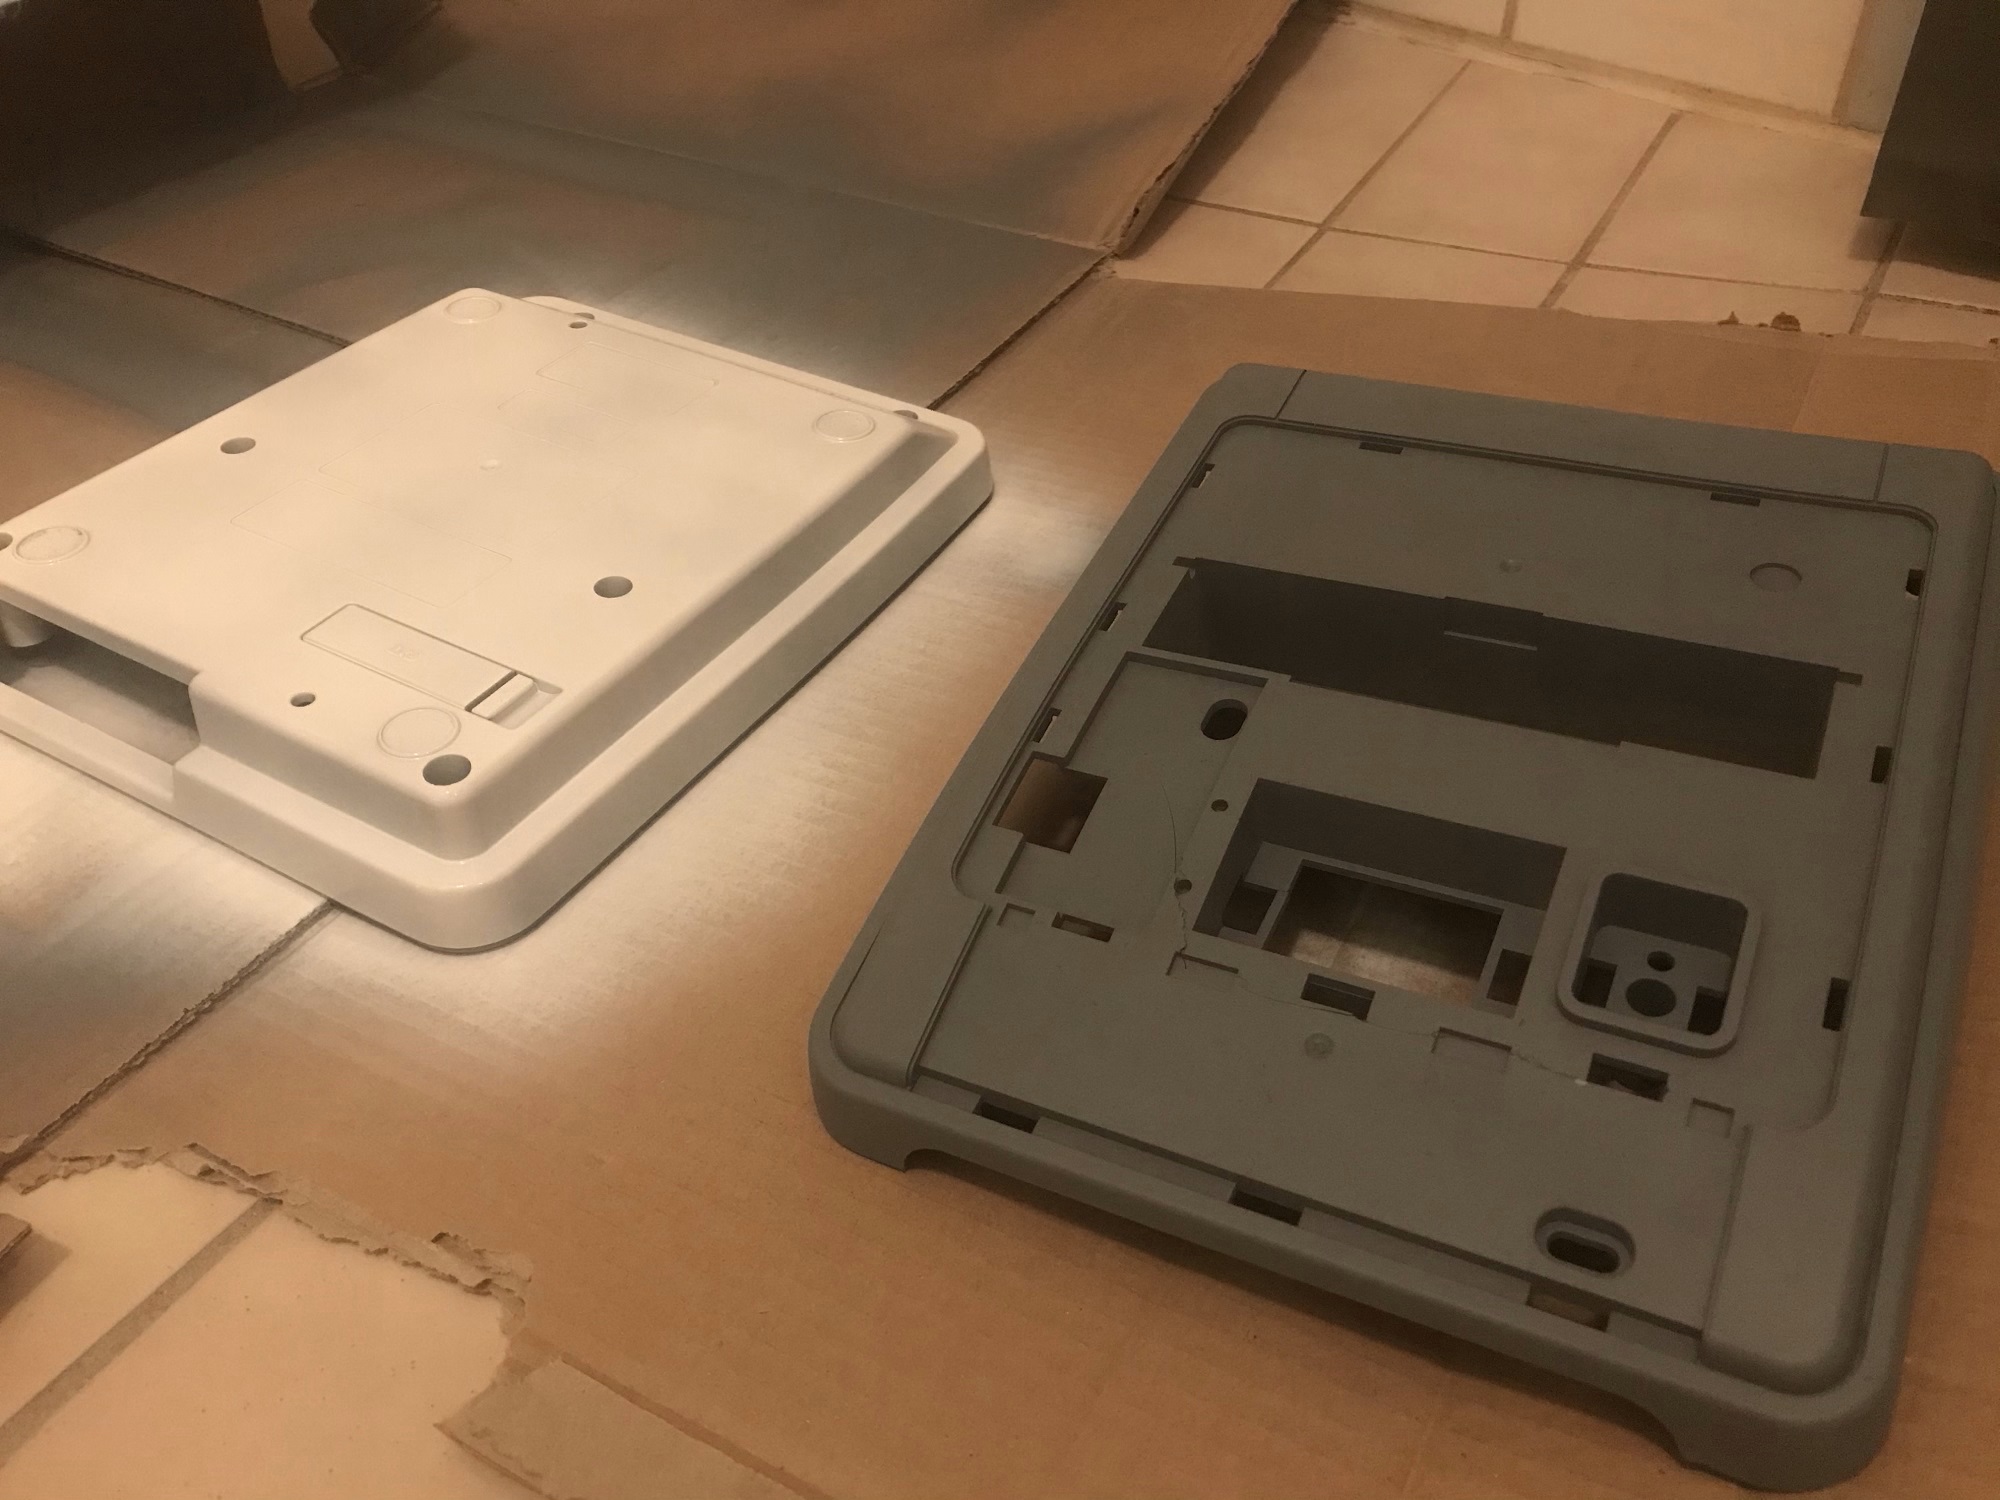
I rarely like to to major modifications to original old hardware, with a few exceptions. A couple of such exceptions were a paint job of a Game & Watch Donkey Kong in horrible condition, and a VGA-mod of an original Gameboy. In this post, I will to some modifications to a Super Nintendo (SNES), which I bought from a local seller. As seen below, the console was in quite terrible condition, with large cracks in the case.

I performed three modifications to this console:
- A white paint job.
- A composite mod on a 3D-printed bracket to replace the missing piece in the case.
- A blue LED mod that goes well with the white paint.
Disassembling the SNES
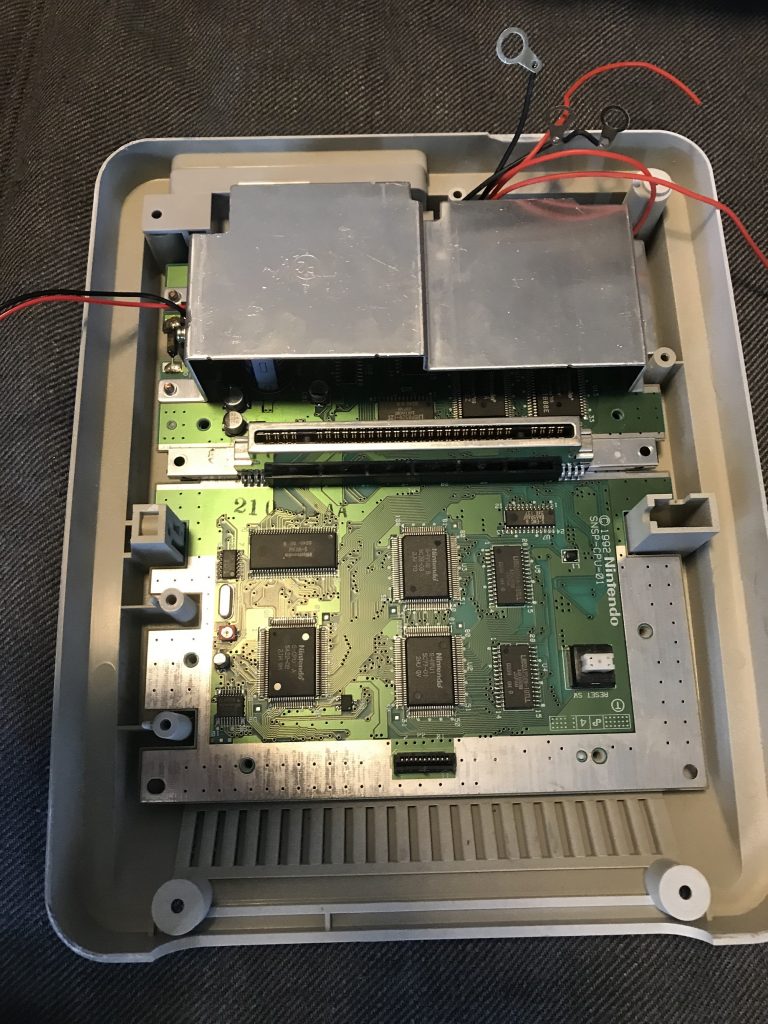
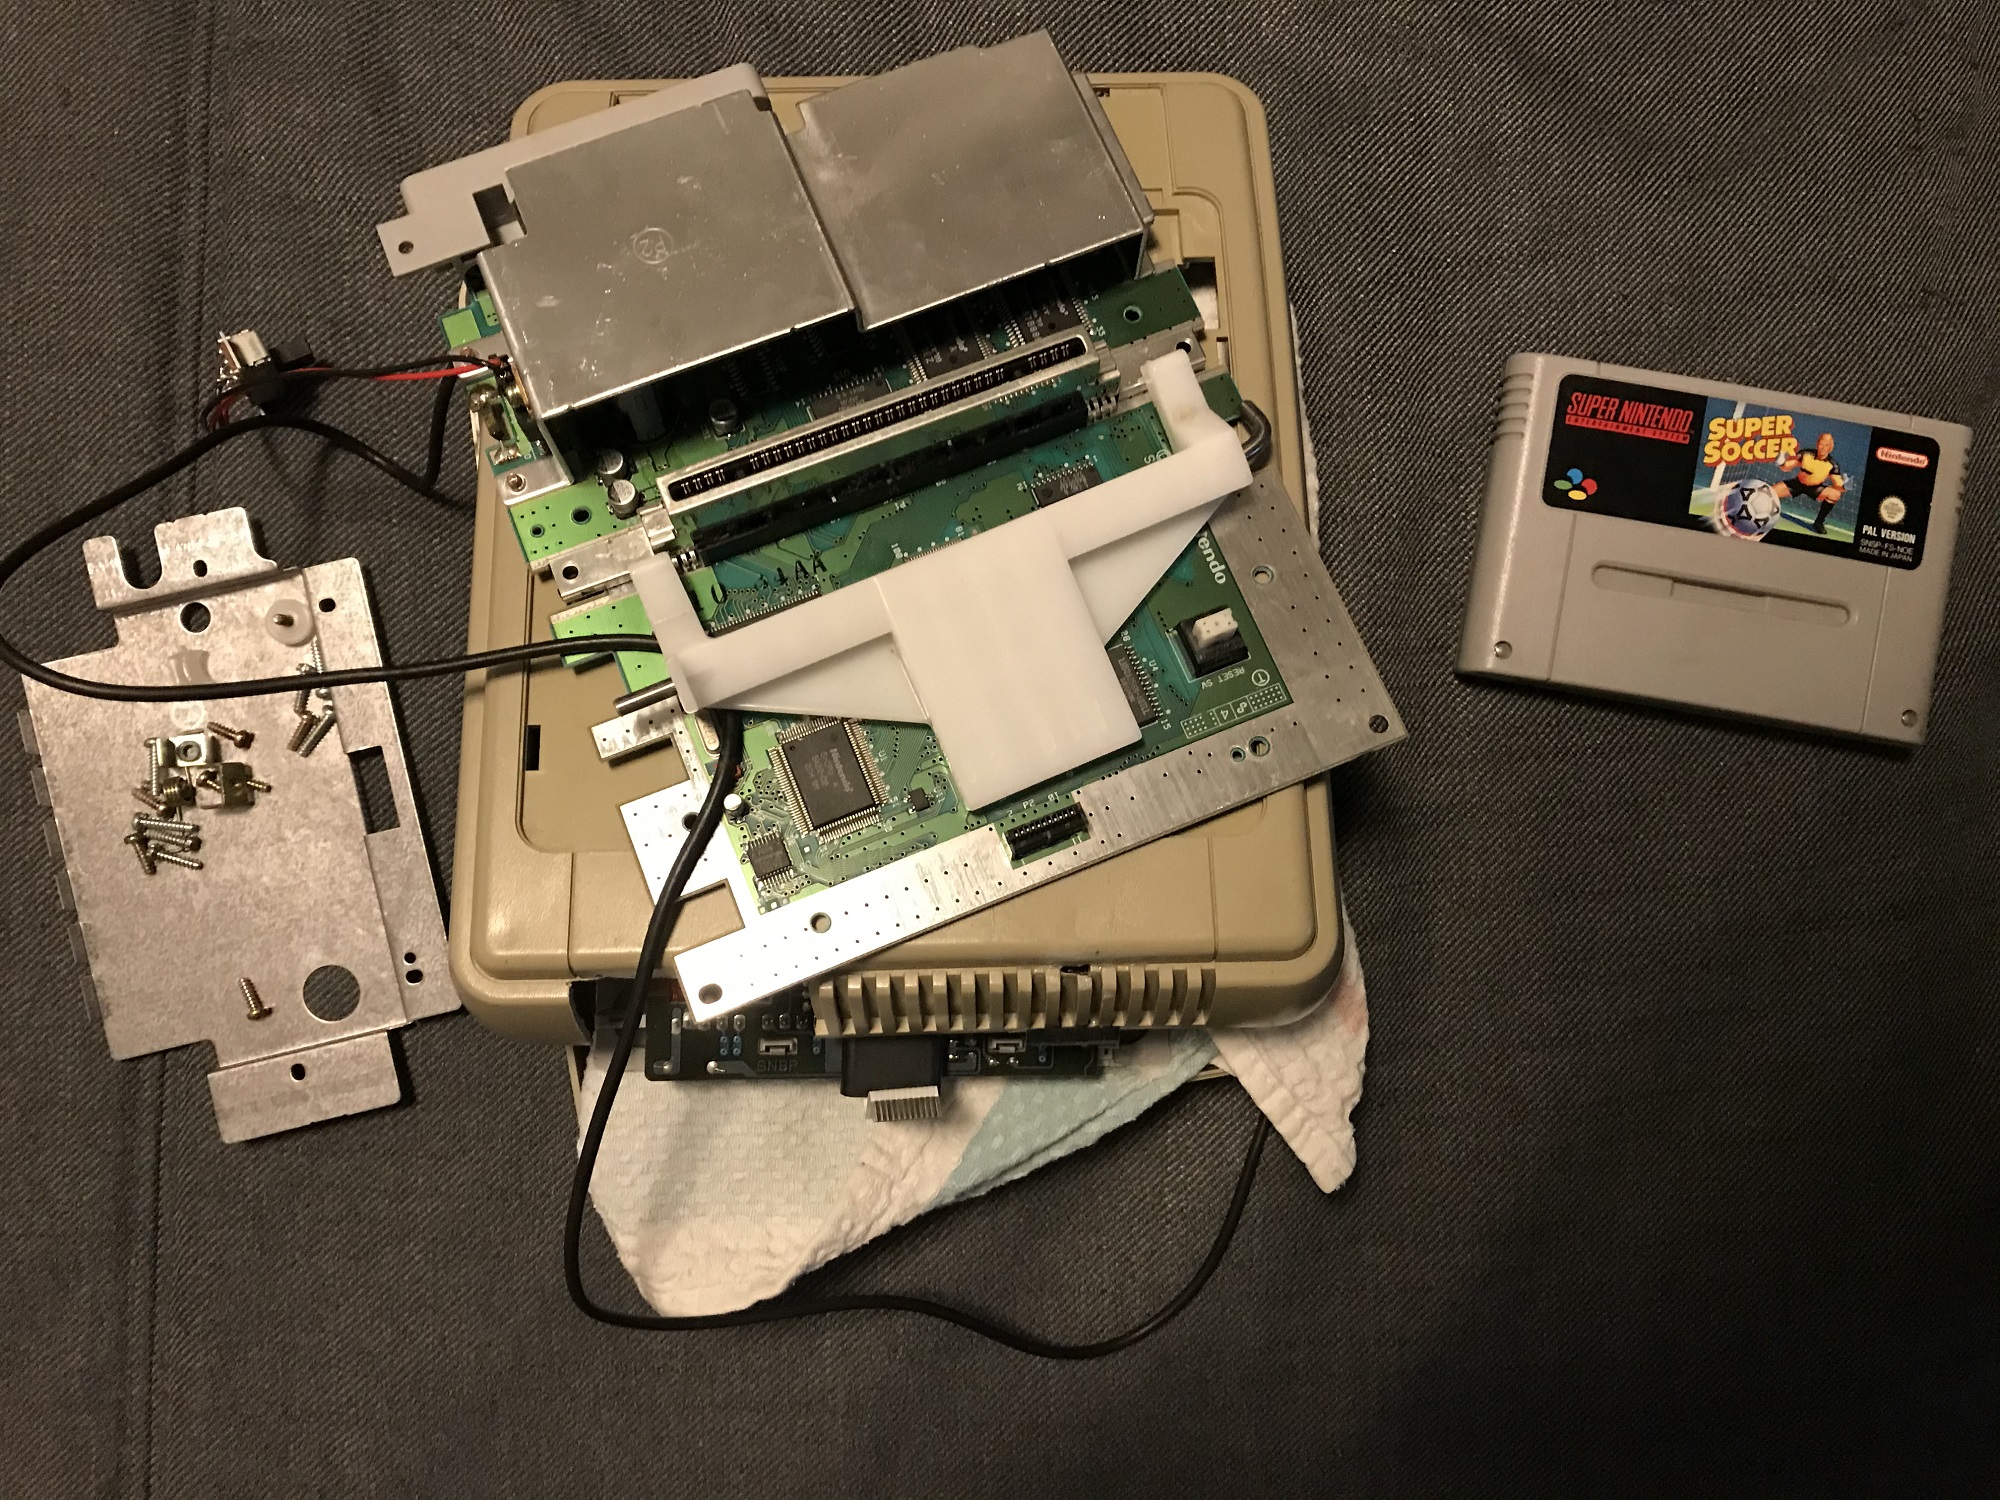
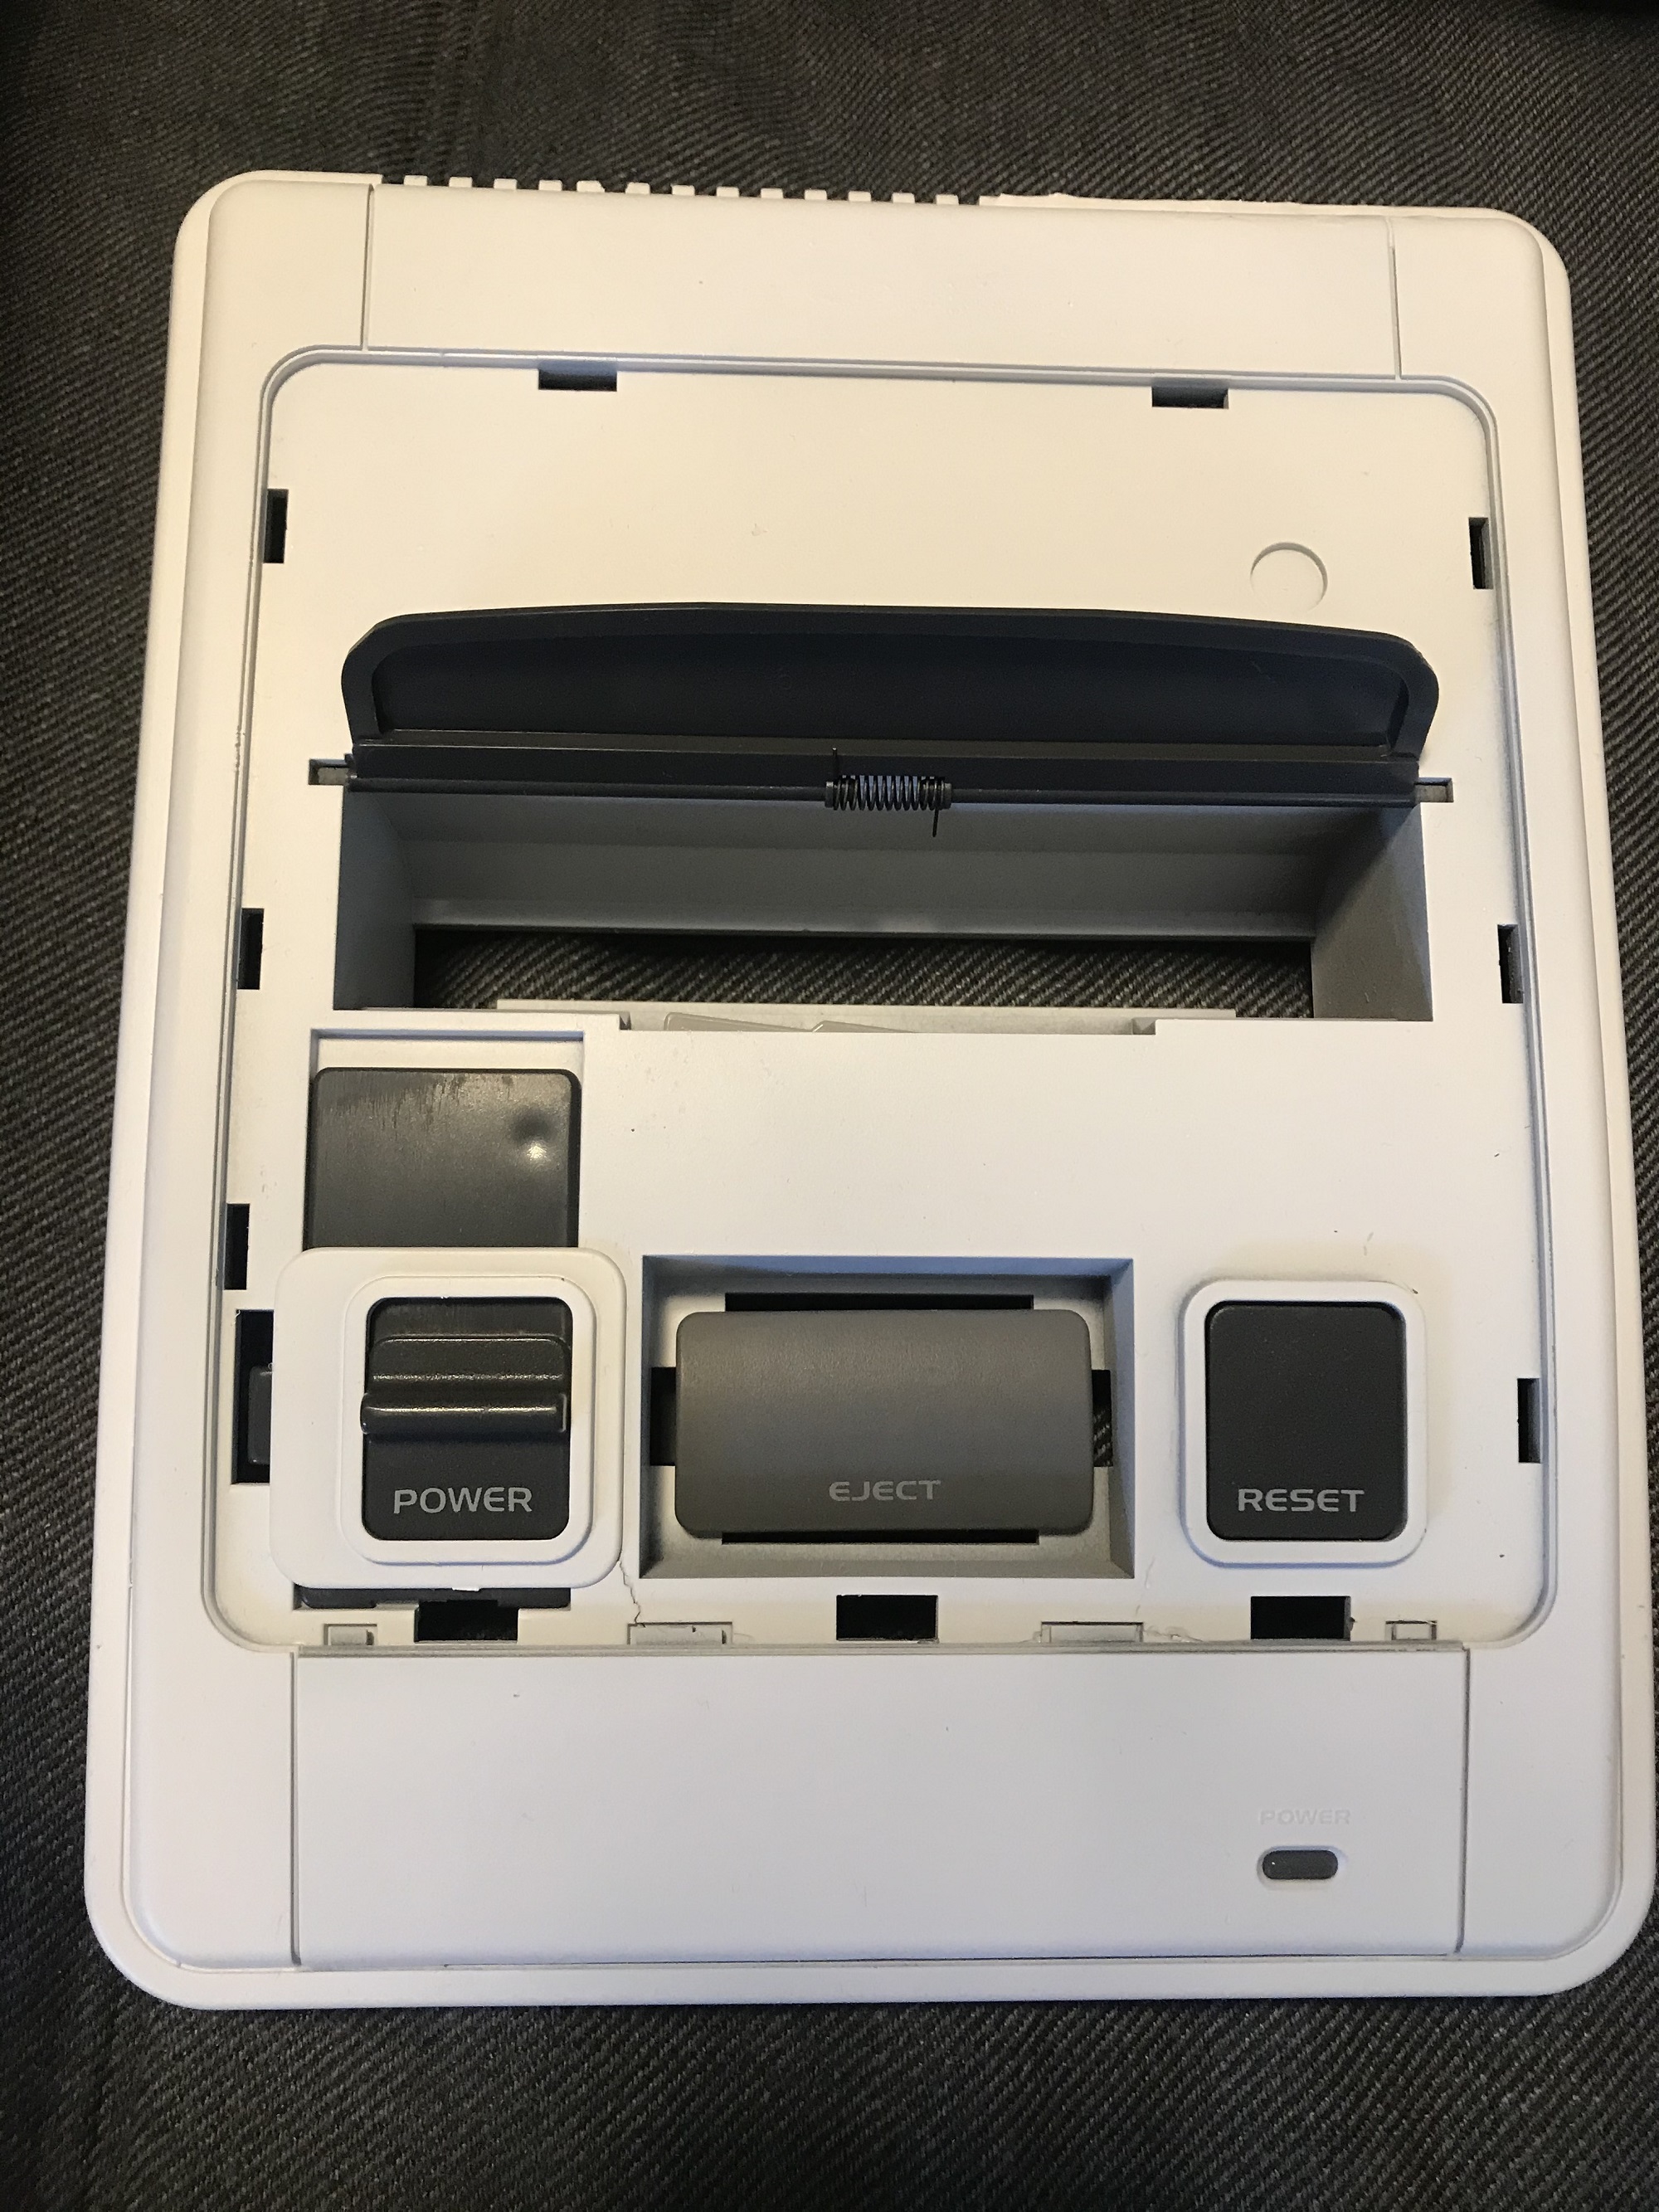
Disassembling the Super Nintendo (PAL) is rather straight forward. I will not cover it in detail here. Here is a good guide to the procedure if you need it. Basically, you need a special “Gamebit” screwdriver, and a regular Philips screwdriver. Remove the six screws at the bottom of the case to be able to lift up the top, and the motherboard of the unit is revealed (extra cables from my mod in the image below). I also completely disassembled the top case by removing all the plastic mechanical parts.
White paint job
I used a grey primer from Army Painter as a first step. Then, I used white matte hobby paint from the local hardware store, in thin layers. If you are re-painting your SNES, don’t forget to paint the various plastic pieces as well, including the piece around the power button. Spray from a distance of 20ish centimeters, and coat in thin layers to avoid running paint.
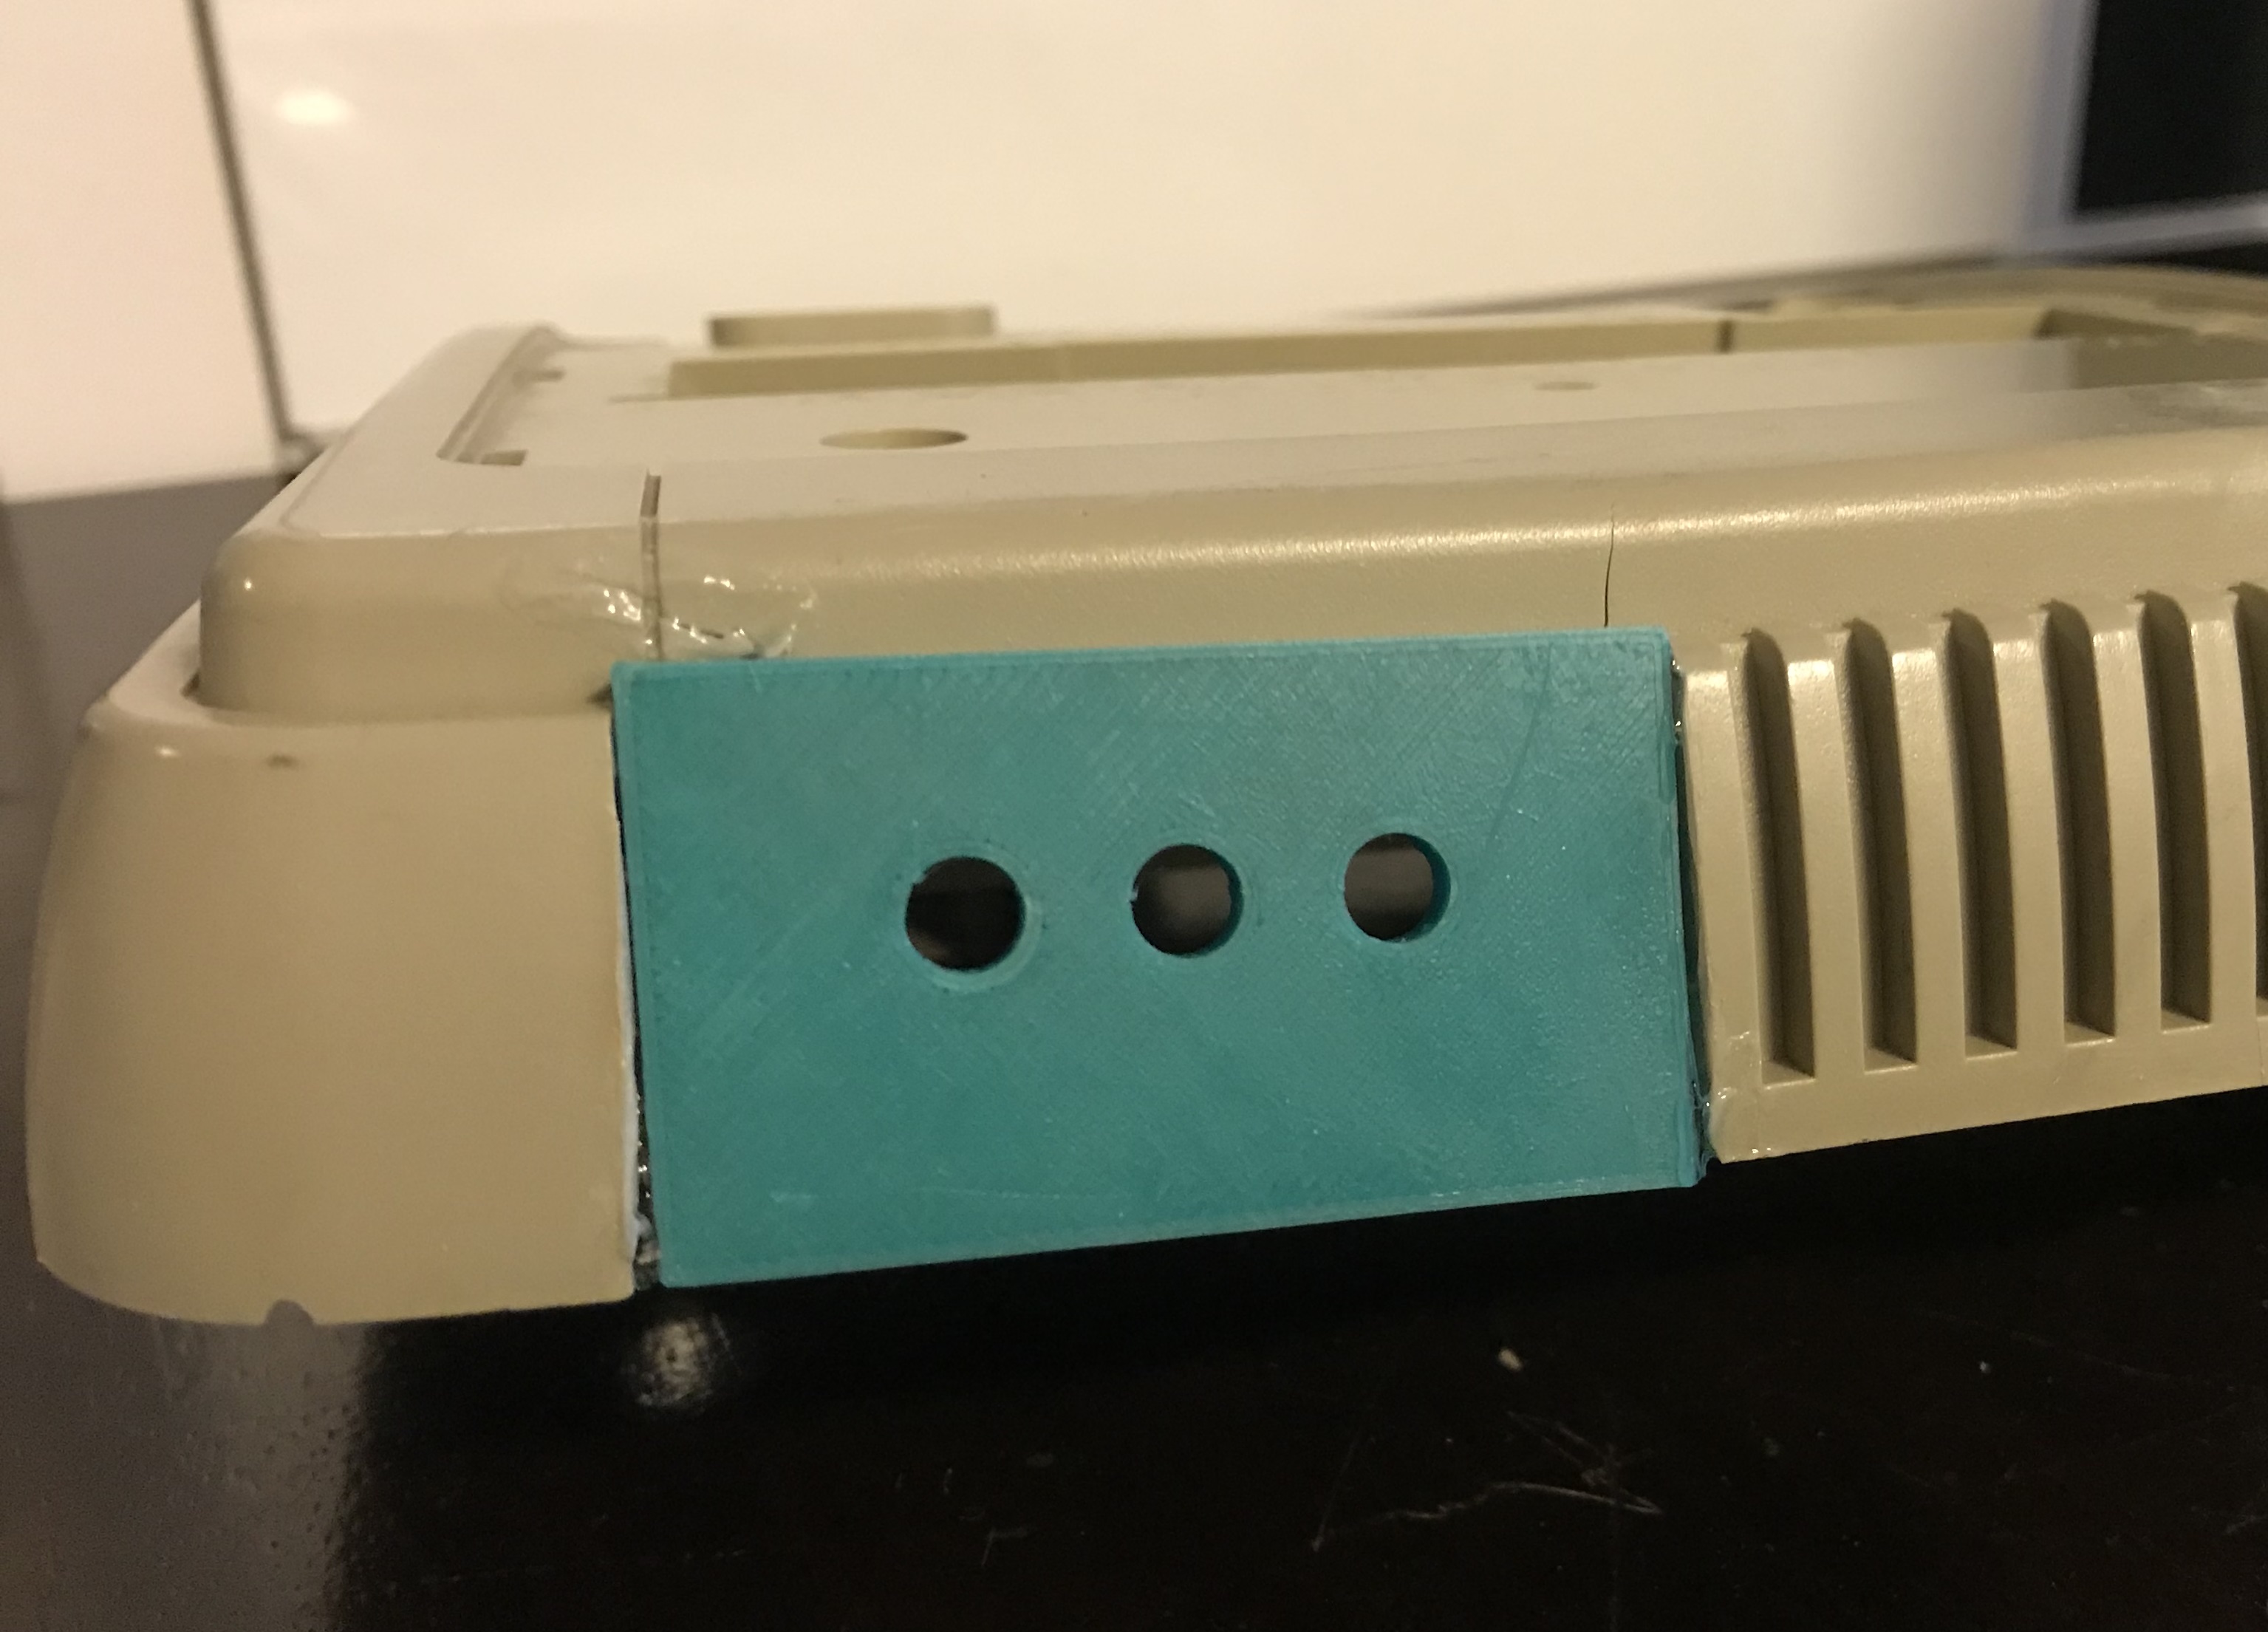
Super Nintendo composite mod
This step is rather unnecessary since the multi AV-out cable for the Super Nintendo comes with rca jacks as default. However, I wanted something to replace the missing back piece with, so I decided to 3d-print a bracket, and add some rca jacks to it. I made a rough design in Sketch Up, and attached it with super glue.
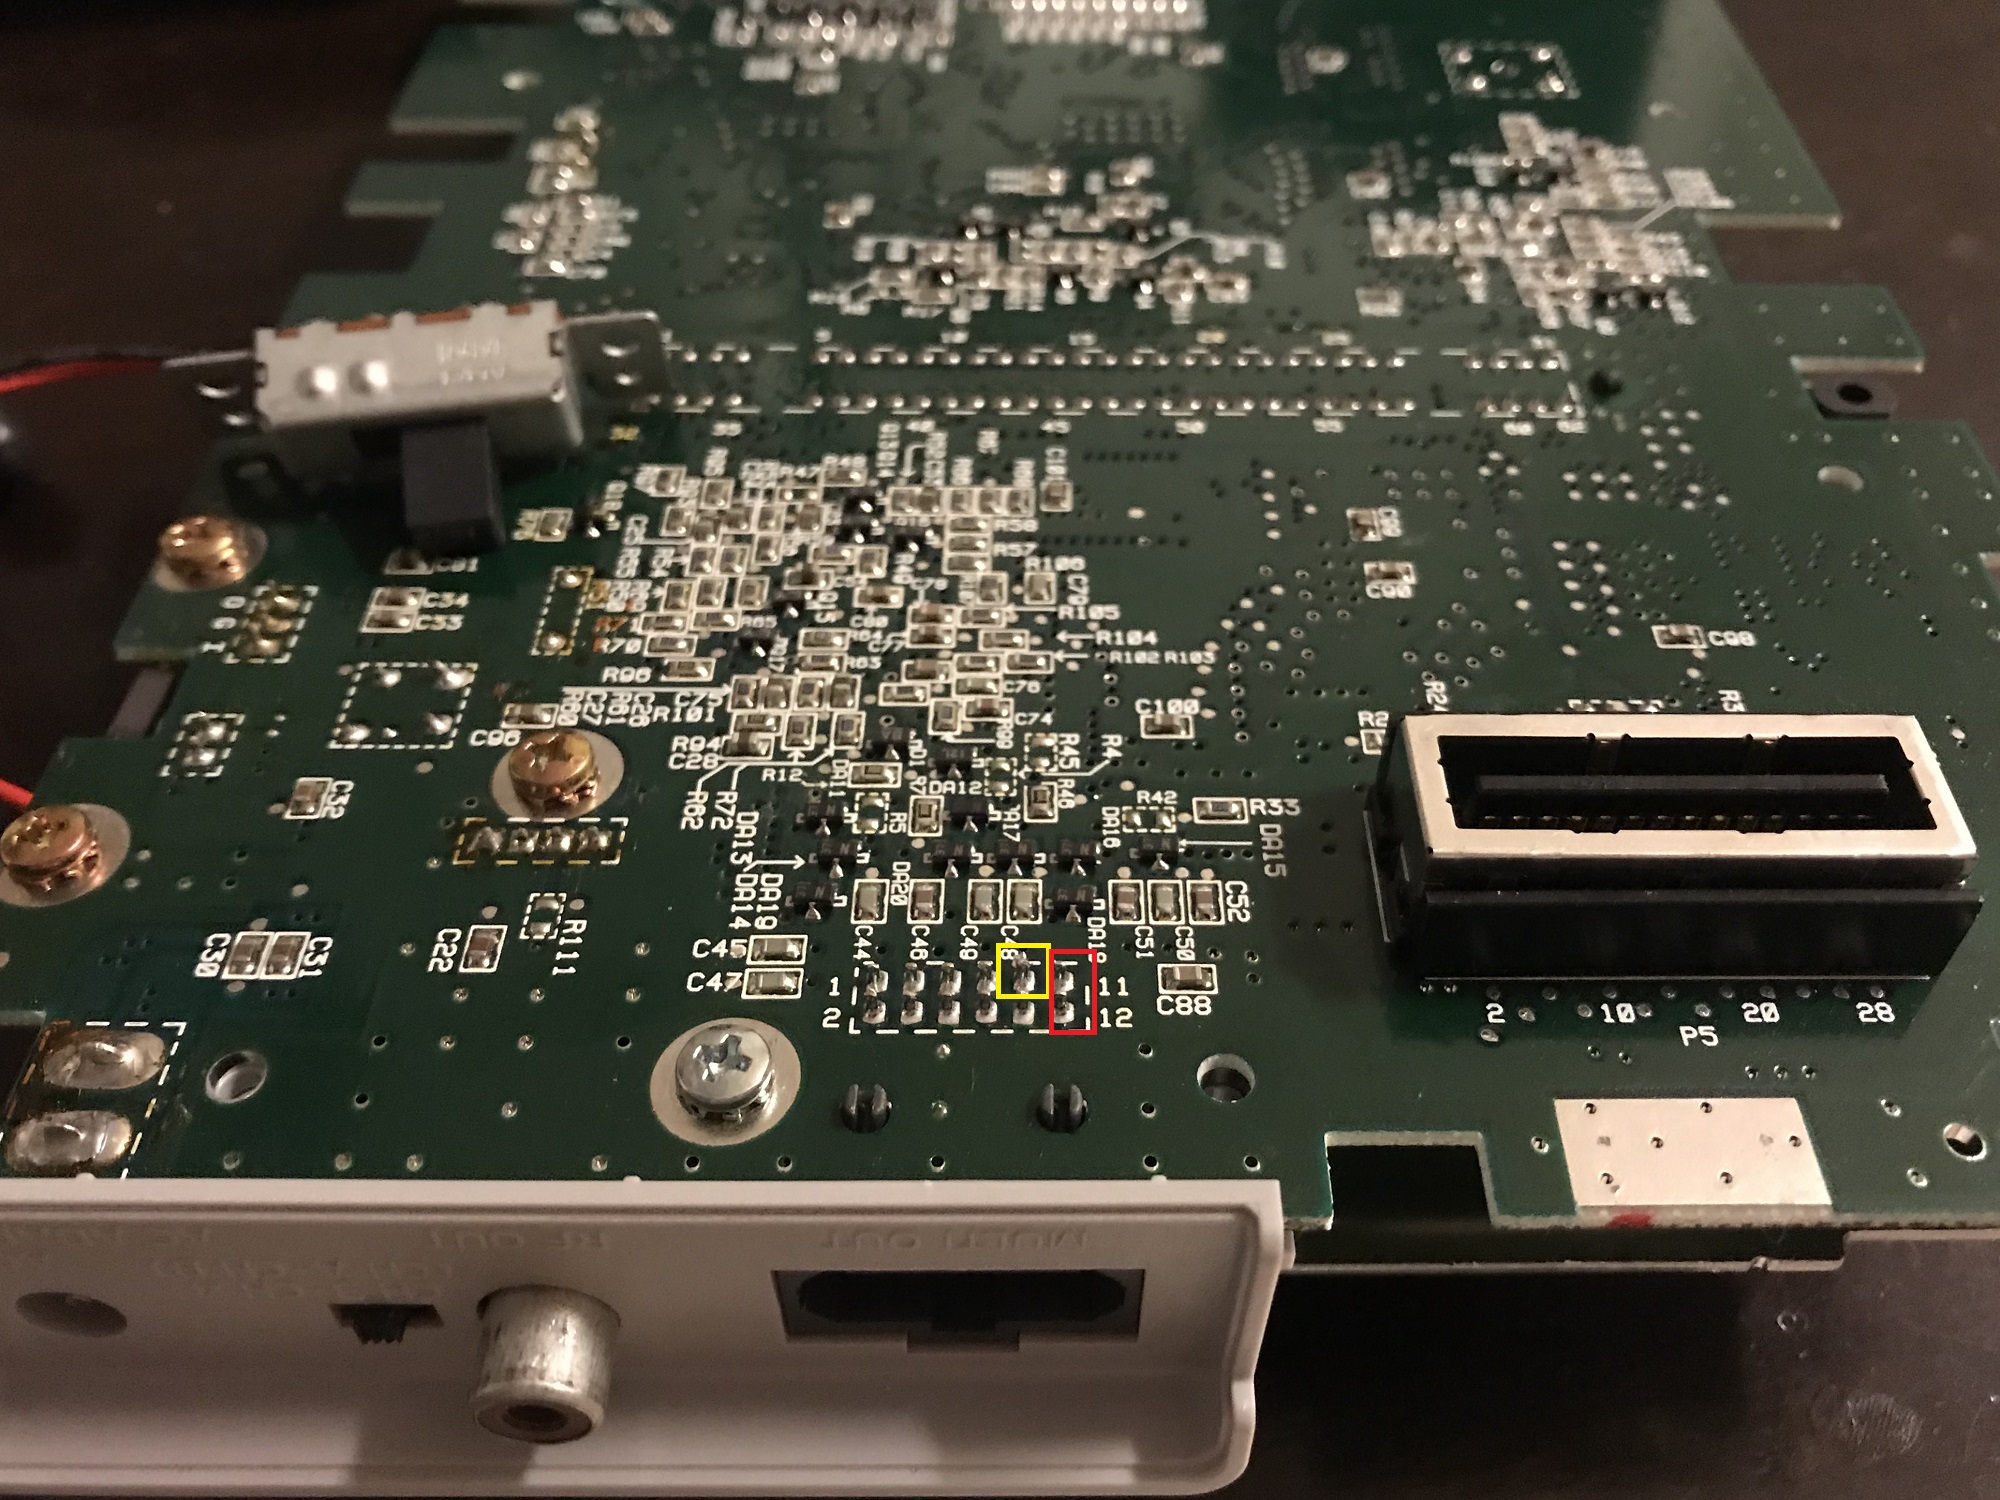
I took the audio / video signals from the solder points at the multi-AV out under the SNES motherboard as shown in the image below. Pin no 10 is video, and 11 and 12 is audio (I don’t remember which pin is R and which is L, anyone know, comment below or send me an email using the contact function on this site). I used the screws for ground: a common ground for audio channels, and one for video, to avoid distortions.

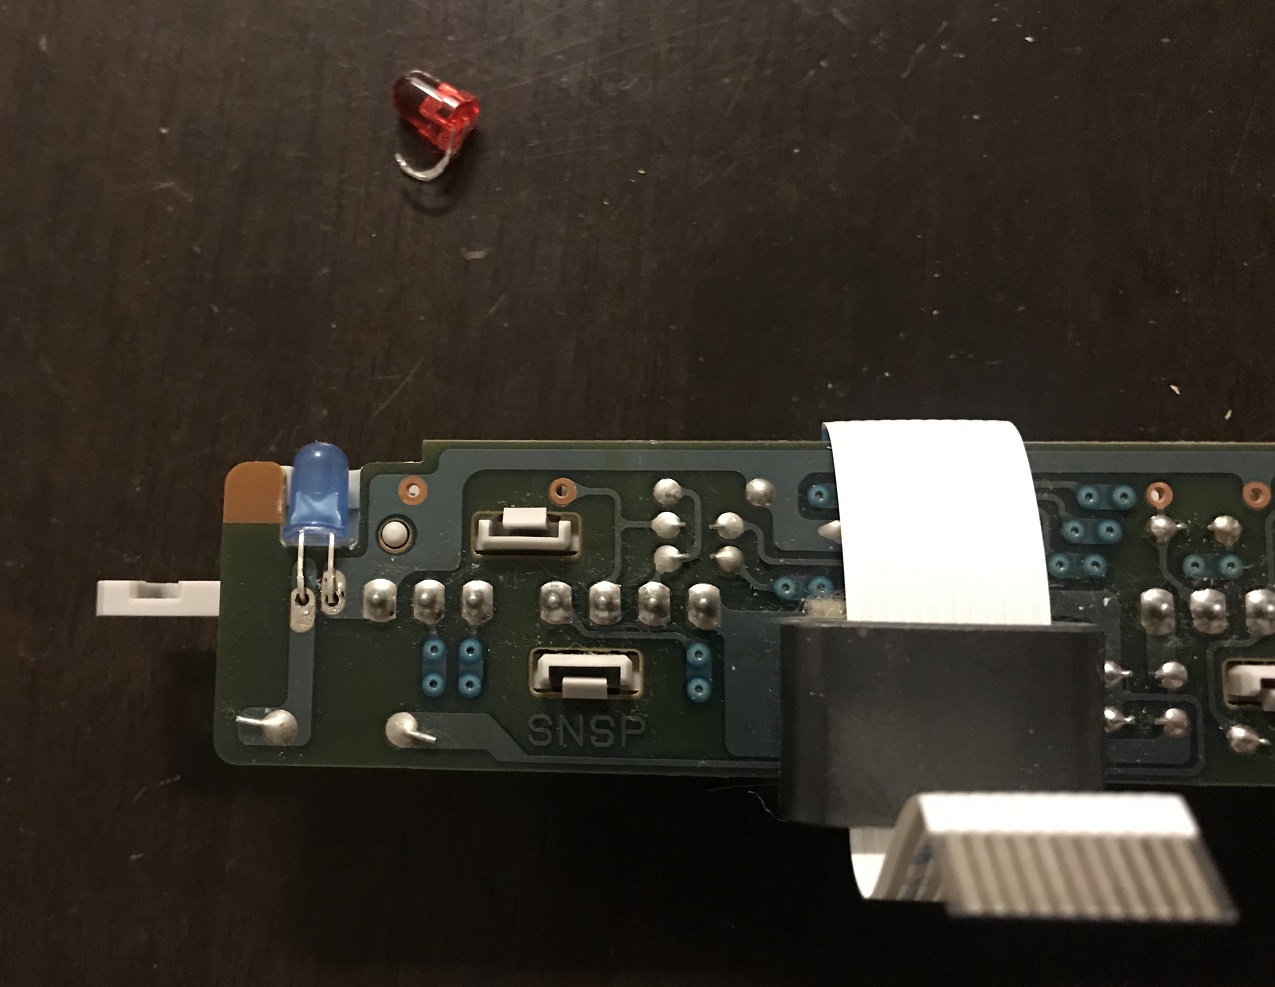
SNES blue LED mod
Finally, I wanted to add a LED matching the white paint job: blue! The LED is attached to the controller pcb. When I did the paint job I had already disattached the front cover from the controller board. This step is rather straight forward: de-solder the red LED, cut the legs of the new led, and solder it in place. The pin further out to the side is positive (long leg), while the inner pin (short leg) is negative.
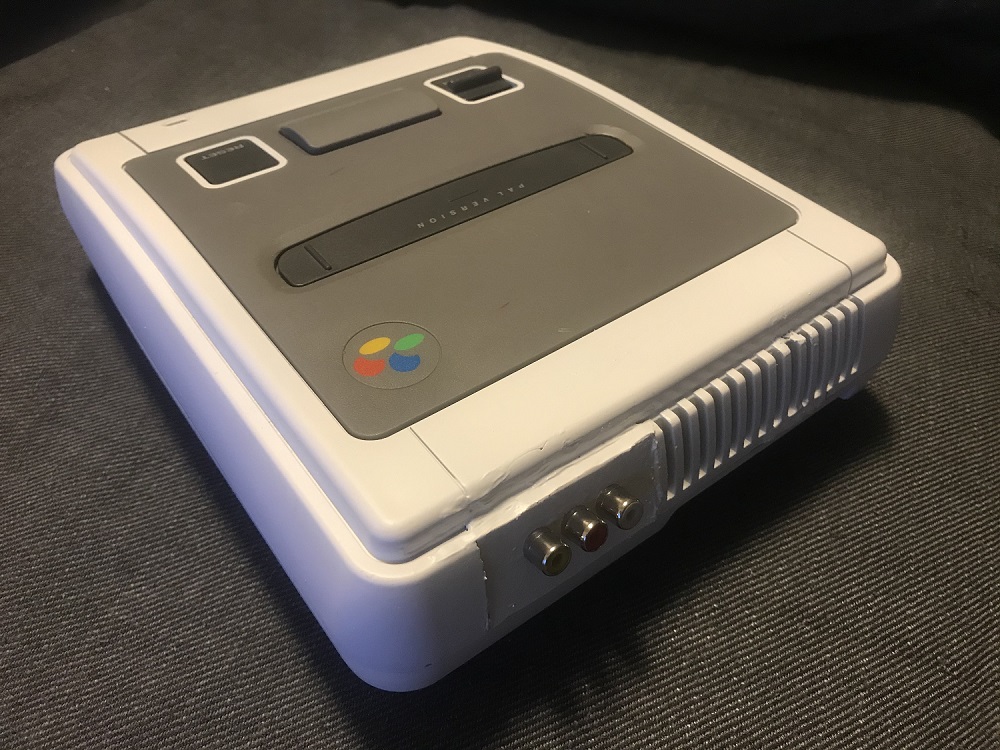
Final result!
I am quite happy with the final result. As aforementioned, I do not usually paint old hardware unless it is in a poor condition, and I think this unit qualified for a paint job. It is far from perfect since I did not have access to a workshop during the mod: optimally some plastic filler and fine grinding would have improved the work, but overall I am satisified with the result! I am currently working on painting a matching 3rd party controller in grey and white.