
One of my Commodore 64:s (C64) did not respond to pressing certain keys, so I decided to give the keyboard a good clean. In this post I will describe this cleaning process.
Step 1: Remove the keyboard from the main unit
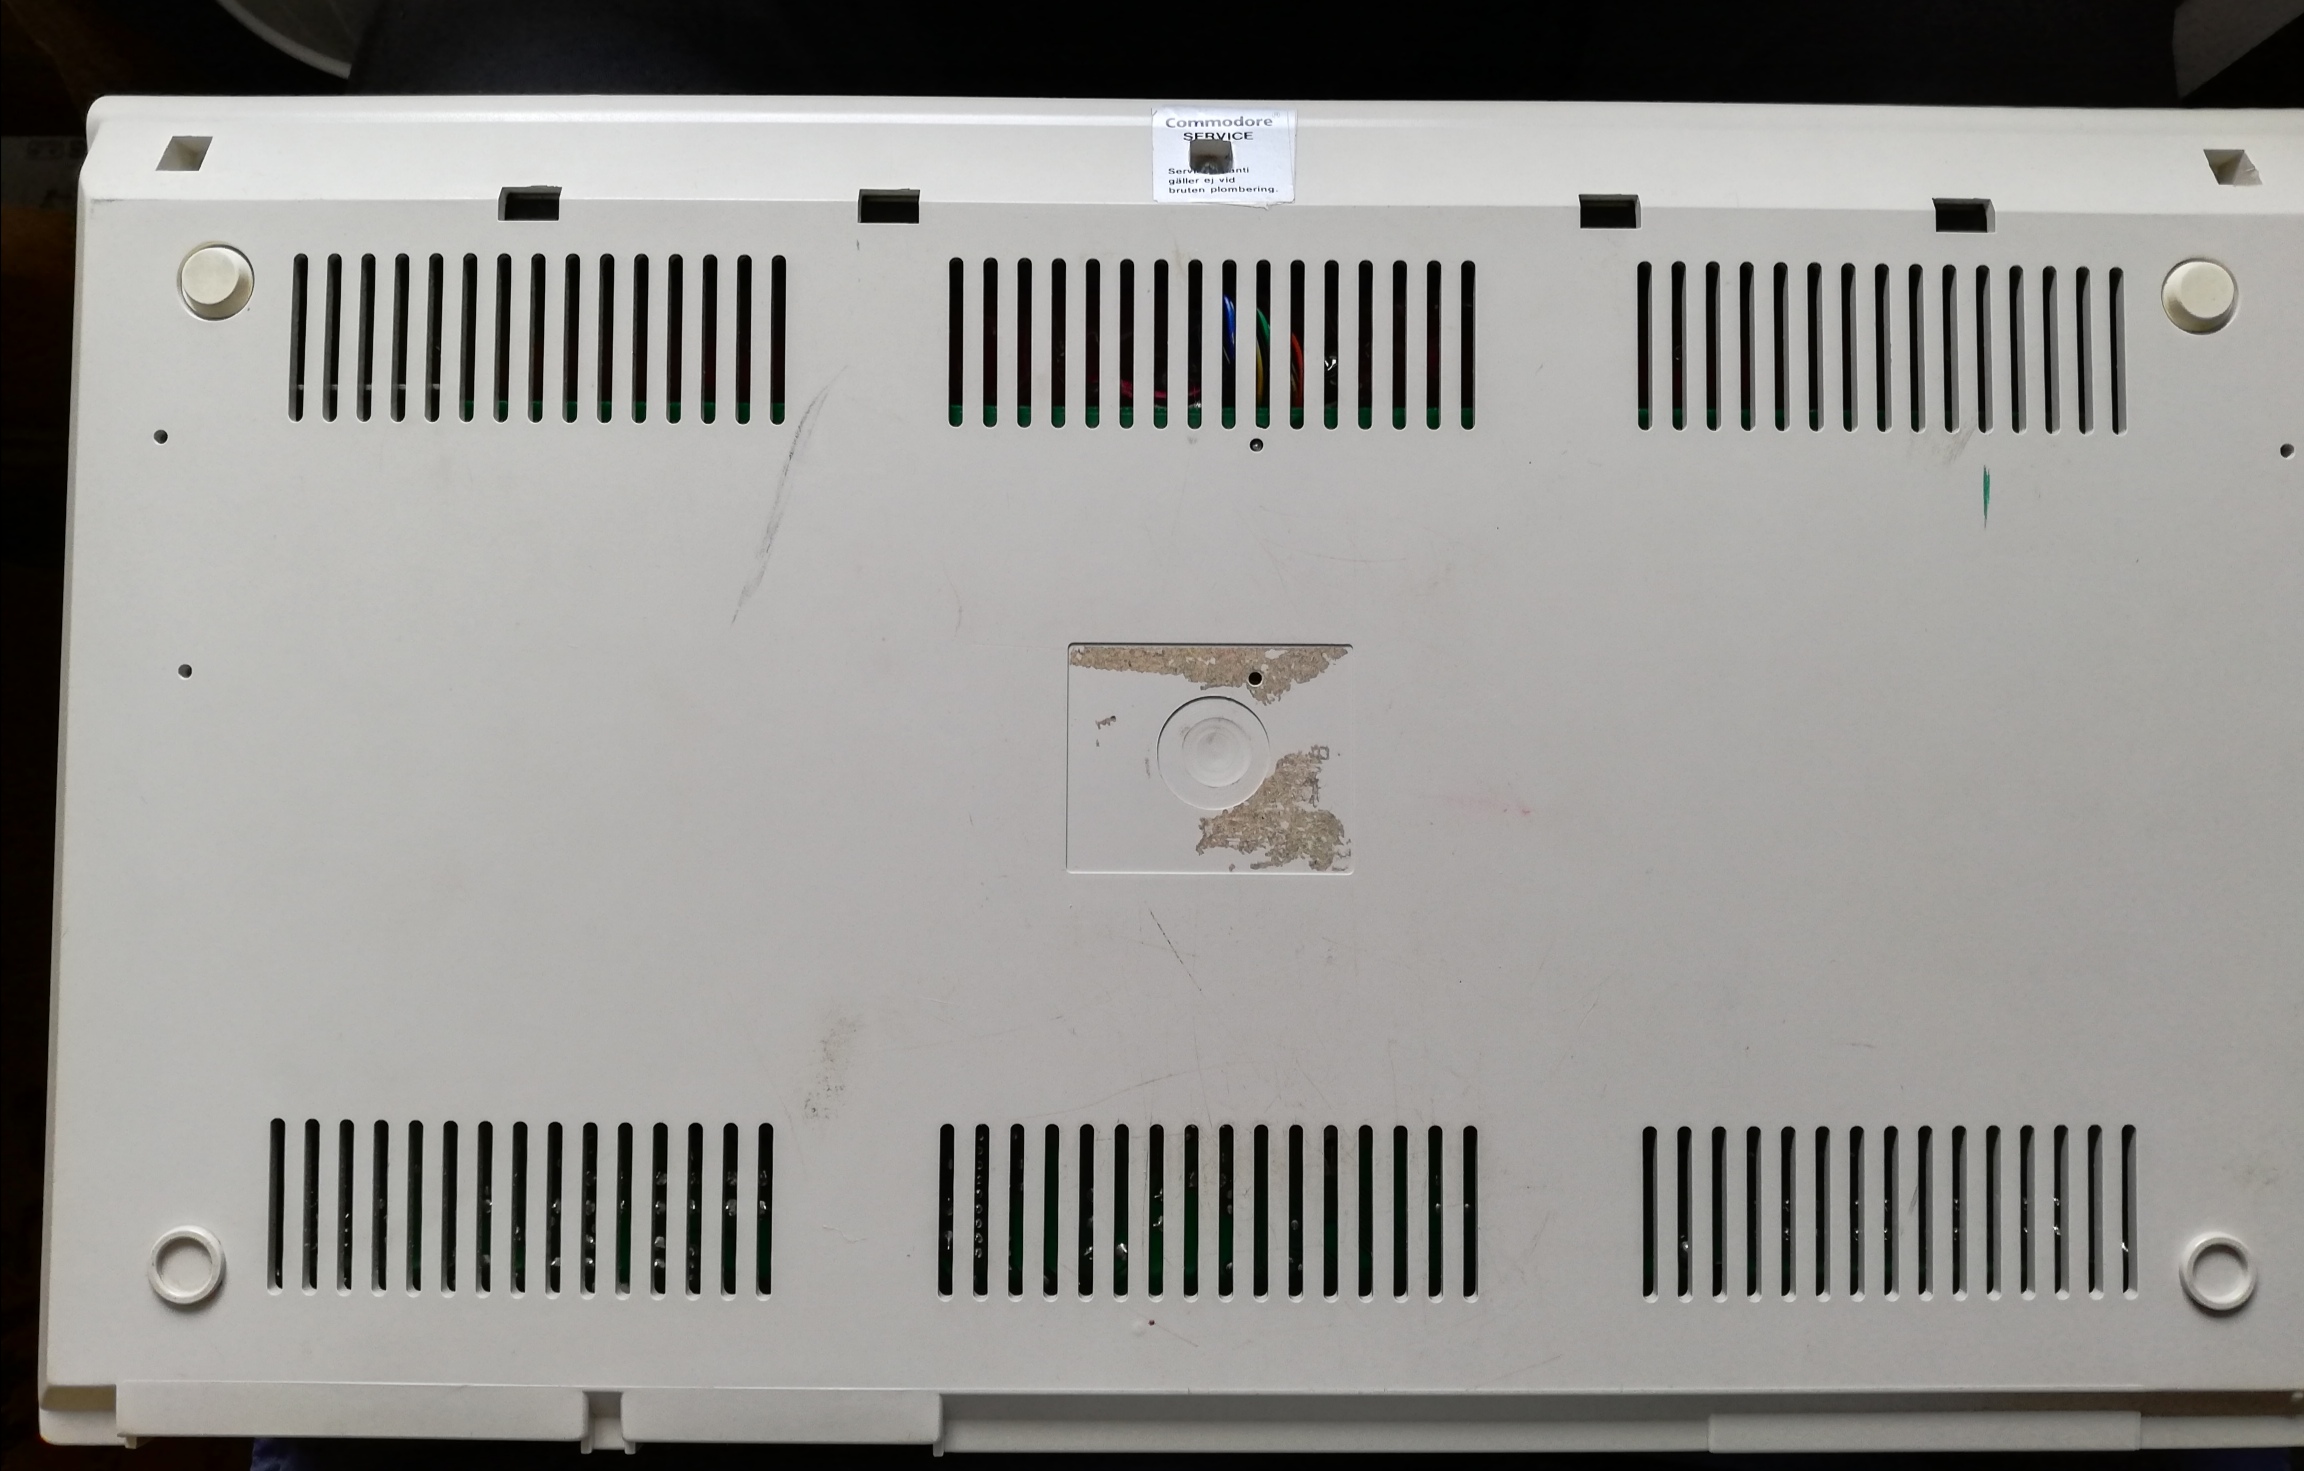
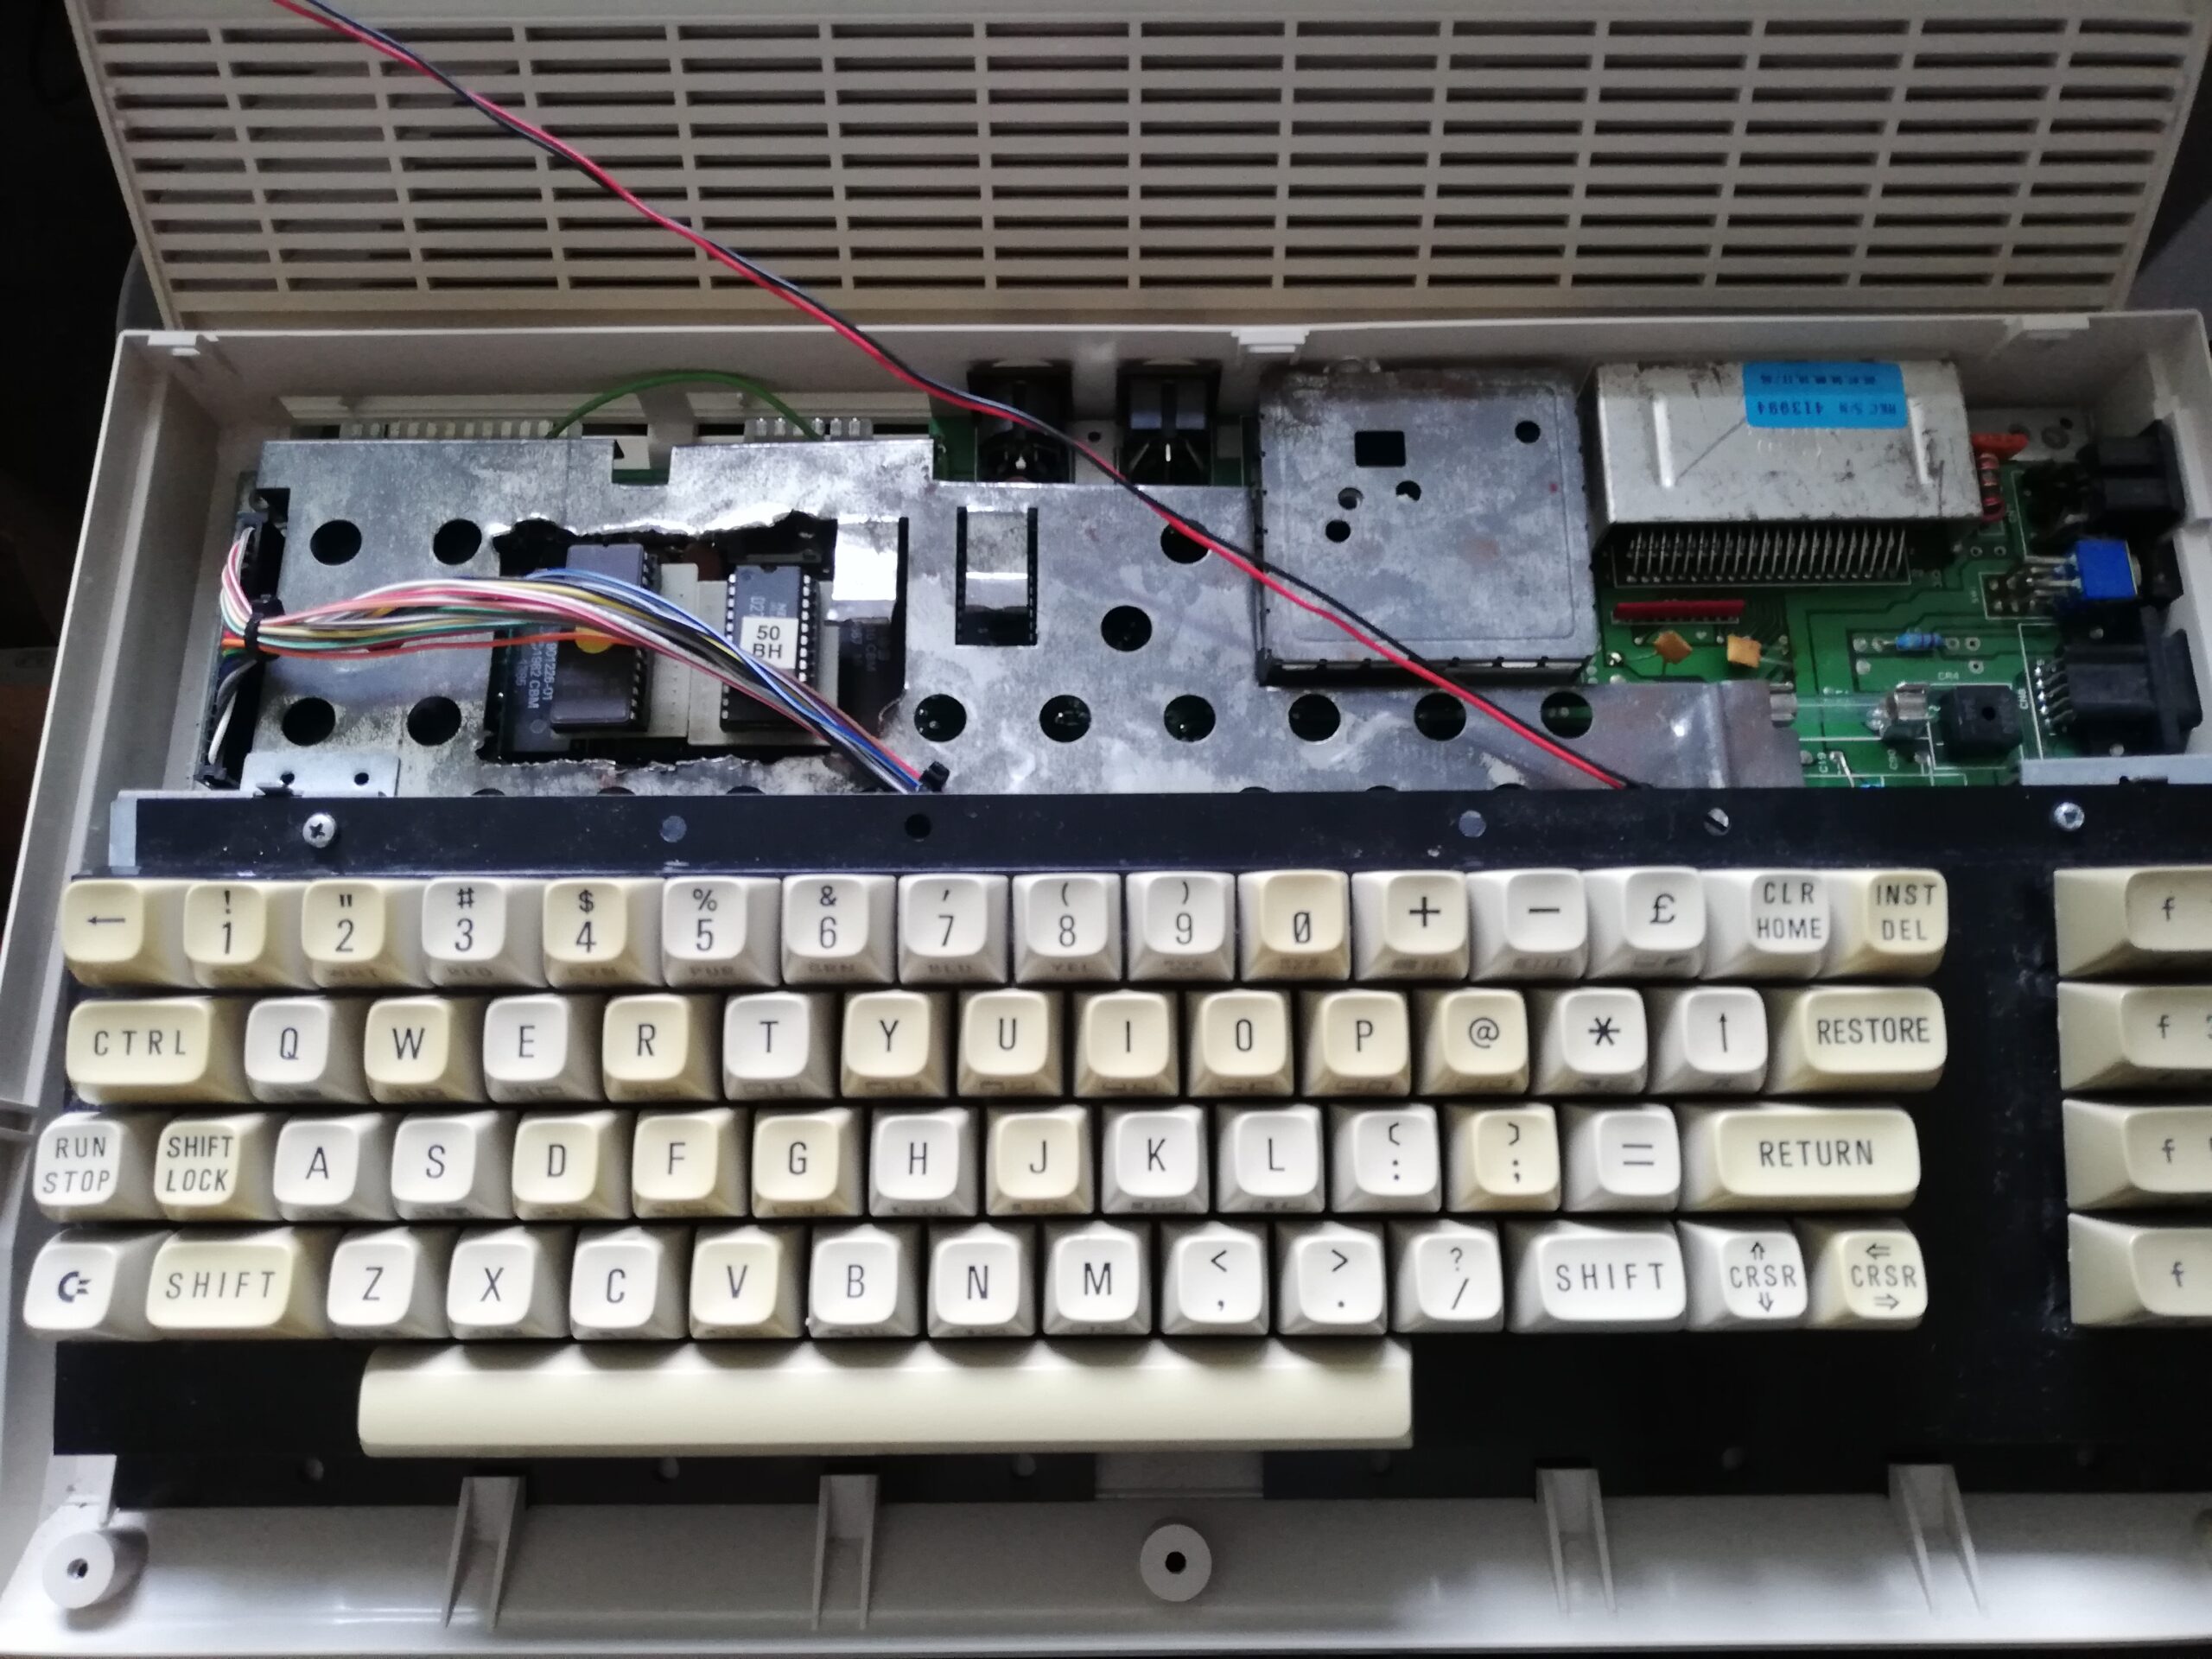
As seen in the images below, I am working on a C64 model “C”, which disassembles by removing three screws below the unit. Then, remove two screws and the cable between the keyboard and the main unit, to remove the keyboard from the main unit.
Step 2: Disassemble the keyboard
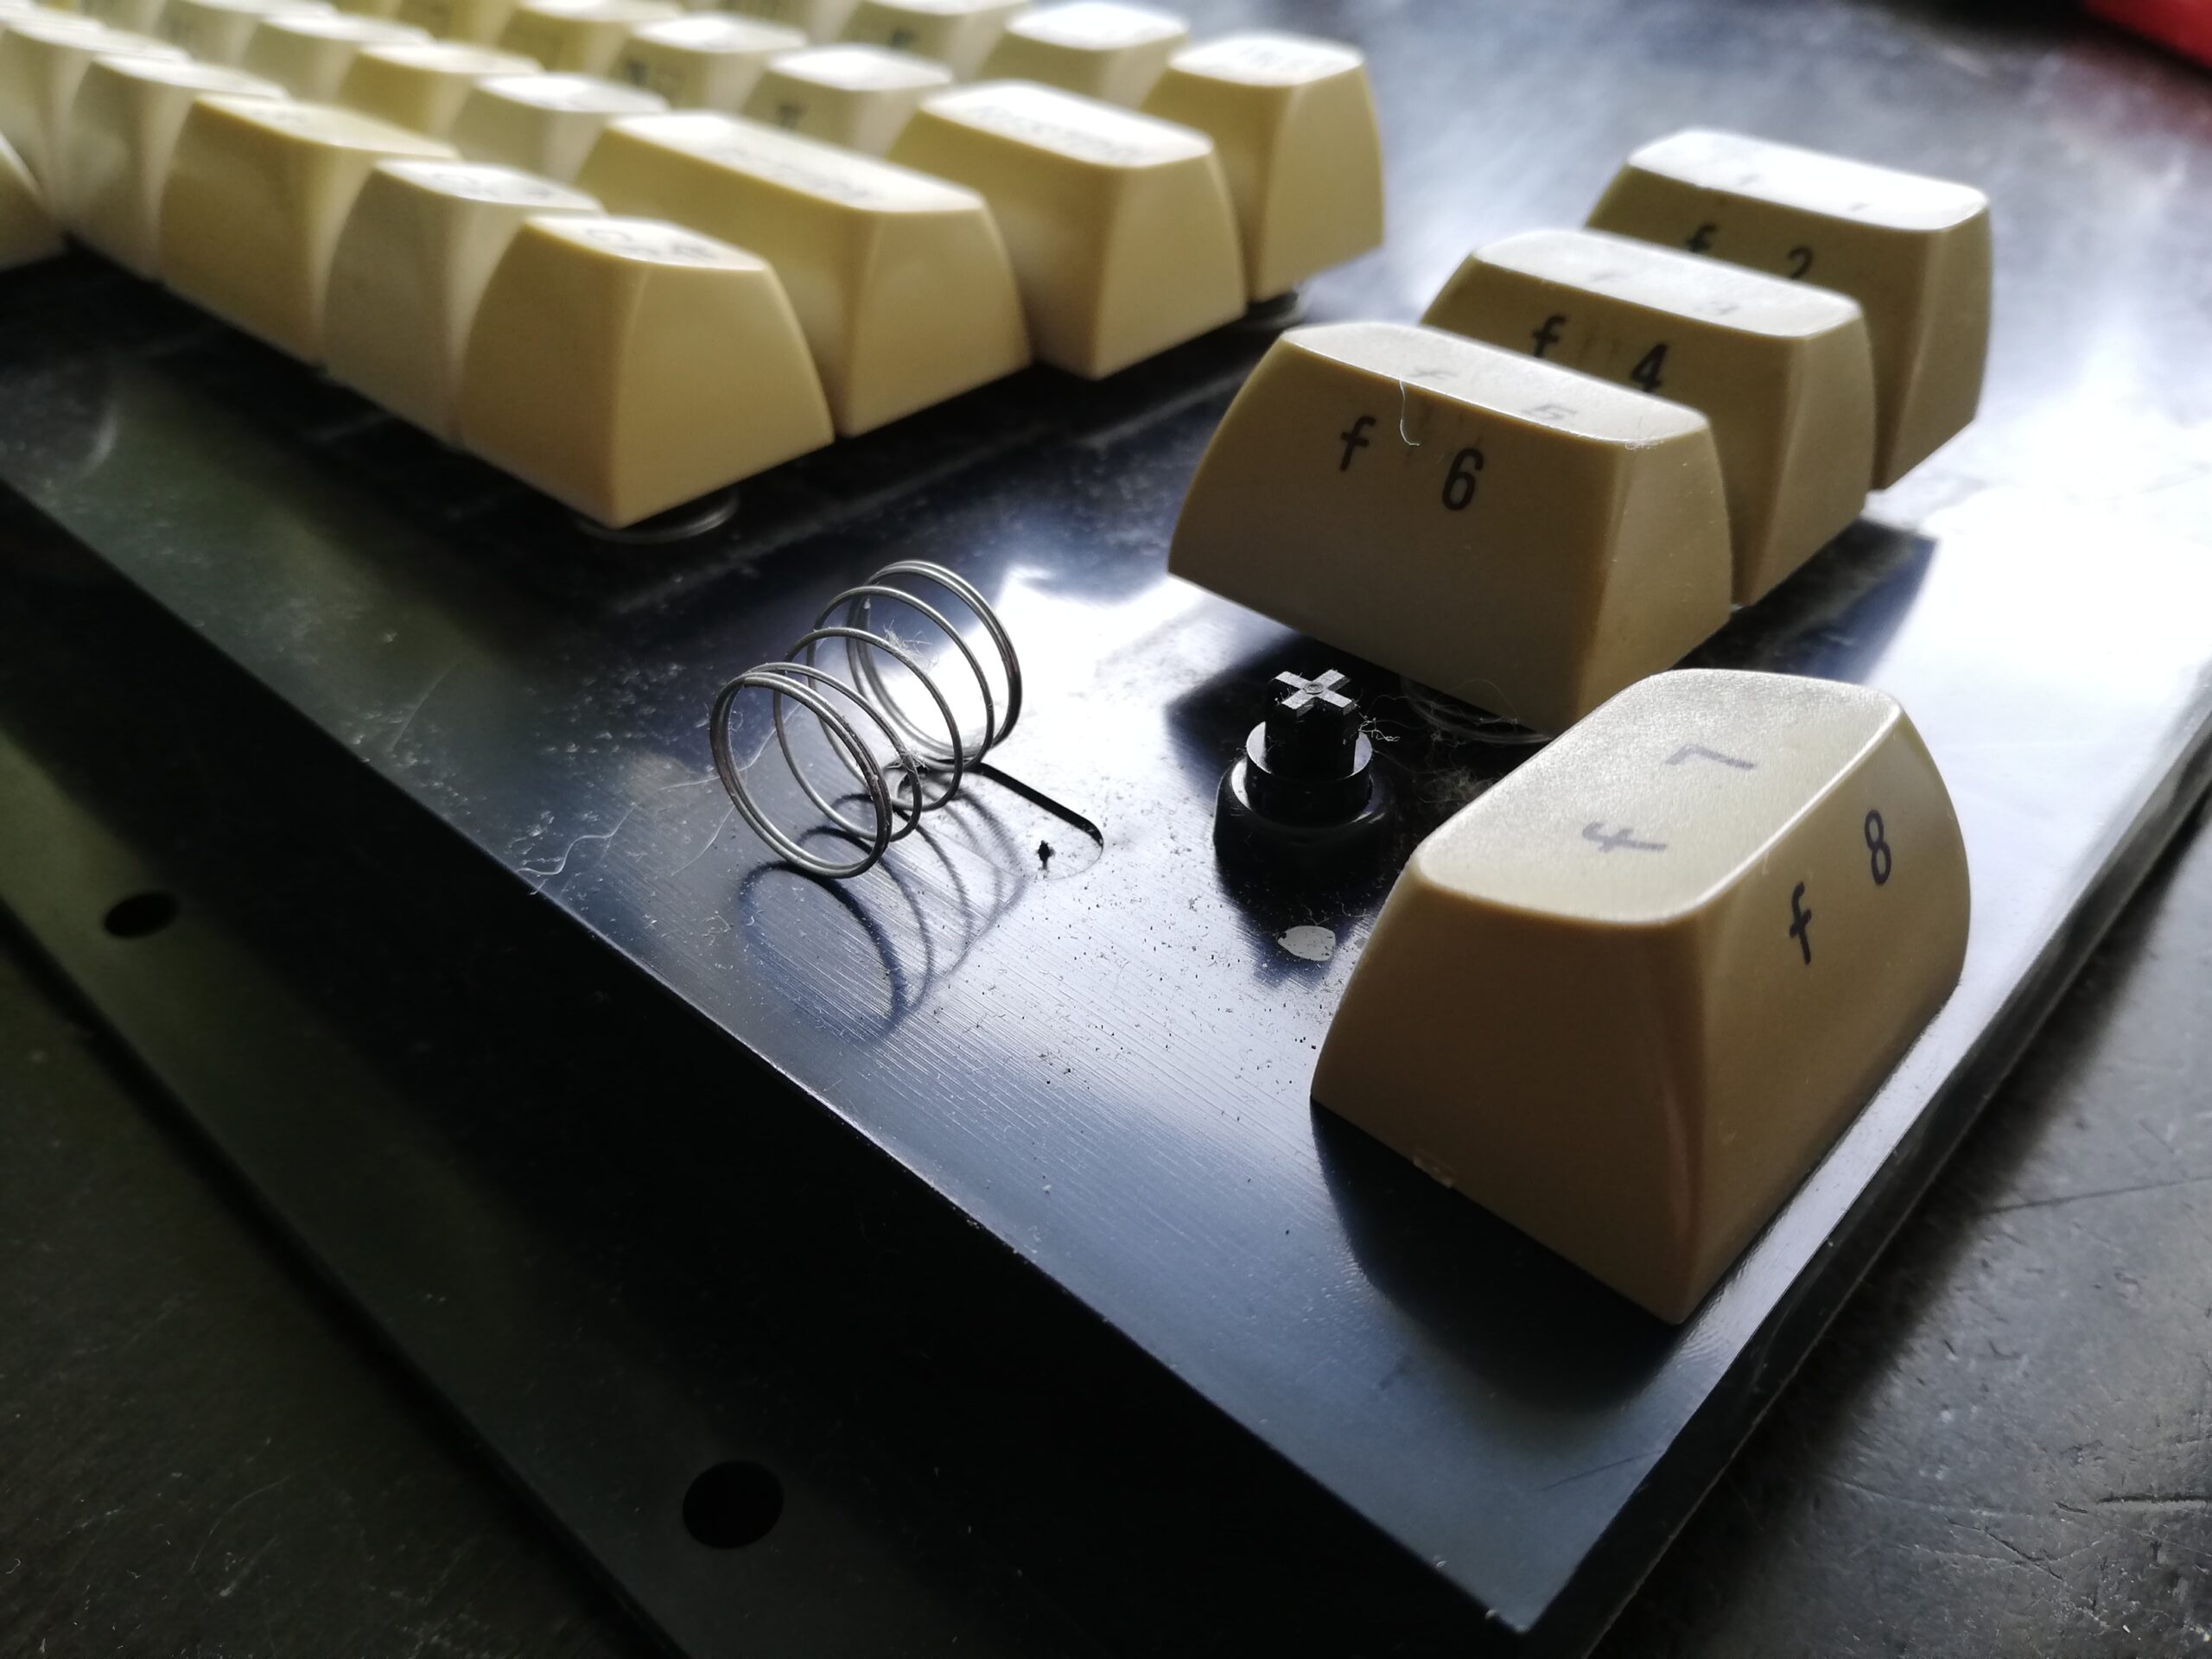
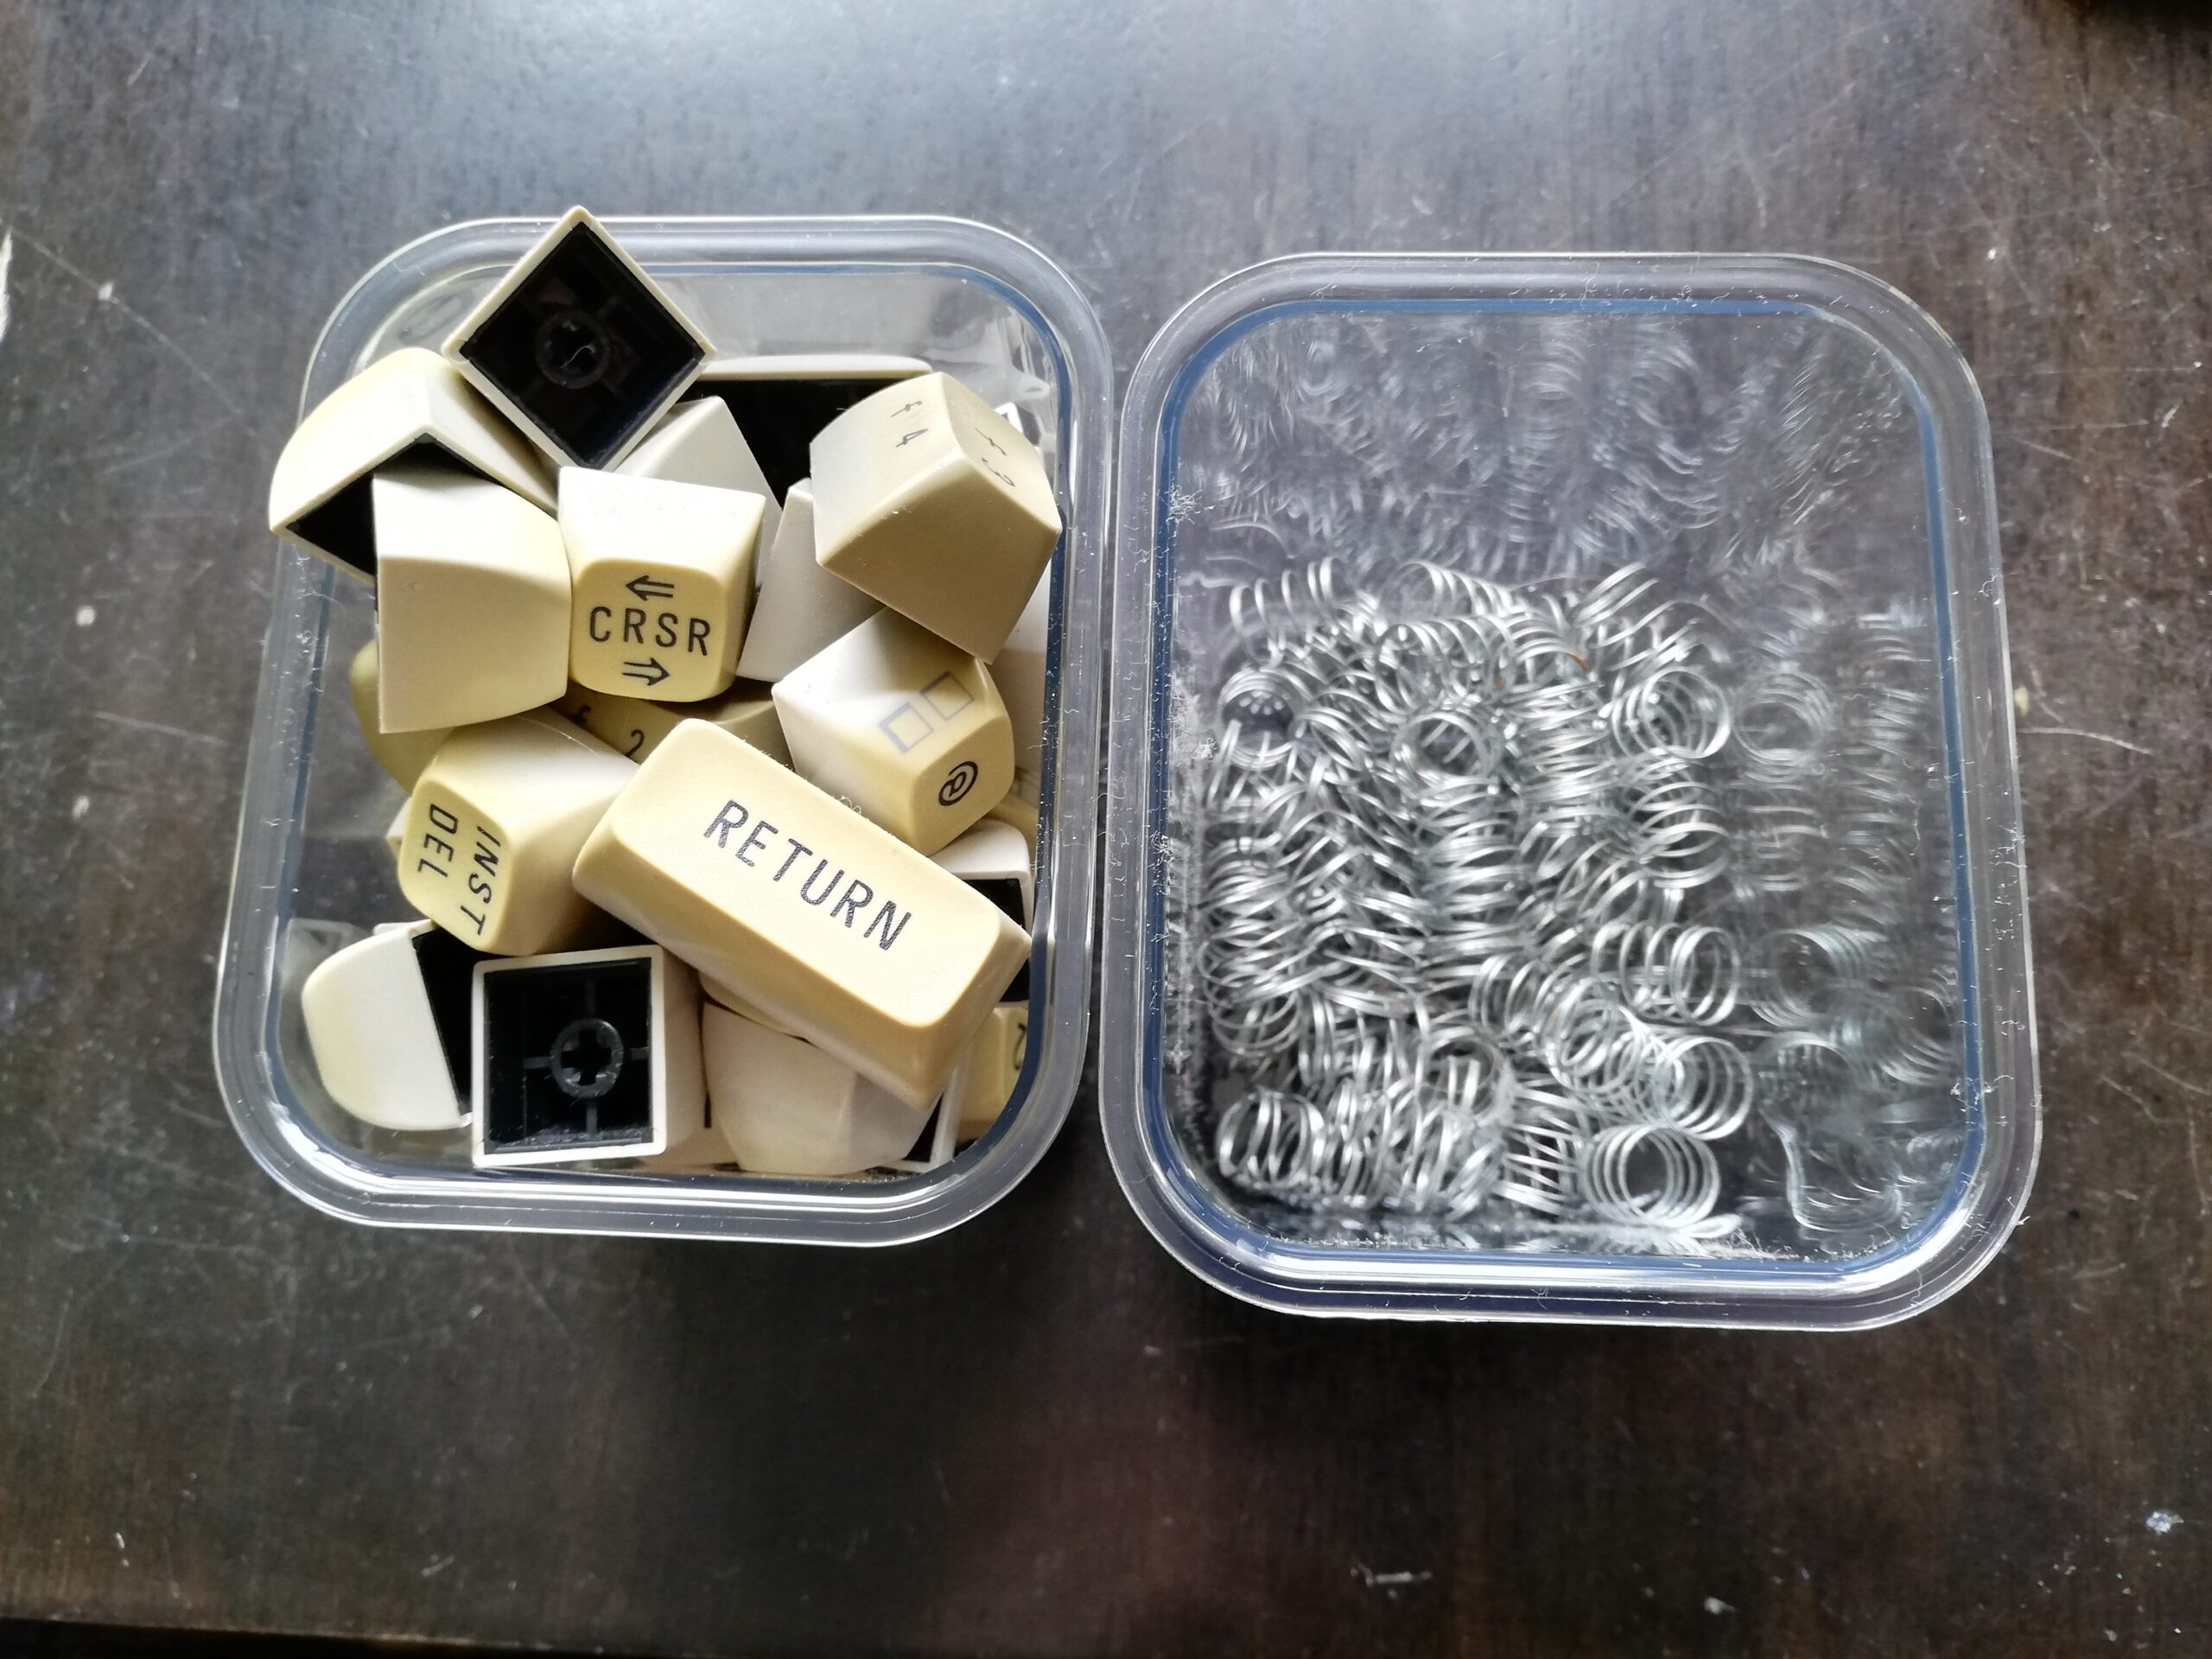
Now, gently pry off all the keys from the keyboard. Each key consists of the key cap and a spring. Make sure not to lose the springs! I put the key caps in one jar and the springs in another. Now is the proper time to clean the keys. I use soap and water for the keys and springs, and a toothbrush to remove the dust from the board.
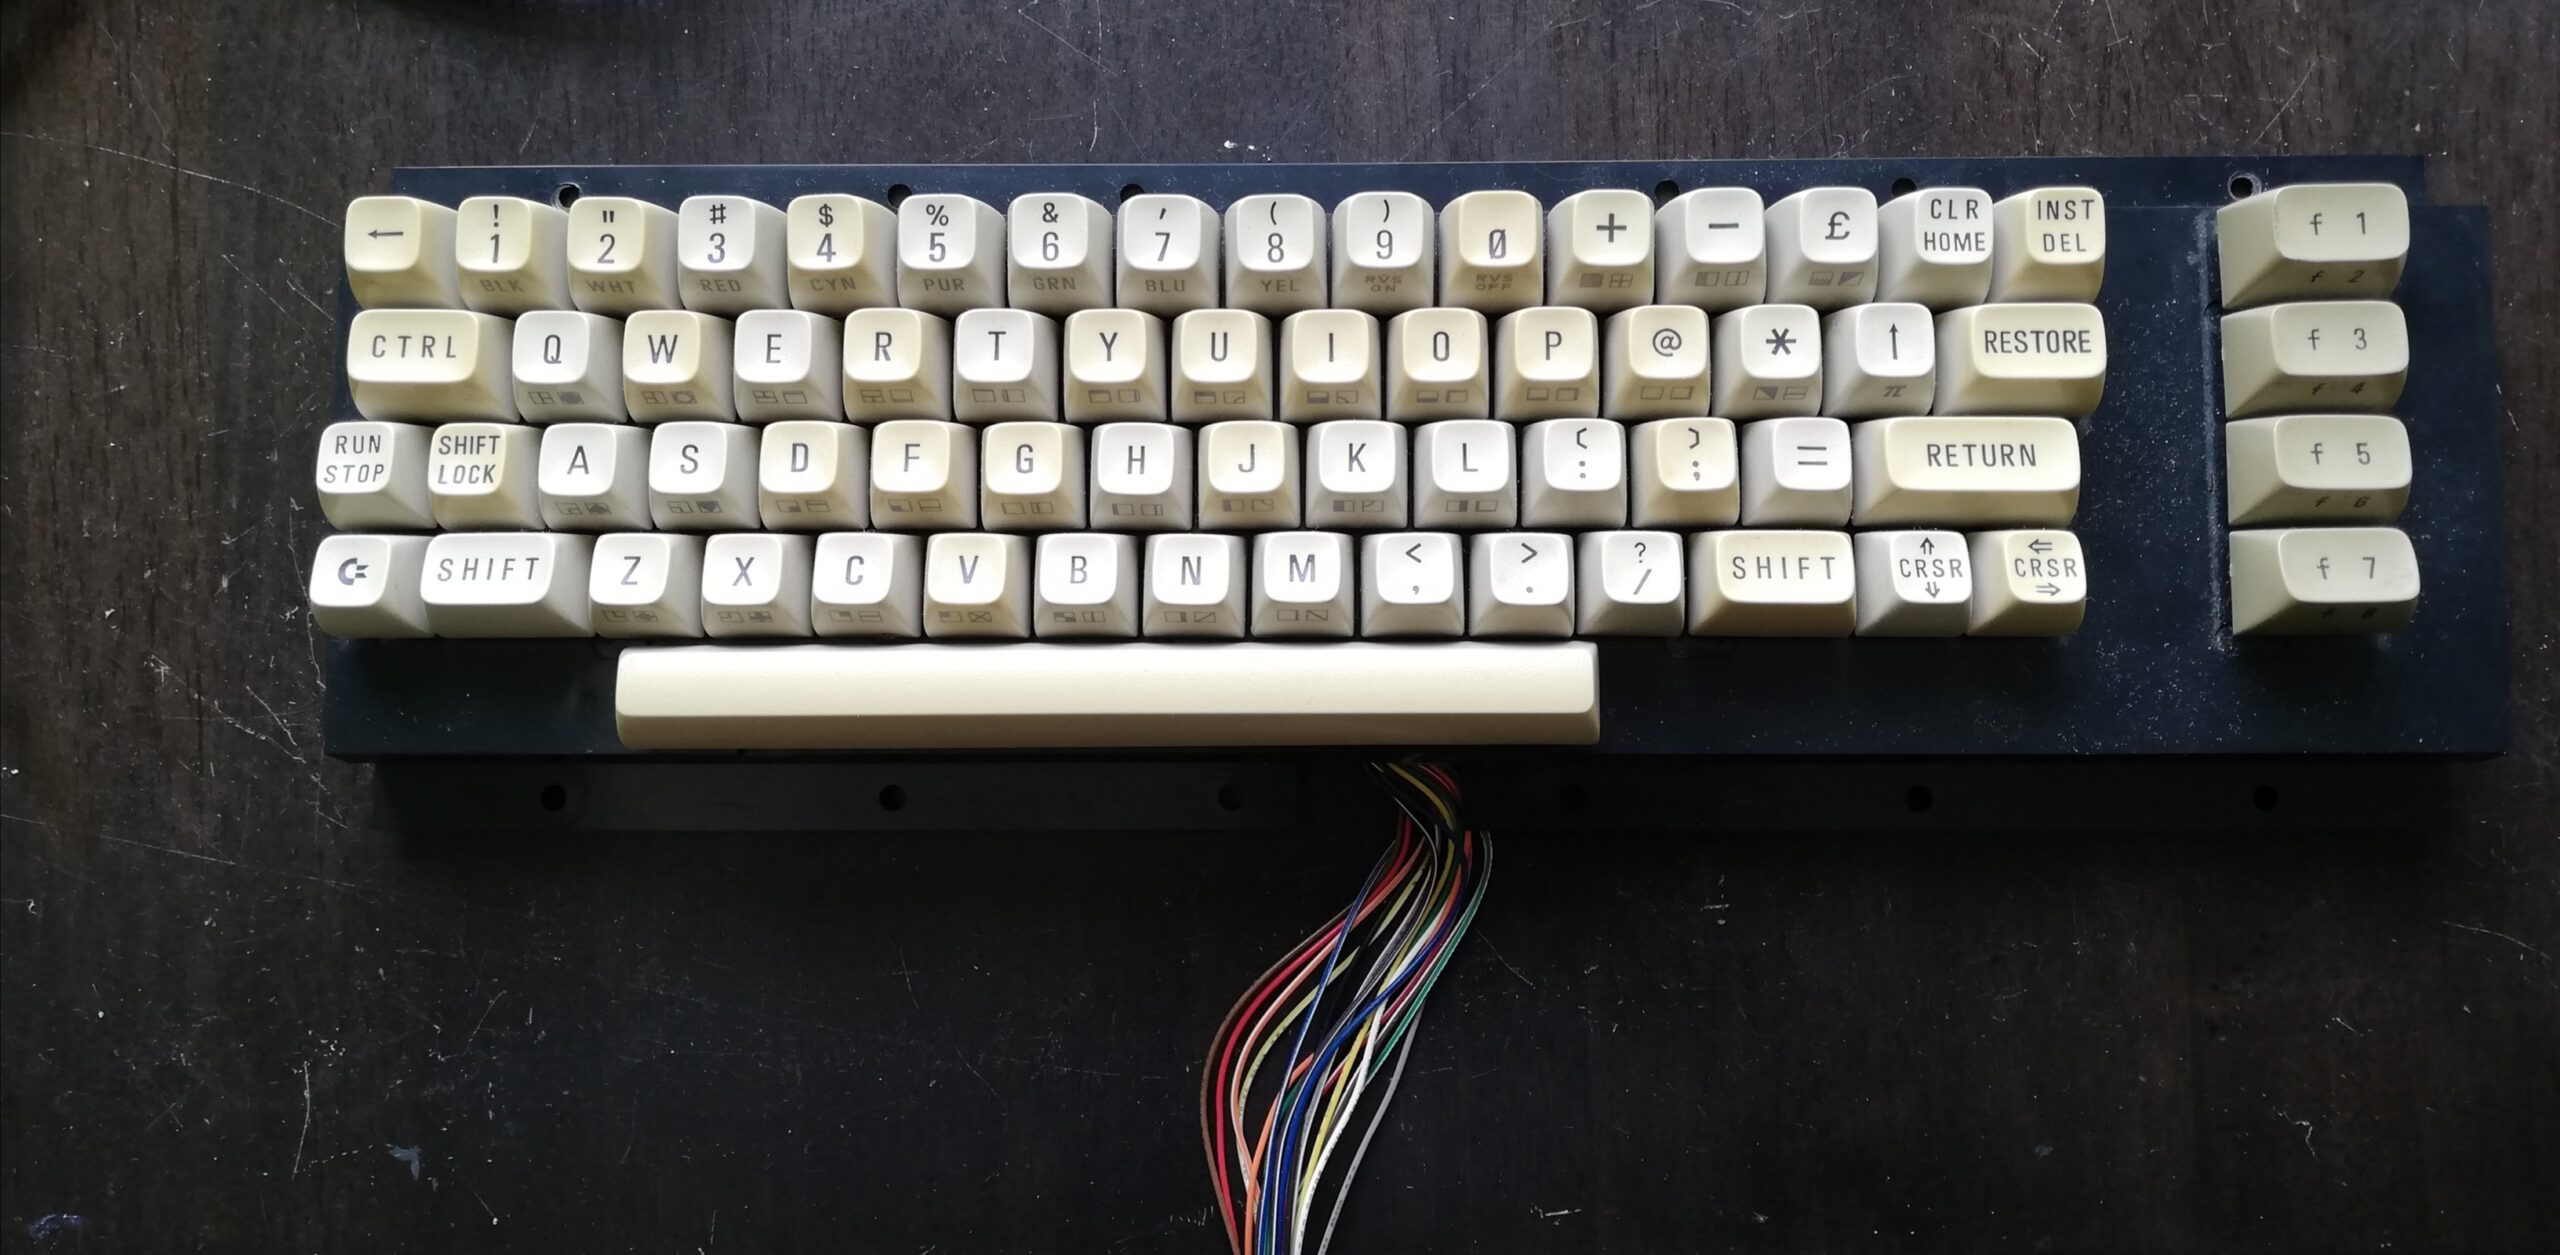
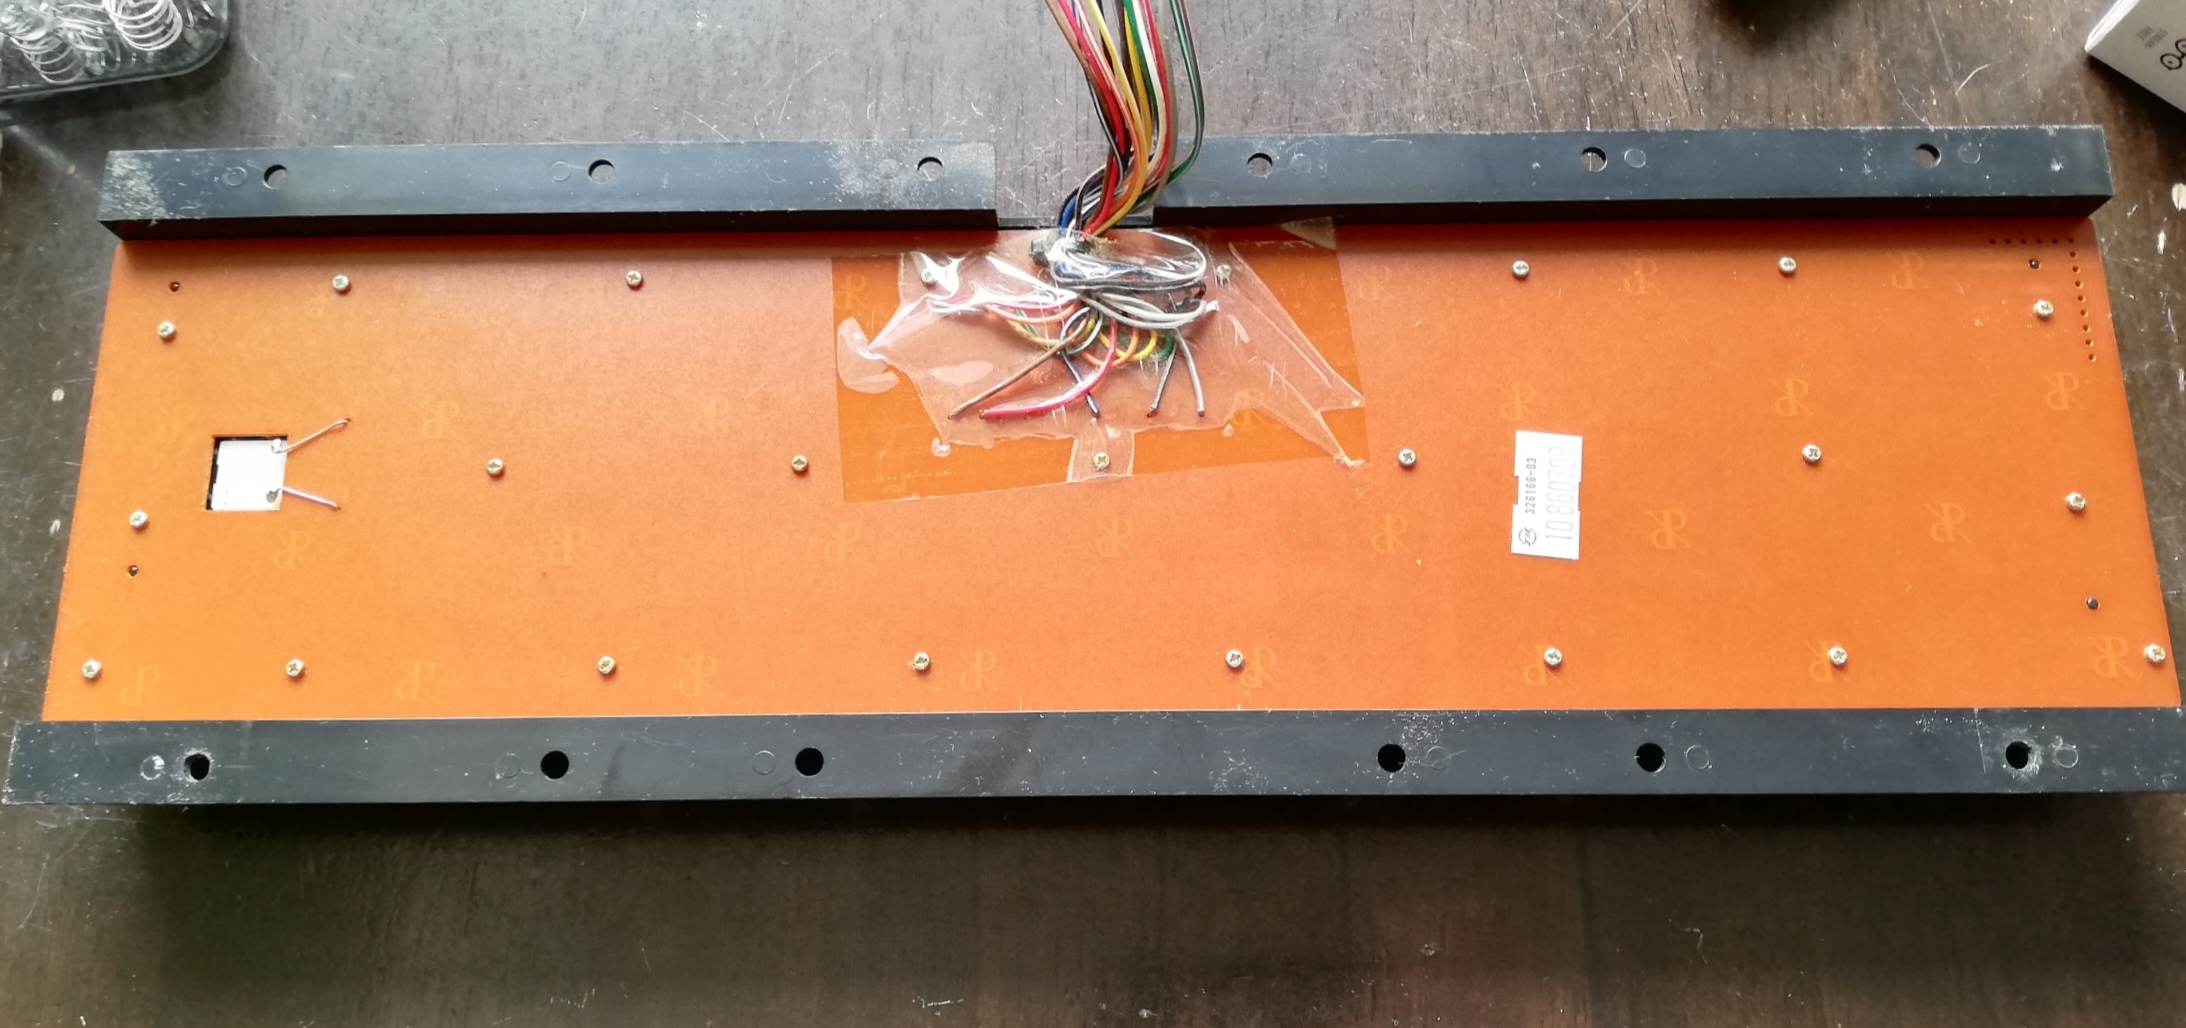
Now, flip the keyboard and remove all the screws from this side. Also, desolder the SHIFT-LOCK button from the two solder joints. Then, gently separate the two pieces of the board.
Step 3: Clean the keyboard
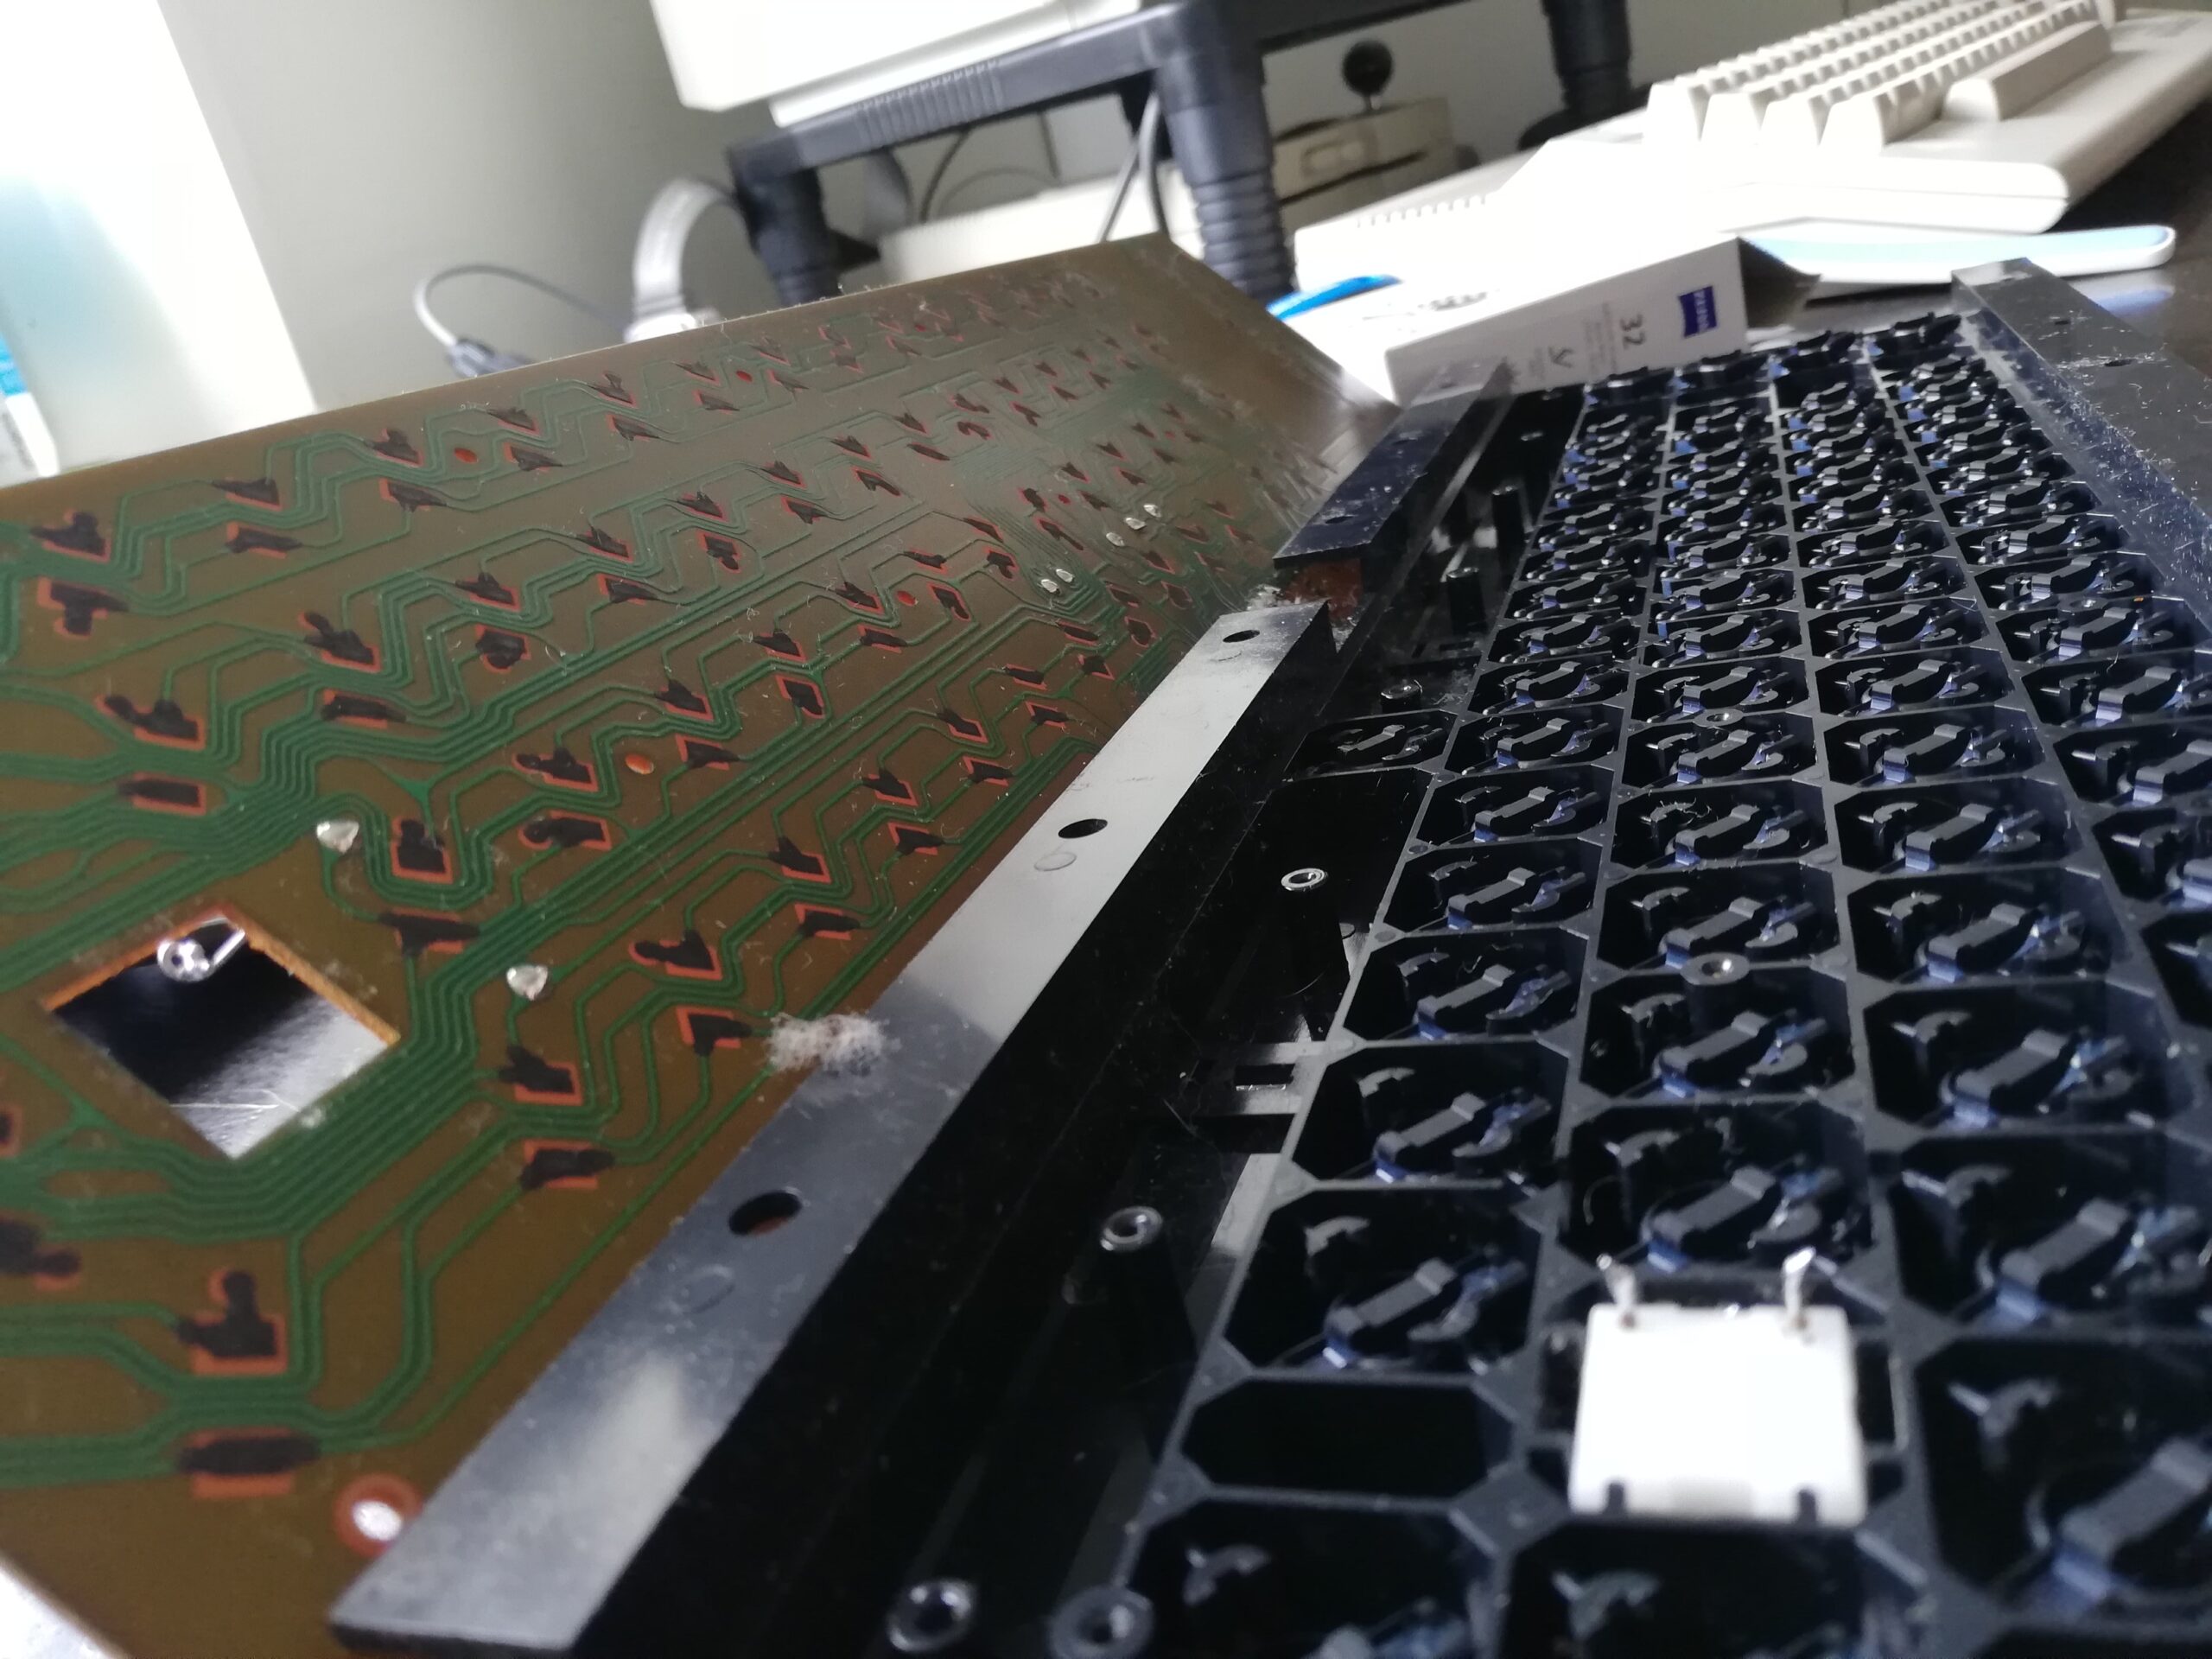
The reason why some of my keys were not working was probably due to dirt on the PCB and the conductive surfaces of the keys. Check the board for any broken traces. I used alcohol to wipe the board and the conductive pads under the keys.
When you are happy with the cleaning process, reverse the process above to assembly your keyboard, and hopefully all your keys are not working. Make sure to use some contact cleaning / isopropanol in relevant places such as at the keyboard cable / connector etc. This process made all my keys working again!
See also: Amiga keyboard repair.