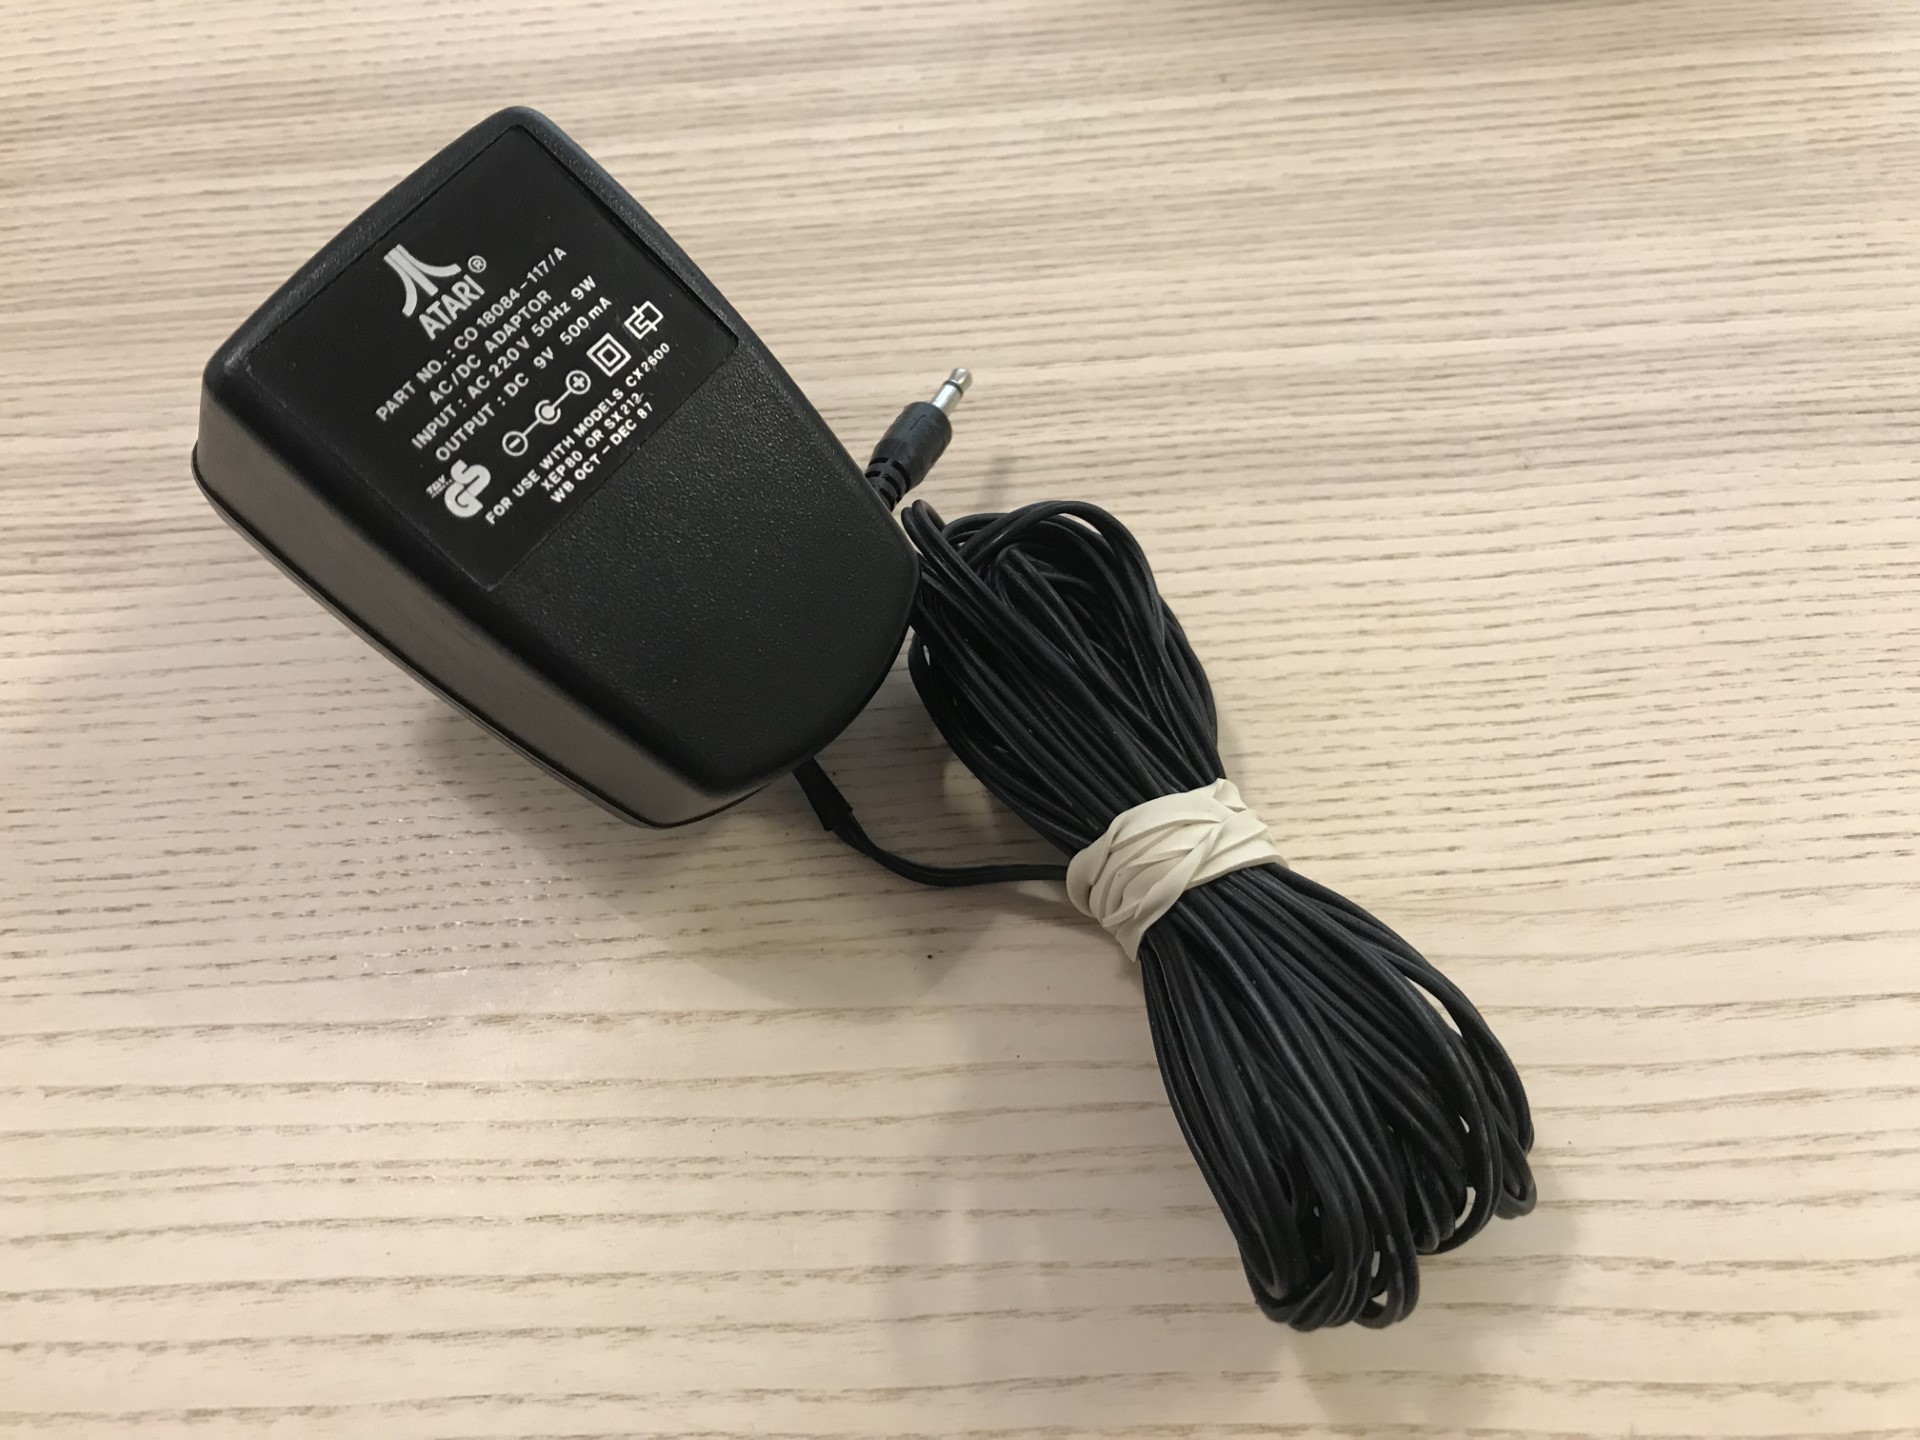
I bought an Atari 2600 junior recently and the unit came with a power supply (psu) that had a broken cable. A good opportunity to take a closer look at the PSU, which is the focus of this post!
As mentioned, my PSU had a broken cable, near the cable strain relief, visible in the image below. Opening the PSU is a rather straight forward affair, removing 2x Philips screws.
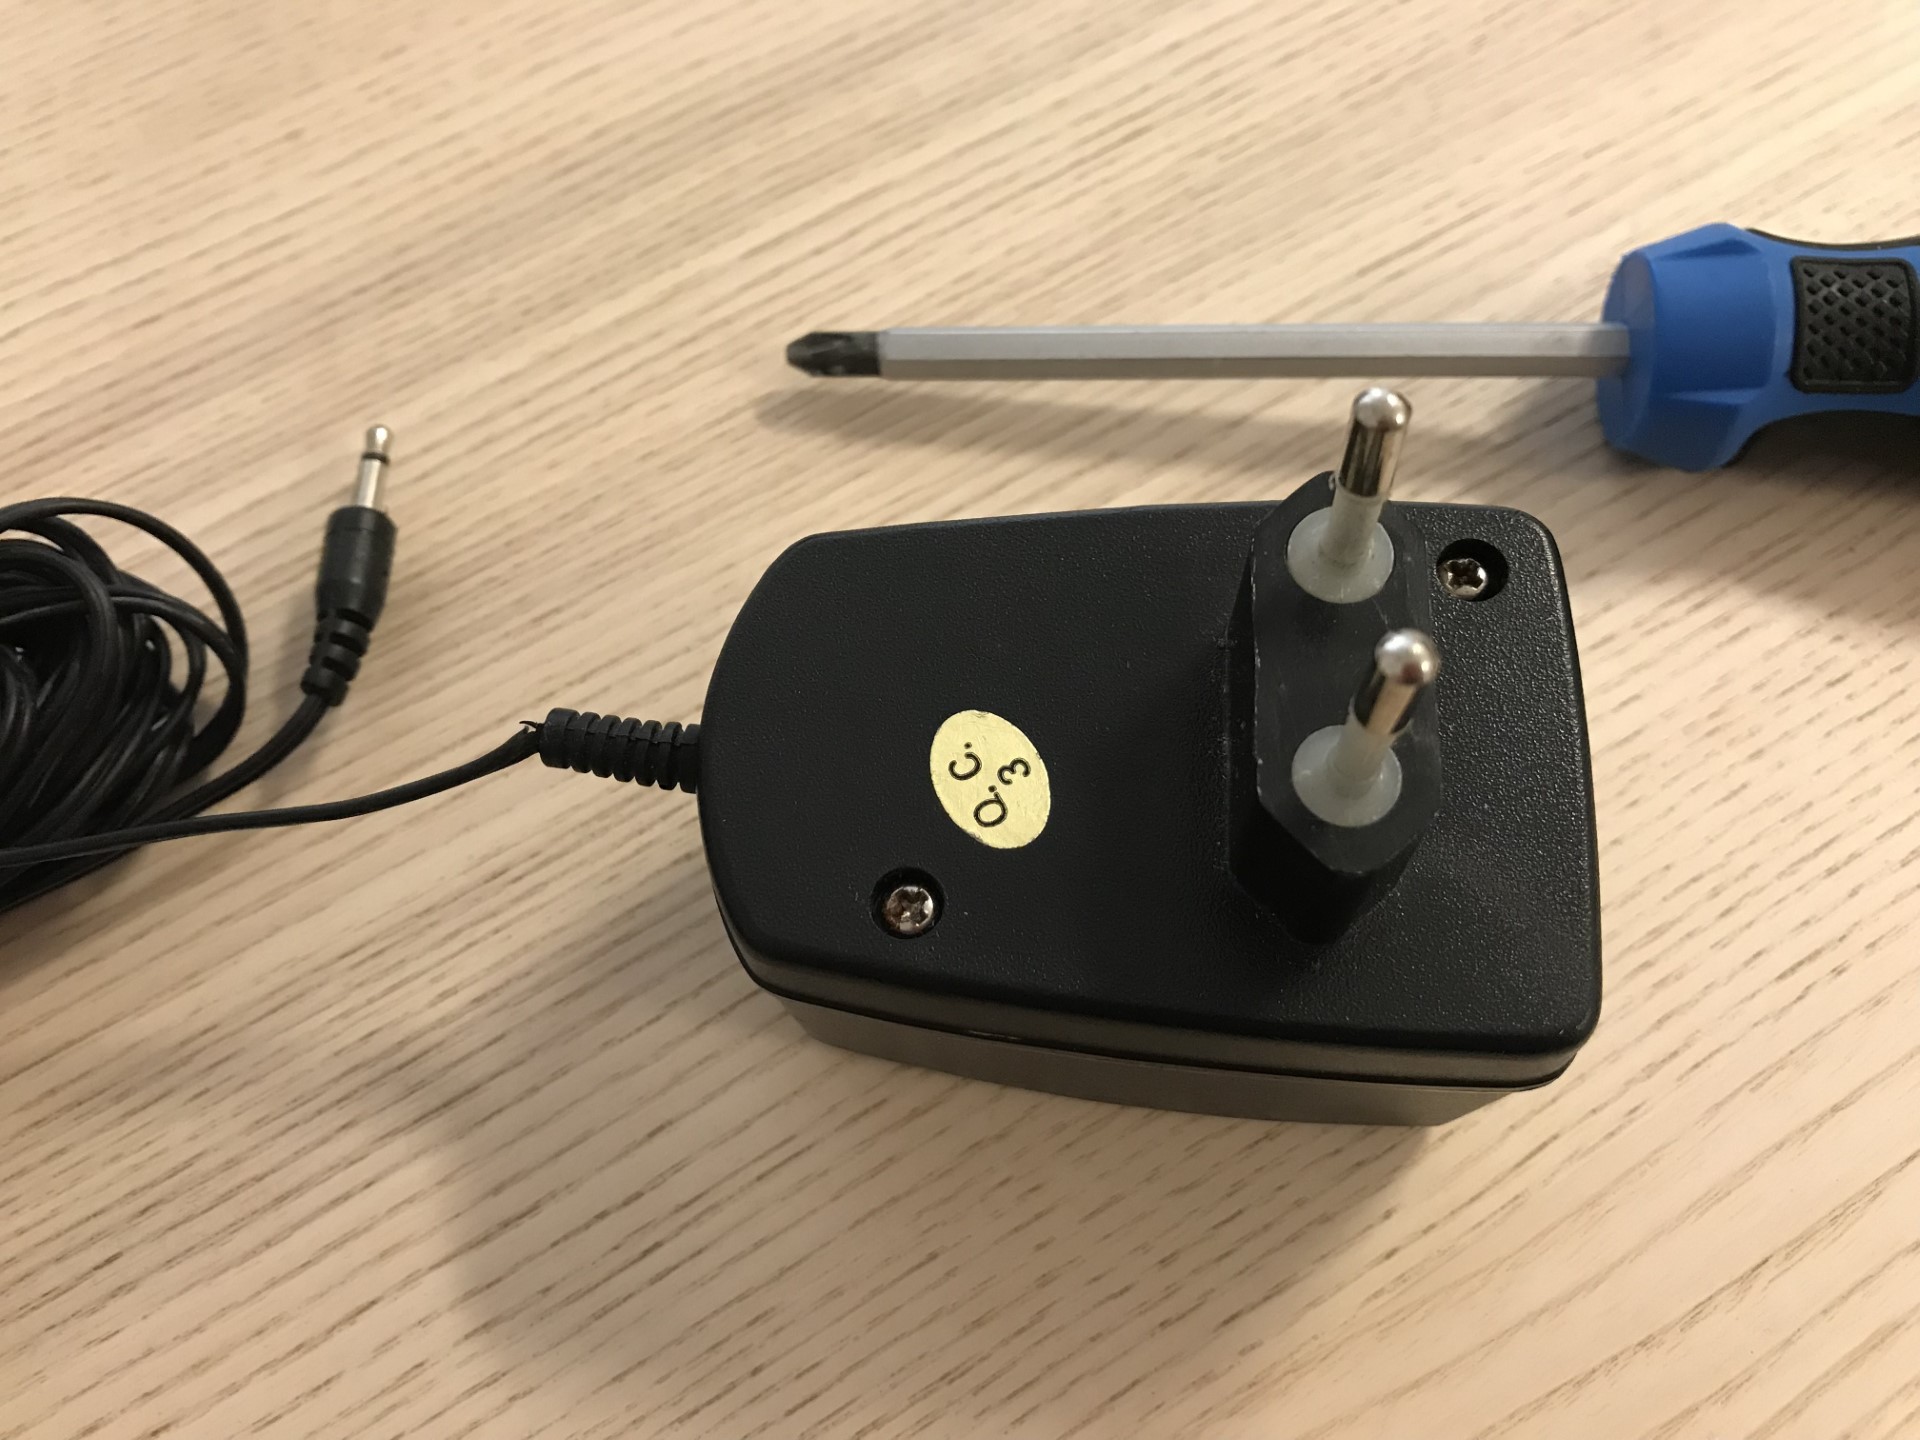
This will reveal the inside of the unit where you find a third and final Philips screw.
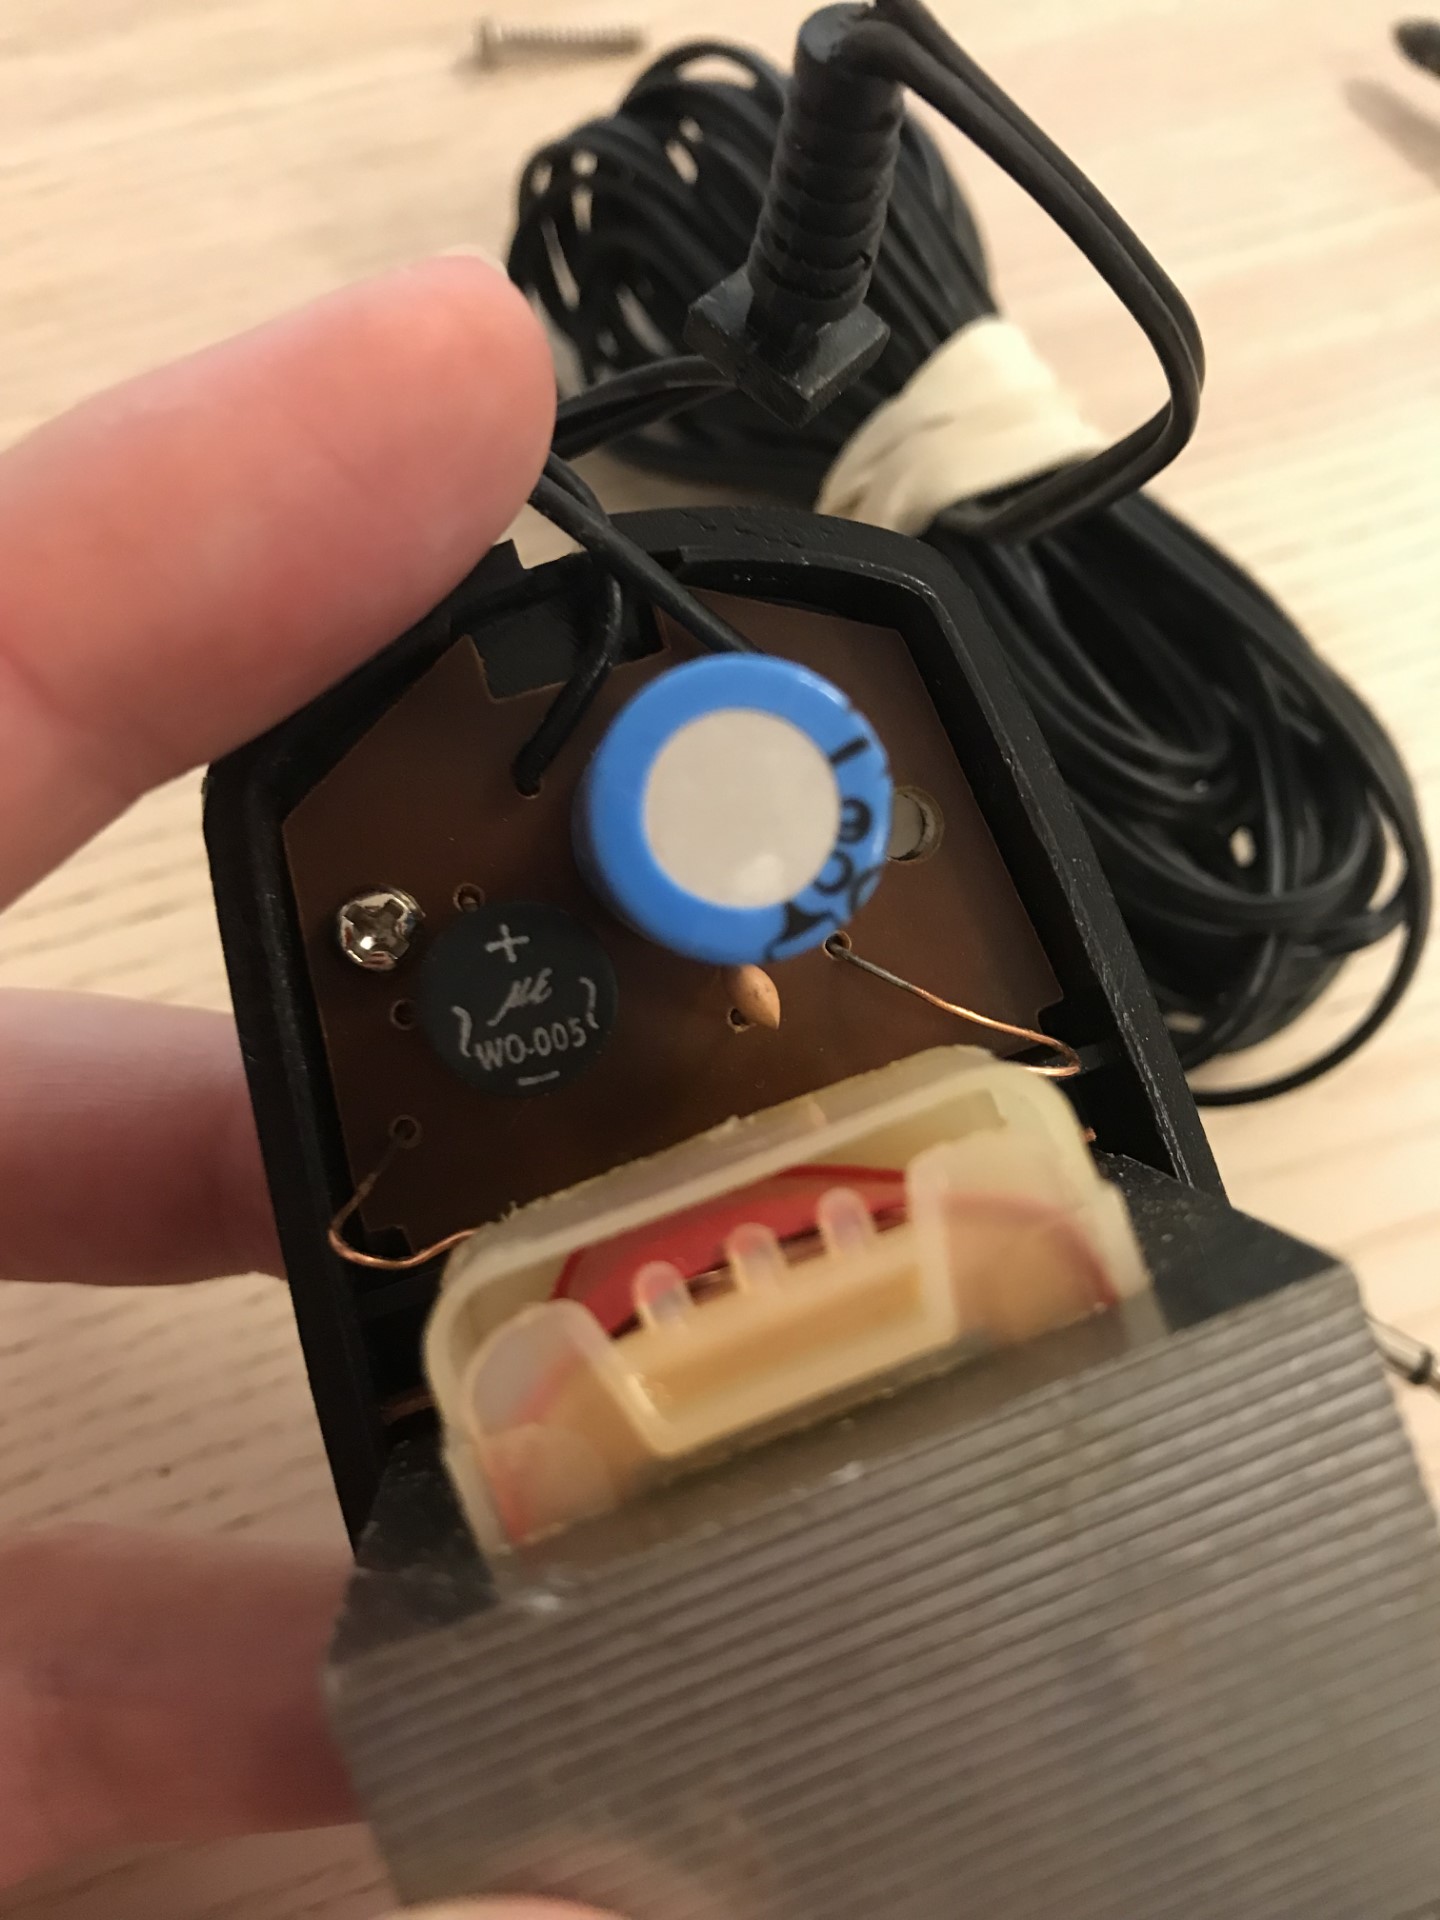
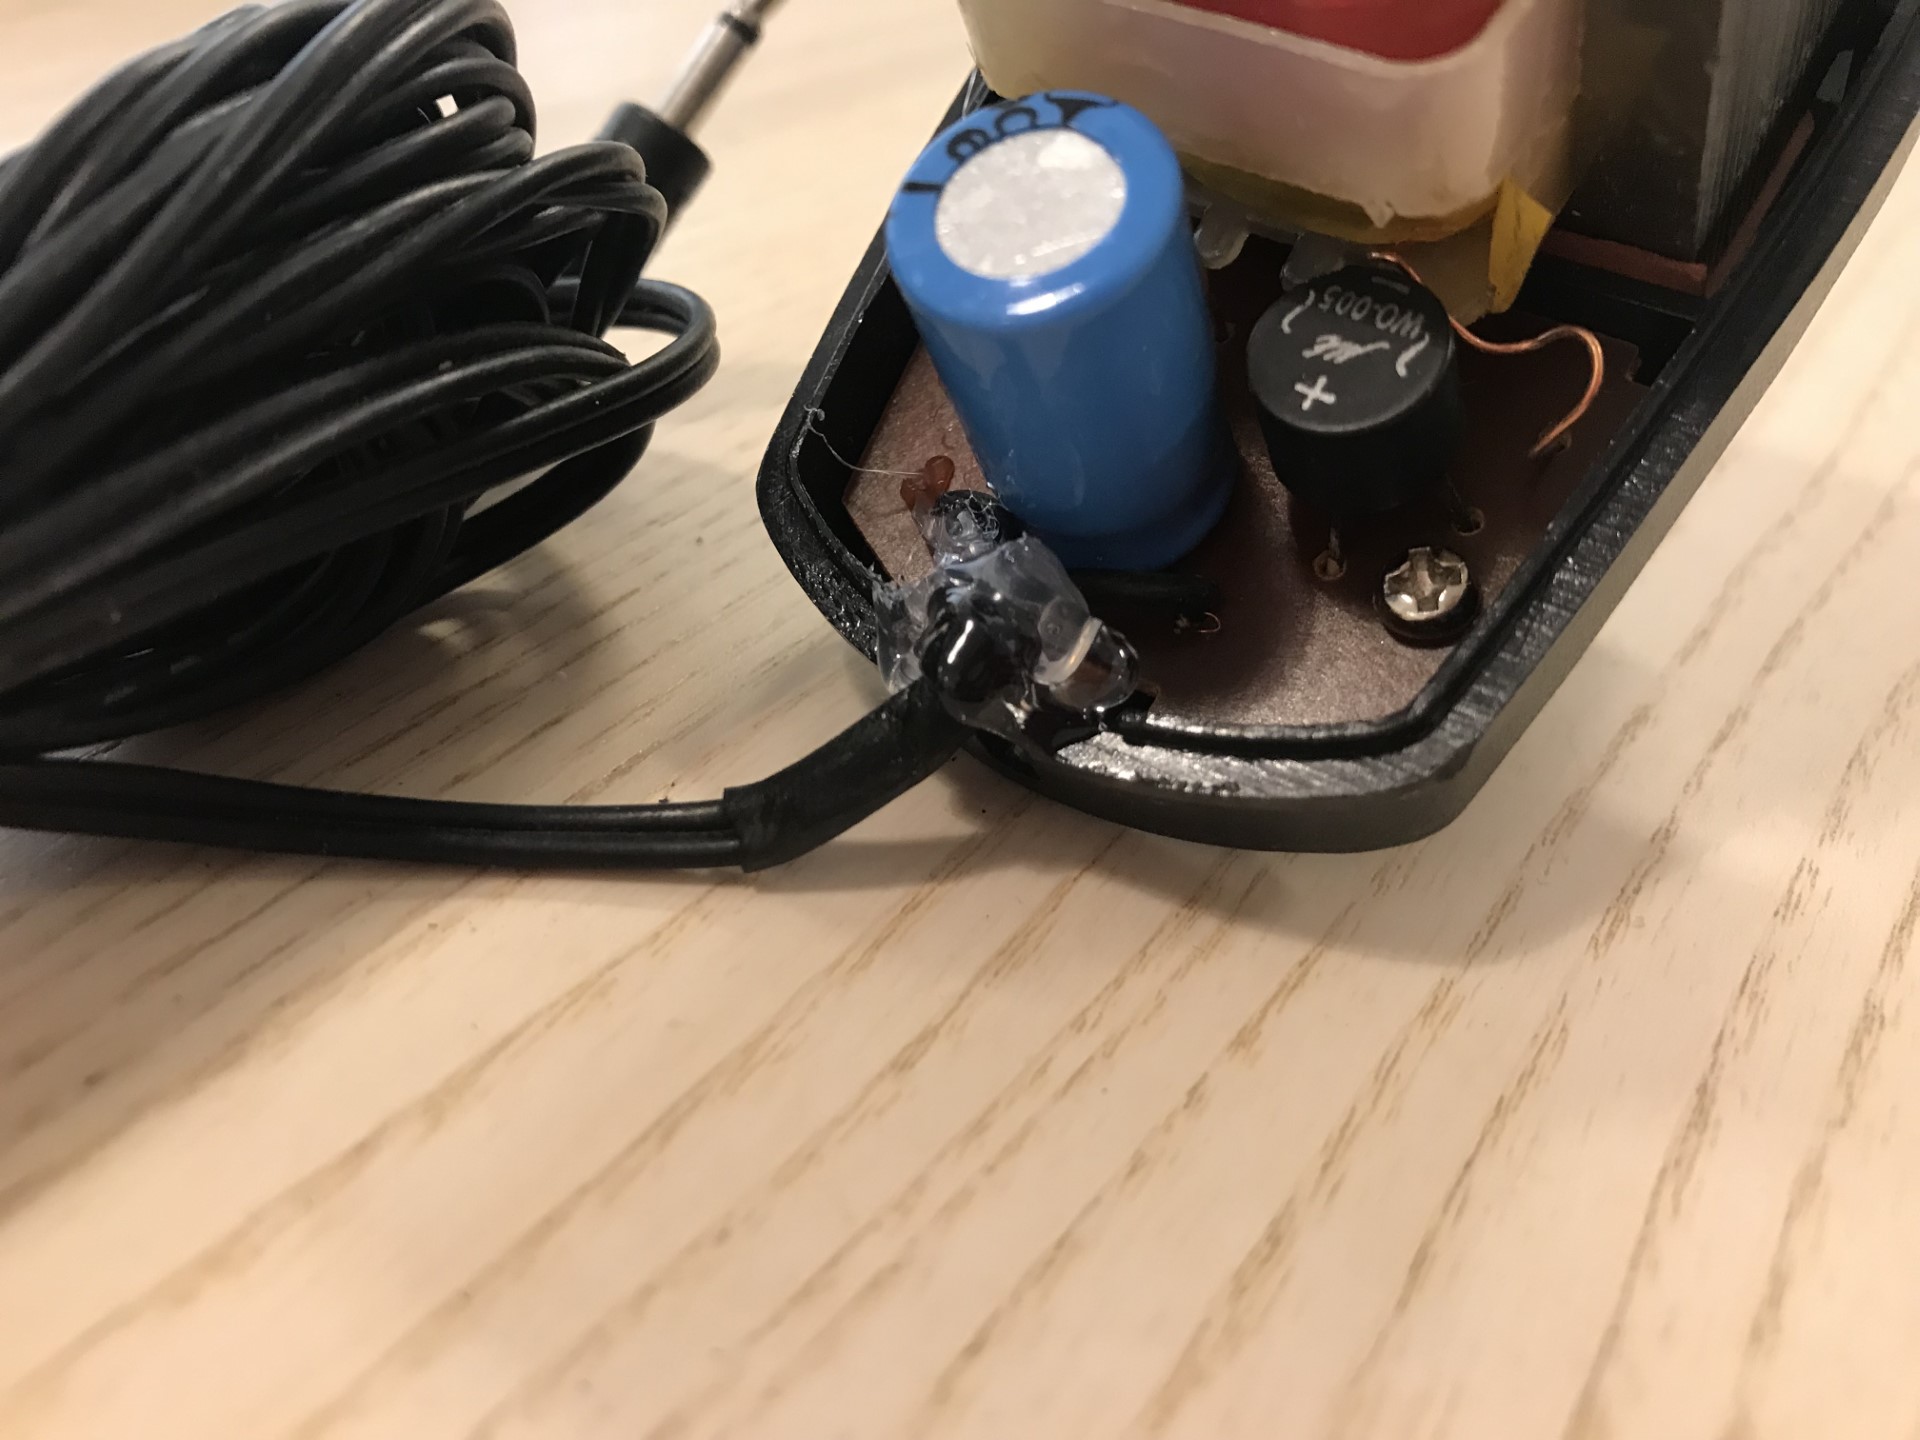
By doing so, you have disassembled the PSU. Please note the two “cardboard” pieces on the top and bottom of the main unit (coil?). In my case, I got access to the solder points where the two wires from the cable were attached. Since the cable was broken near the strain relief, I cut it, desoldered, and resoldered the two cables again. My “strain relief” was a mix of a heat shrink tube and some hot glue. If I get my hands on a more suitable cable strain relief in the future, I will of course replace it. I may also replace the capacitor while I am at it.
The Atari 2600 console series uses a psu with a 3.5 mm connector. The tip of this connector is positive (+), and the bottom part of it is negative (-). The output of the PSU is 9V DC. I guess this is under load as my psu outputs 13V without any load.